
How I caught up on 30 weeks of Project Life in 2 days


I'm not being bashful about how proud of myself I am right now. In the craft world, I completed one of the greatest feats known to scrapbookers. I finished a scrapbook. I completed a full years worth of photos. Pretty much in that current year. I completed a major catch up in less than 2 days. WHERE'S MY MEDAL AT?!
So here's how I did it.
Back in September, when Olya issued a challenge to get caught up on PL. I took that challenge and realized that my problem was that I was too far behind and wasnt excited about the super old photos anymore. So I began working on the current week and working backwards. This was the best idea. I was able to capture our current memories and stories with a fresh memory and got to work on the photos and events I was excited about. I got a lot of pages done this way and they turned out to be some of my favorites. It's like a reward being able to work on current photos and that really boosted my creativity. But there was still so much from that in between time and then the actual end of the year because I feel behind again.
So, before I left for christmas holiday I committed to catching up. I carved out a whole afternoon/evening and made sure I had all my supplies, which included my album, cards, enough paper for my selphy printer and my computer/phone containing all my photos. To show you how I streamlined the photo printing process I thought I should show you how I organize my photos first.
How I organize my photos:

1. Confession: until this week, this main folder was a hot mess. But I sat down and organized all the old photos into year folders. In 2014 though I was really proactive and organized as I went. See below.

2. Inside each year folder I have larger folders labeled things like 'events' and 'travel' and 'blog' etc. Inside those folders are each individual event or trip we took.

3. There is also a folder labeled 'phone photos' and inside that are each month of the year. I used to use PhotoStream but it got messed up and NEVER again could it be fixed. So now I use Dropbox/Carousal to stream all my phone photos to my computer. Every other day or so I open Dropbox on my phone and let it upload. Once a month or so (whenever I work on photos on my computer pretty much) I move them out of Dropbox and into their corresponding month folder.

4. Inside each folder the photos are all there from the month and they are labeled and ordered automatically with the date. Making it so easy when I need to print!
Ok, so here's how I caught up:

1. I made a list of all the weeks I was missing. I use these planner pages I designed (download them here for free), you can also use this amazing PL catch up plan Caylee designed.
2. Then I select photos. I open my computer and the corresponding month folder. I begin selecting photos from the correct dates. I copy the photos to a new folder (labeled print or something else obvious that I will delete at the end.) and I jot down which photos are in which spread on my planner. **When choosing photos, I chose more than I normally would to make my spreads be more photo heavy.
3. Write your photos on your planner. This is so important when working on multiple spreads at once. I write just a quick note like 'sunset' or 'us snow', etc. I do this photo selection + writing for as many weeks as I can or need at a time. I did some odd 20 weeks at once the first go round and about 10 the second time, so having the photos jotted down on the planner saved me from having to go back and search and figure out which photos go with what weeks.4. Minimal* Photo editing. Now that all your photos are in a folder, decide how you will edit them into the right sizes and if they need any photo editing touch ups. I tried this 2 ways. First, I transferred the folder to my iPhone. I edited all the photos that needed it in PicTapGo and made collages for 3x4 and 2x2 in the Project Life App. Then I printed them all on my selphy printer. The second way I tried was to edit them all on my computer in Picasa and then transfer the completely ready to go photos to my phone and print. I found this second method much faster and easier to stay organised. **I had to make the choice that photo editing was only going to happen on the most necessary photos. The goal here was quick and easy, not detailed and time-consuming. No fancy editing.

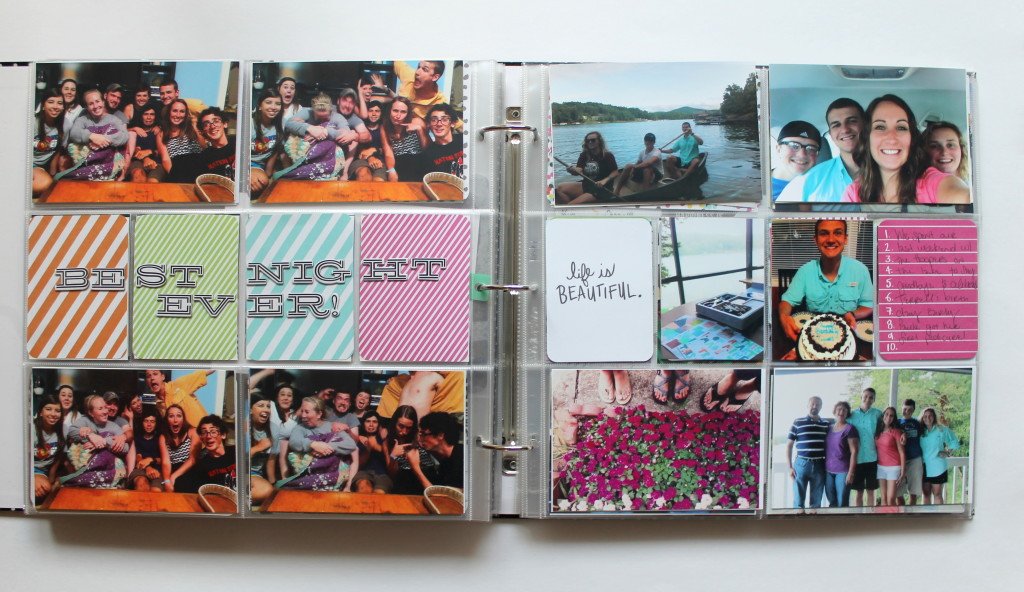
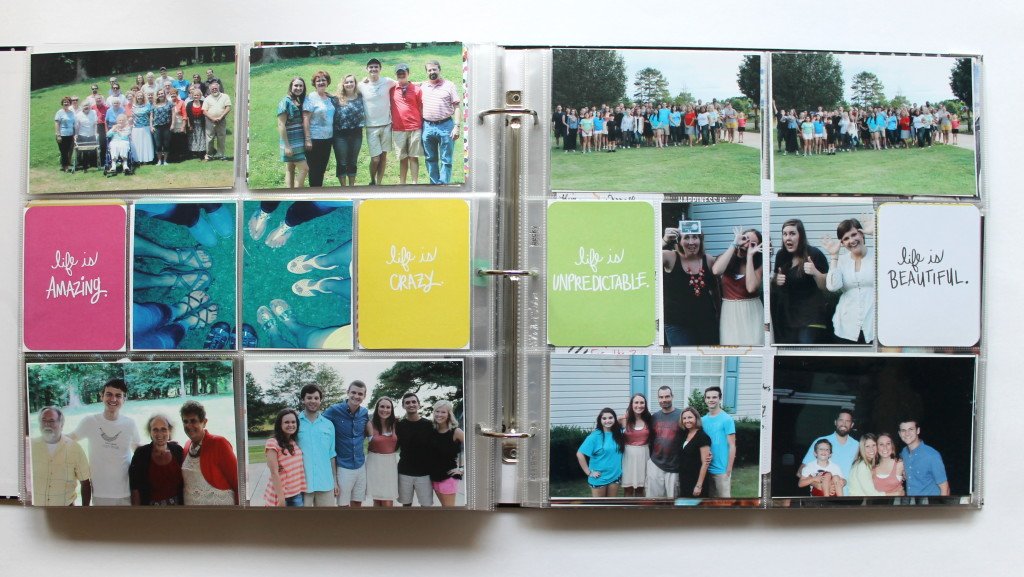
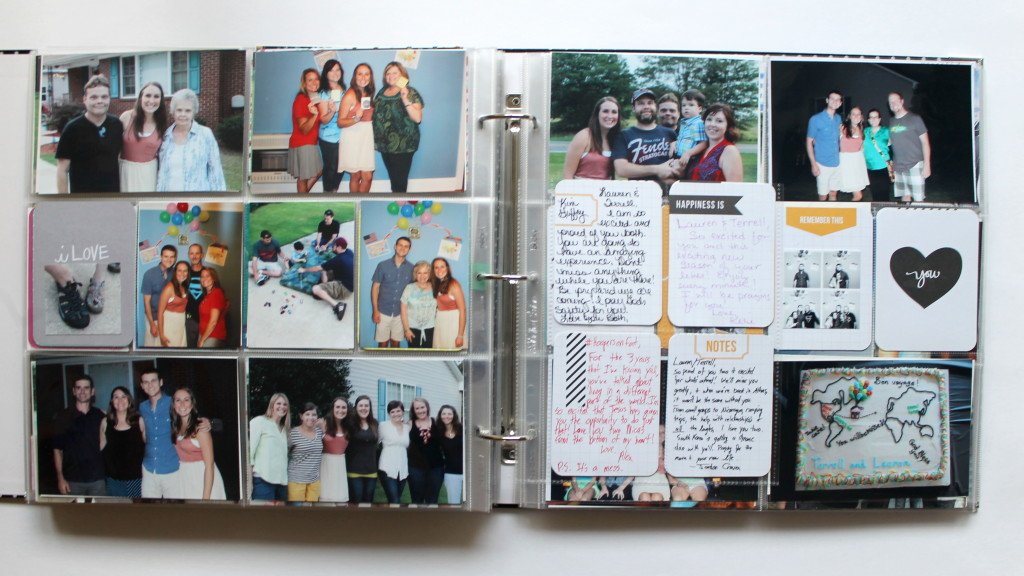
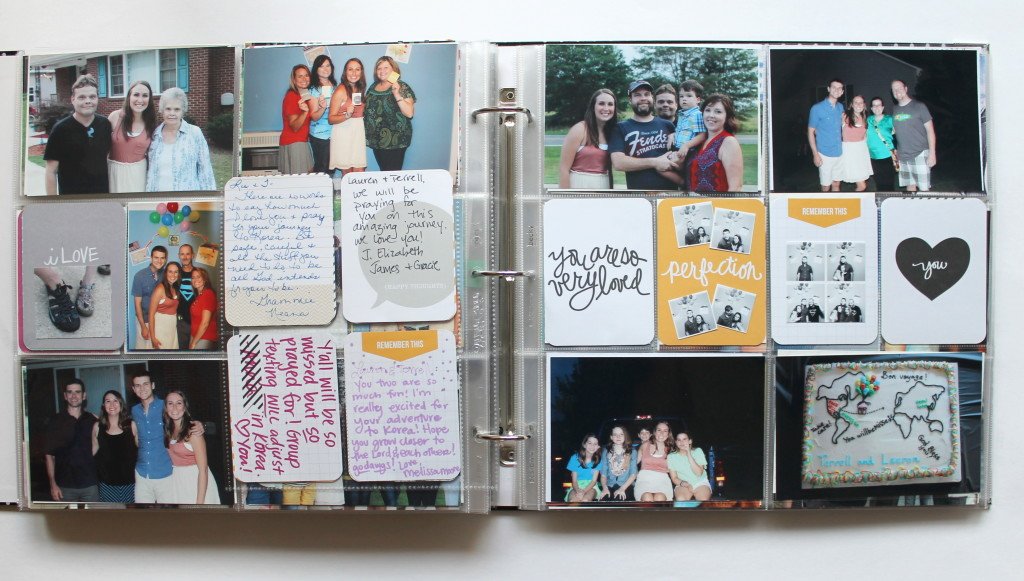
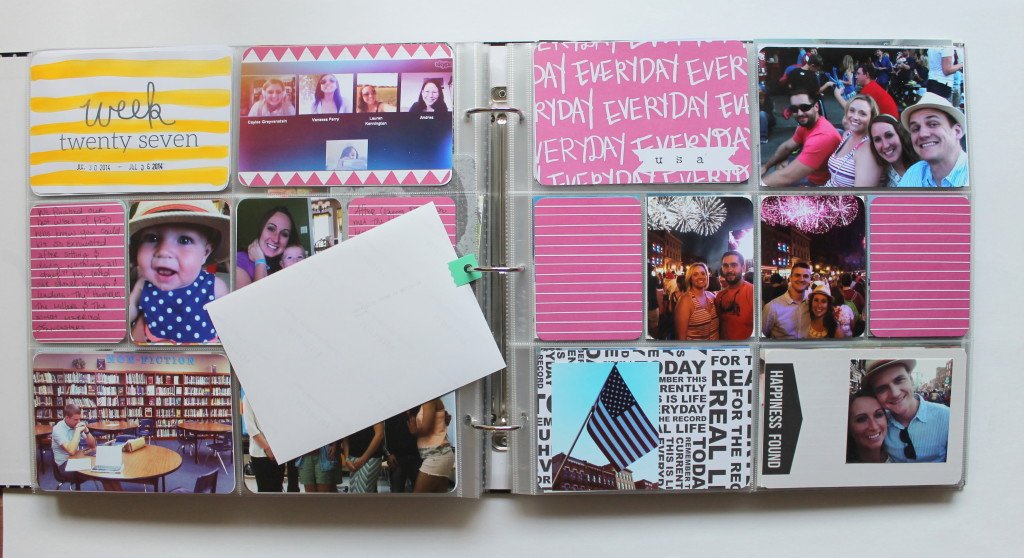
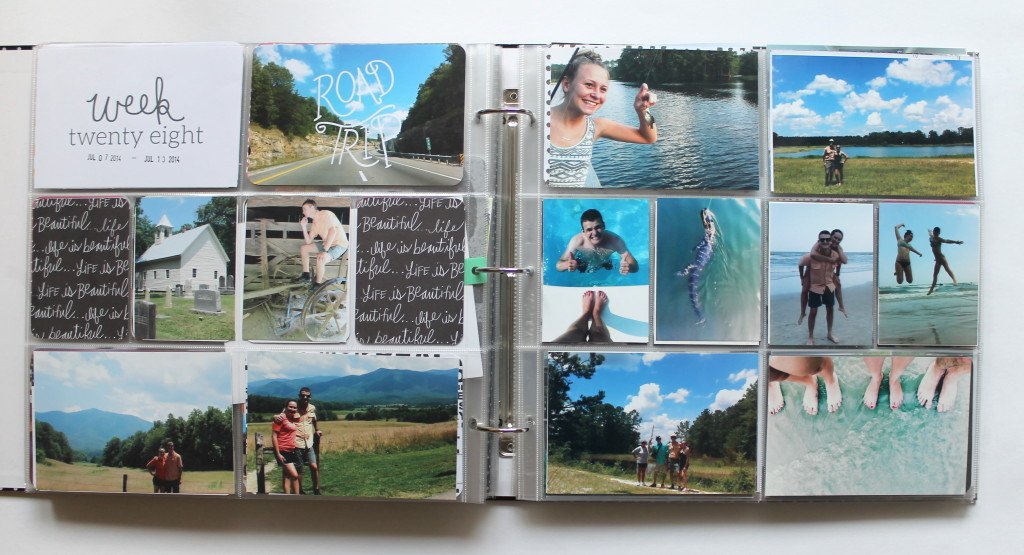
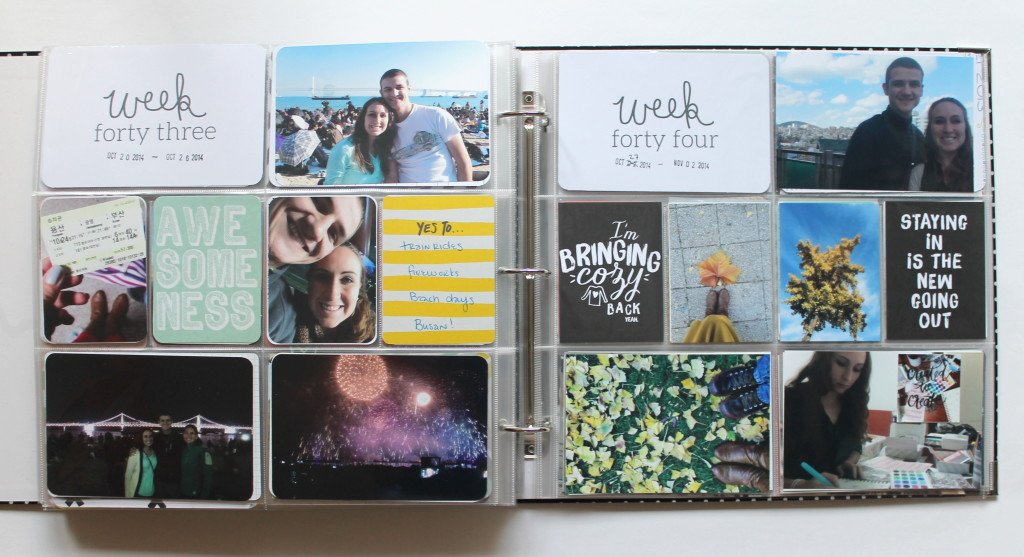
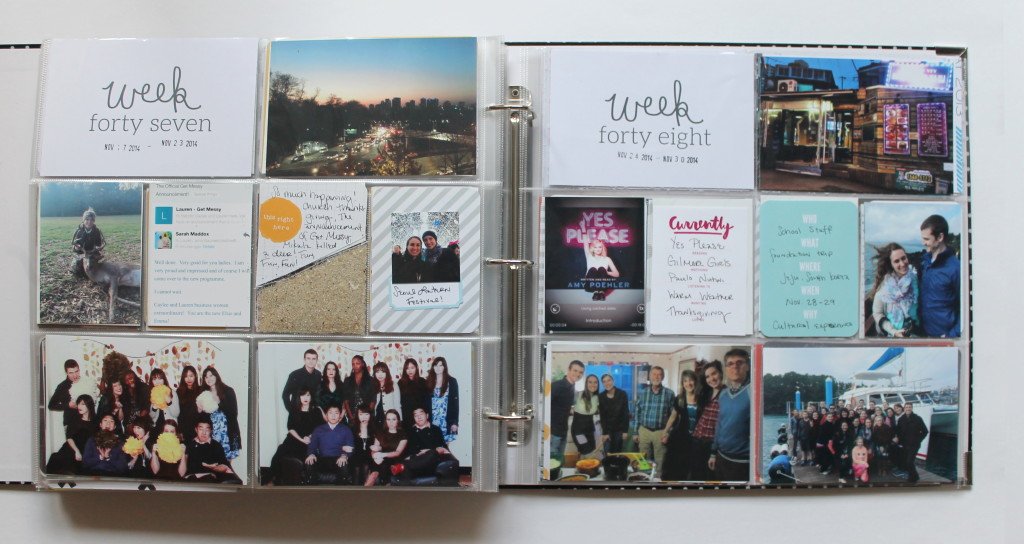
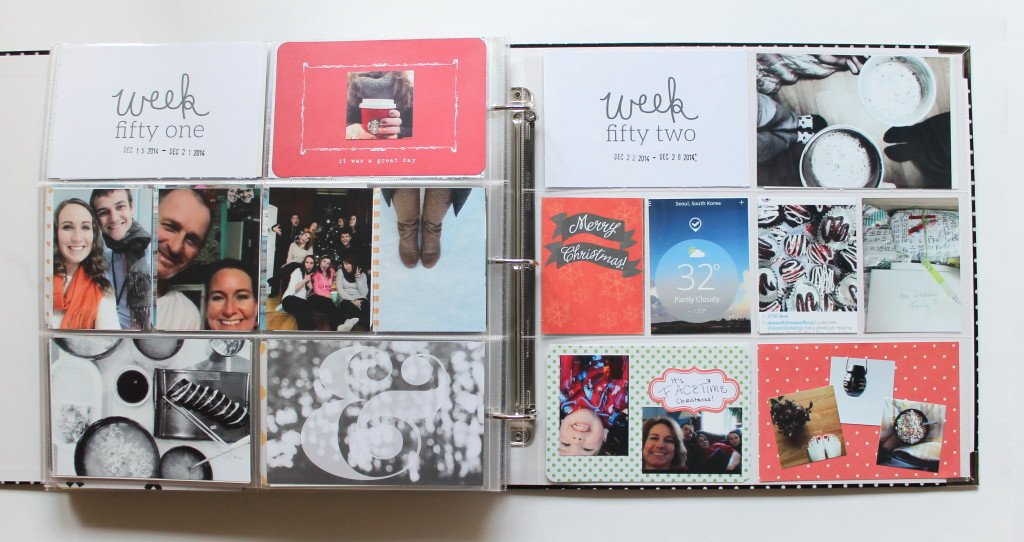
5. Print your photos. This and the previous step is by far the part that took the longest. My selphy is a little miracle machine, but goodness gracious that thing prints SLOOOOOOOOOW. Like 2 minutes per photo (I timed it!). But I used that printing time to be sorting the photos, choosing more, etc.5. Create your pages! Once I had all the photos printed, sorted and slipped (randomly) into their weeks pockets I began the fun part! I started at the beginning and completed the spread. The three things I focused on were: stamping the date, filling all the pockets, writing any NECESSARY stories + titles. As you can see in most spreads there are only photos and cards and, in many spreads, just photos. I relied heavily on my photos to tell the story and tried to choose as many as I could so that the spreads would be overly photo heavy. I relied heavily on my thickers here to add titles to pages. That was the most effective way to make things pretty and embellished and get the main journaling points across that was time effective. I had some memorabilia, but unless it was like a child's birth certificate or just happened to fit easily, these things were tossed out or stuck in an envelope in the back.6. Power through. Dont stop. Remember simple = finished. FINISH! Youre so close!7. Youre finished!! Slam down your album. Yell! Cuss! Dance around like a fool! Fist Pump! Scream at your spouse that YOU FREAKING DID IT!Here are the rest of my pages that I finished over this major catch up session! You can see the whole album in one quick video here.
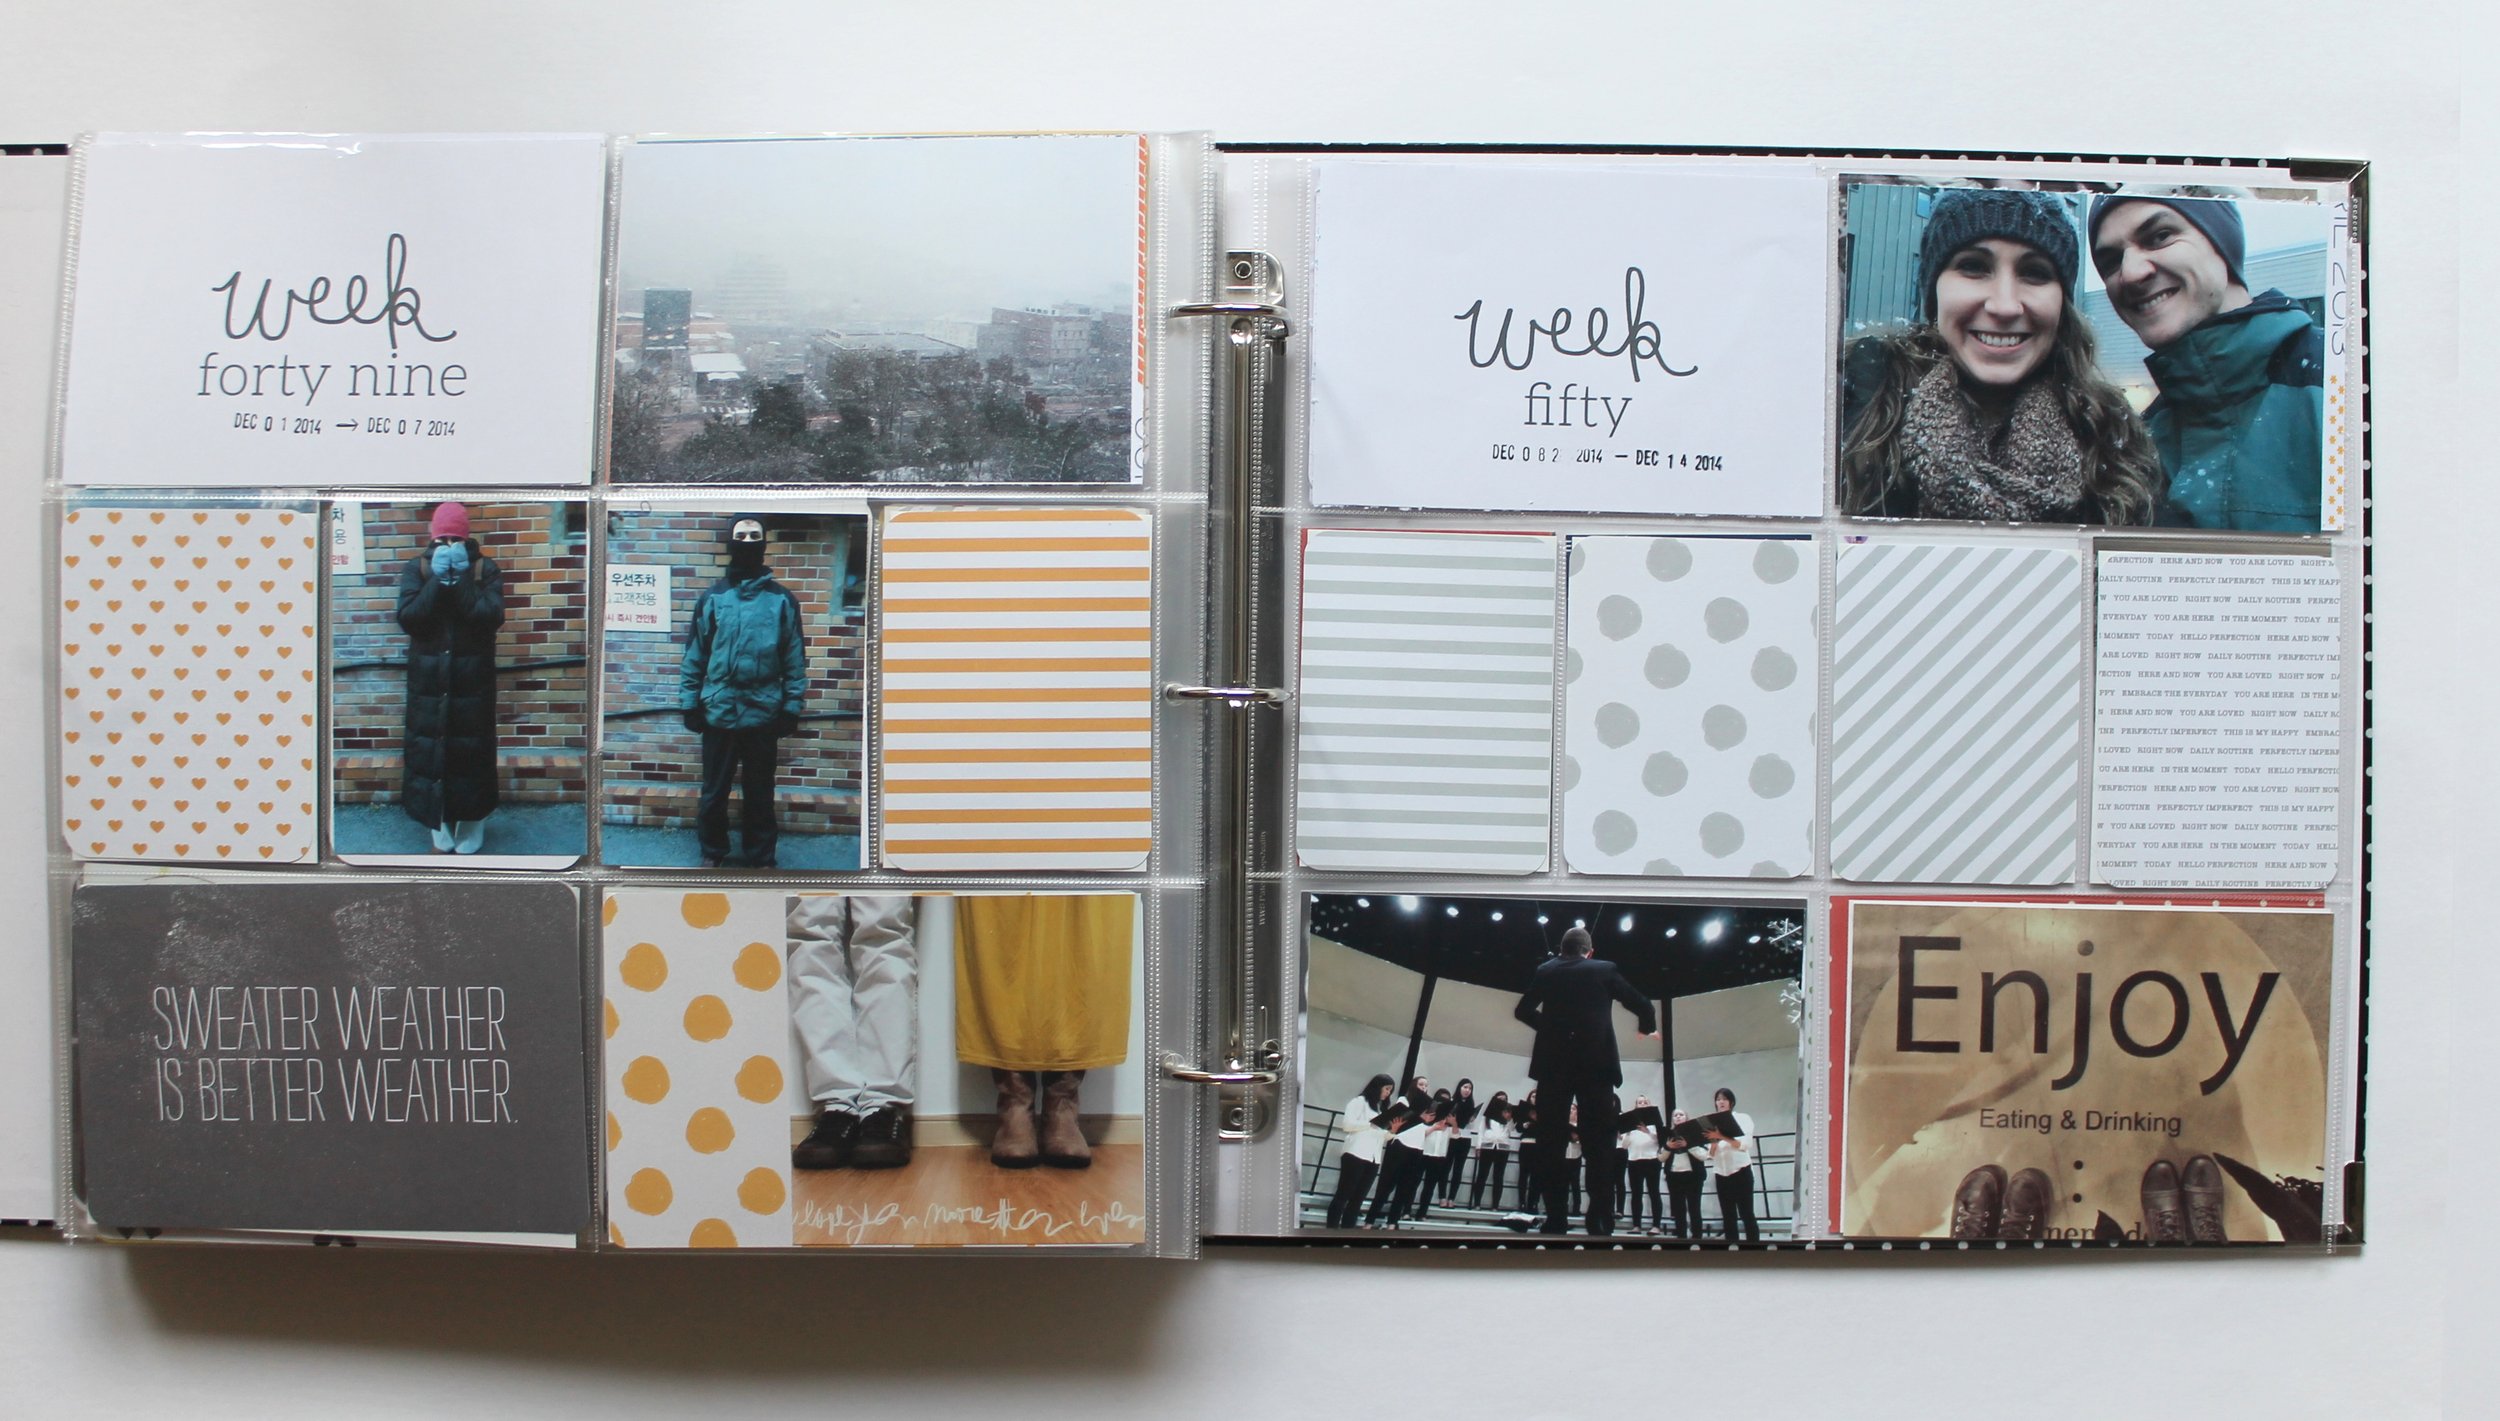


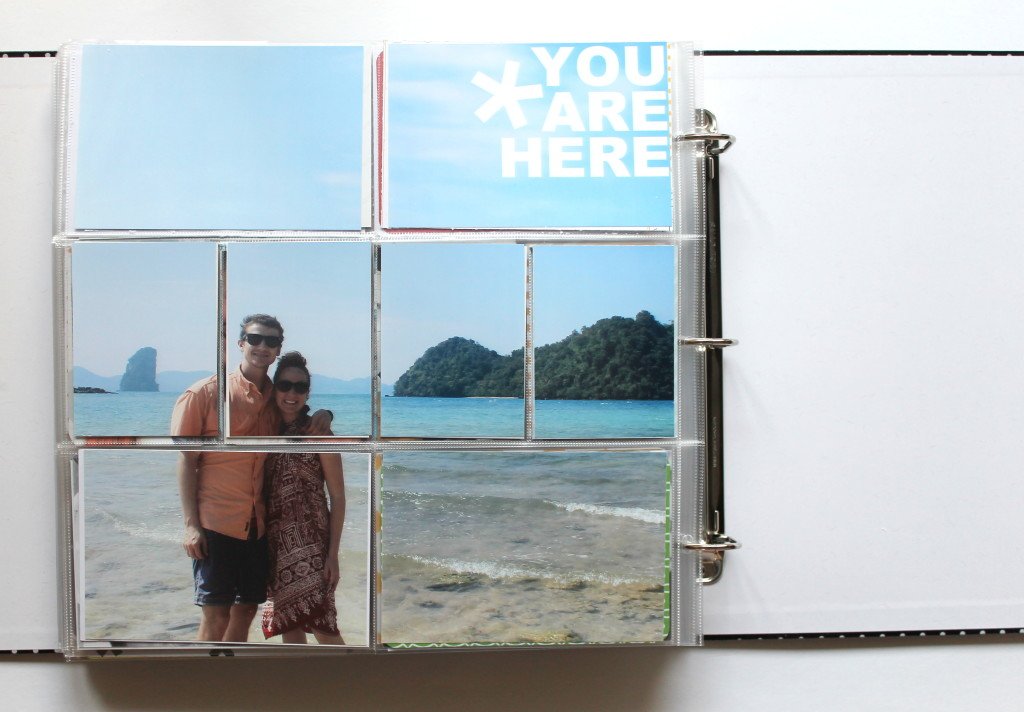
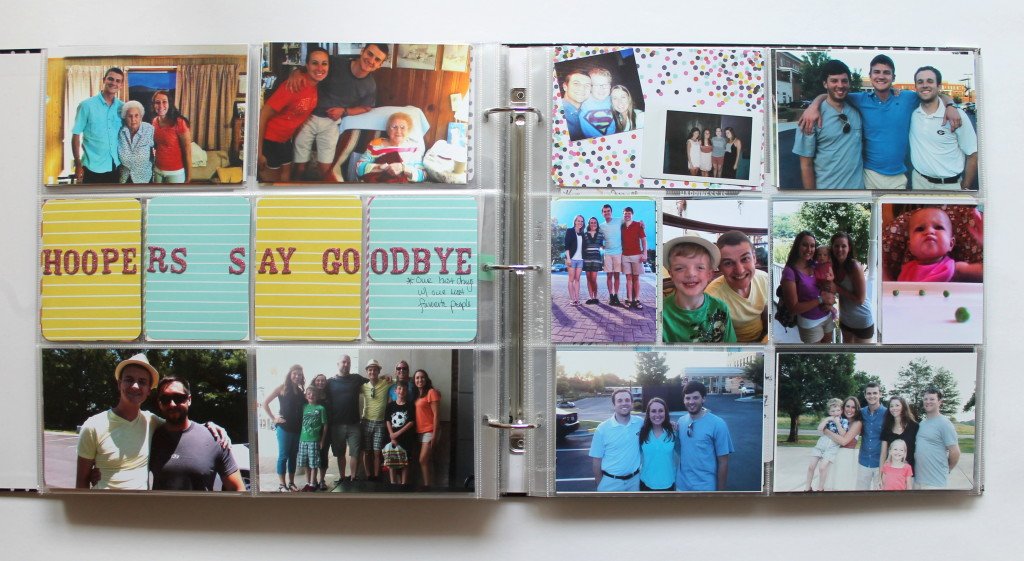
This is my closing page. I love it! But its not what I had imagined doing. I was going to use this to represent how we spent the end of the year in Thailand, but when I put the book together and this was the end I decided to be ok with it. Instead of creating 2 end pages I just went with it. Maybe I wont be able to sleep at night because of it and will add an official ending page, but for now, this is it.
Products frequently used: PL Core Kits: Midnight, Seafoam, Sunshine, Kraft, Flea Market. We R Memory Keepers cards. We R Memory Keepers Die Cuts. Liz’s Paislee Press digital cards. Studio Calico wood veneers. RuKristens Currently Cards.
*Project Life is a memory-keeping system created by Becky Higgins

