
DIY Abstract Painting
 I've been wanting to paint an abstract for a while now after being inspired by these (here, here and here). I honestly had no idea what I was doing and just hoped for the best. From the tutorials I read online and my general observation skills, I concluded that slow, small layers were the key for this to be successful. I am a 'get it done really quick' kind of project gal, so I set a goal for myself to take a photo in between each layer to allow myself to slow down. The initial plan was to only paint one color a day, but once I was in the zone, there was no stopping me. I'm so stoked about how this turned out and have so many ideas of others I want to do!
  Supplies:
- Blank canvas: size and brand of your choice
- Brushes: I used one large for the background and one small for the rest to have as much control as possible
- Paint: I used acrylic paint and chose 3 colors + white
- Water
- Credit card or other supplies to spread paint to create different effects
 1. I started with a blank canvas, chose my base color and spread it on unevenly. Every few strokes I added a little water to thin out the paint and to allow the brush strokes to be more obvious.2. I chose the darkest color and made color blocks. I experimented a little here, the top blocks are made by swiping a credit card down through a blob of paint and the bottom ones are with a brush and have some water added. 3. I added a thin layer of white on top of the dark blue to give it some contrast. This is when I decided to use up and down strokes only as I didnt like the change in direction of the bottom left color block.4. I mixed the same blue + white and made a new layer. I added some random marking and played around with different levels of paint to create more strong brushstrokes.
  5. I added the yellow color in here as an accent. I painted around the larger blocks of color to create an outline or edging effect.6. I didnt love the color that the yellow made on top of the pink, so I mixed the white and yellow and did more of the edging technique and added some highlights in.7. To finish I went in with all the colors once more and added more spots, edging and highlights where I felt like it was needed.
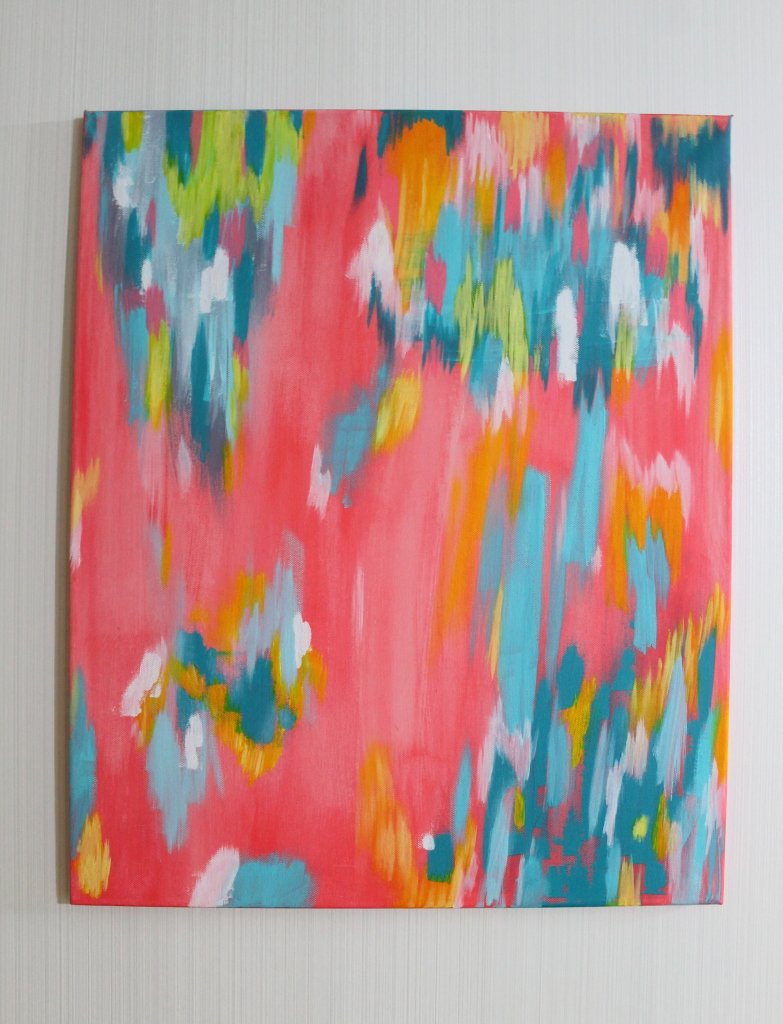 8. I decided there was a lot going on on the canvas already, but didnt feel like it was finished, so I knew I needed to force myself to stop and let it sit. I hung it on the wall and looked at it for a day or so and finally realized I was looking at it upside down the whole time!
 This was such a fun, new project. Limiting my colors to 3 plus white was the best choice. Knowing when to stop is the hardest part, but I'm so glad that I attempted this and I feel that there are many more abstracts in my future....