DIY Geometric Wall Display

 At the beginning of the year we knew we would be moving and I had my eye on this project from the start so it only makes sense that it was the first project I tackled after we got our new wallpaper this week. I pretty much followed their tutorial step by step and it was so easy and fun! This project took less than an hour to complete and I had all supplies on hand. The supplies can easily be swapped out for whatever is in your office at the time. Supplies used:
- Sketching supplies: paper, pencil, sharpie (to accentuate the nail holes)
- string/rope/cord, etc
- hammer & nails
- clothespins or clips to hang photos/art
- art/photos
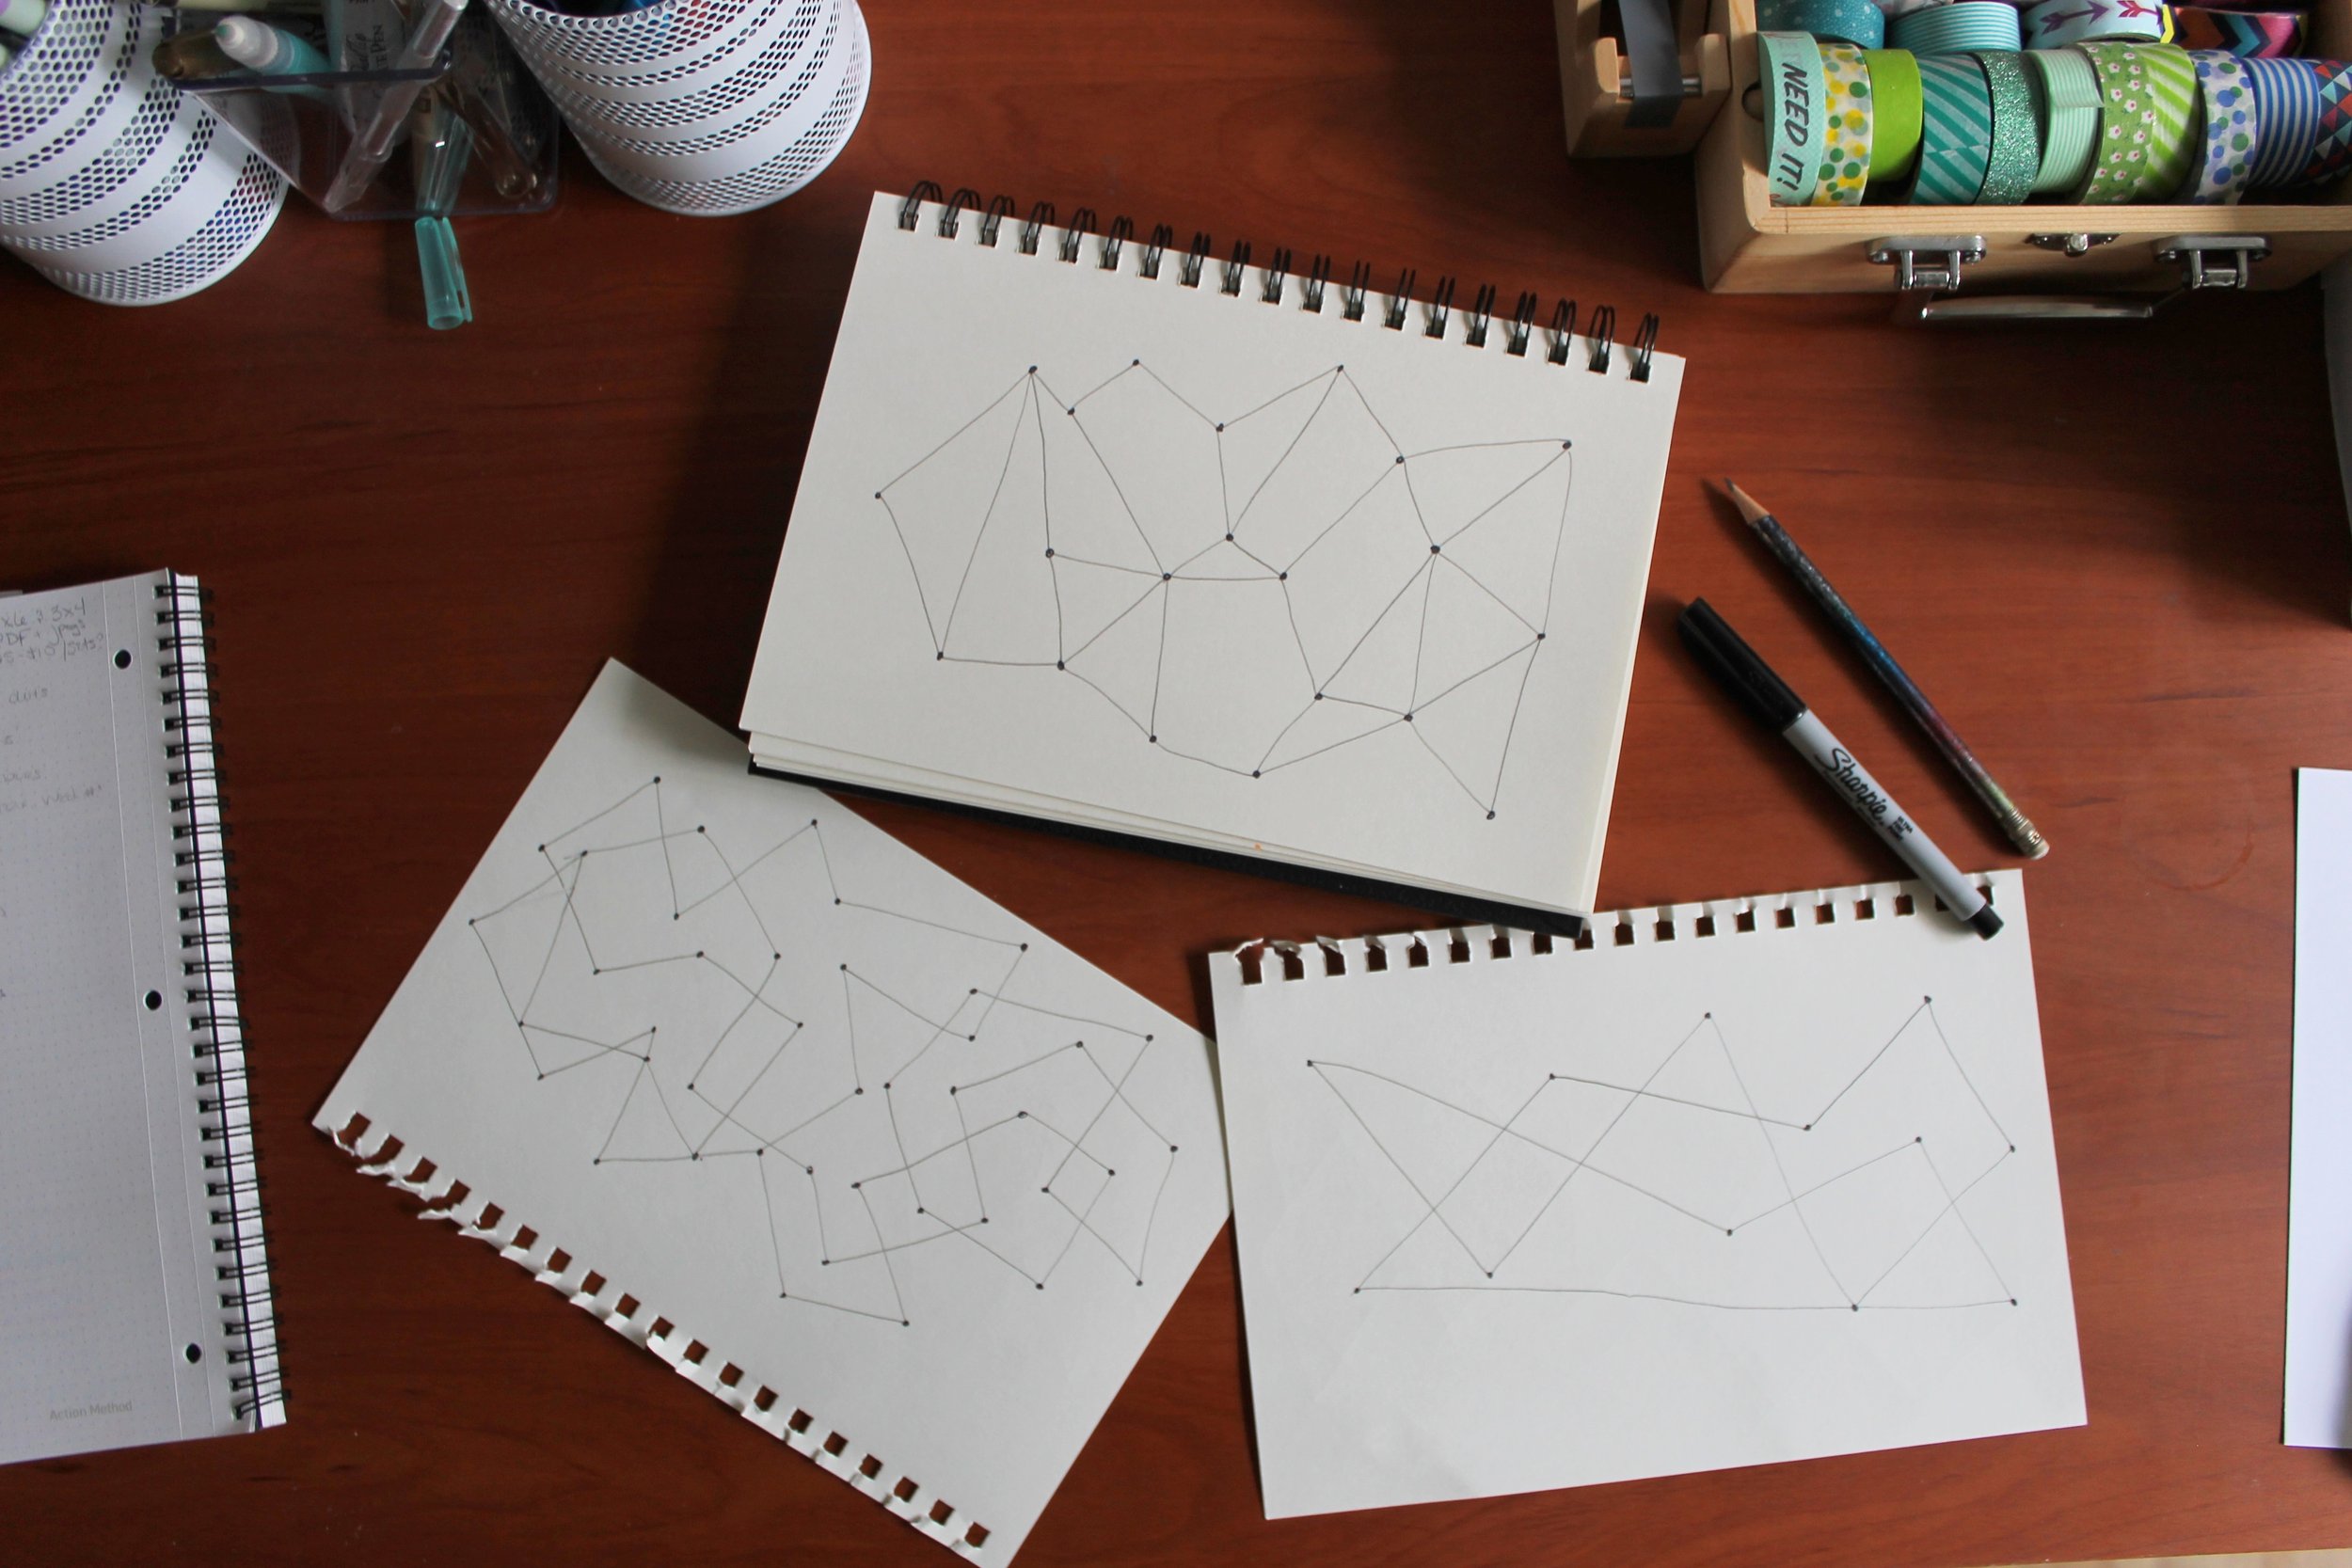
Our walls are a white-ish color with thin dark stripes. So, not the greatest thing I've ever seen, but so much better and white enough to keep me happy and let in lots of light. We also rearranged our room and technically lost a little bit of space but feel like we have somehow gained space and increased functionality a ton. See the before here. To create the display design I made multiple sketches and they either need over 50 nails or when I tried to use less it just didn't make sense. So I used their sketch as a starting point and continued randomly from there and even when I was adding the string I went a little off course and love it even more. 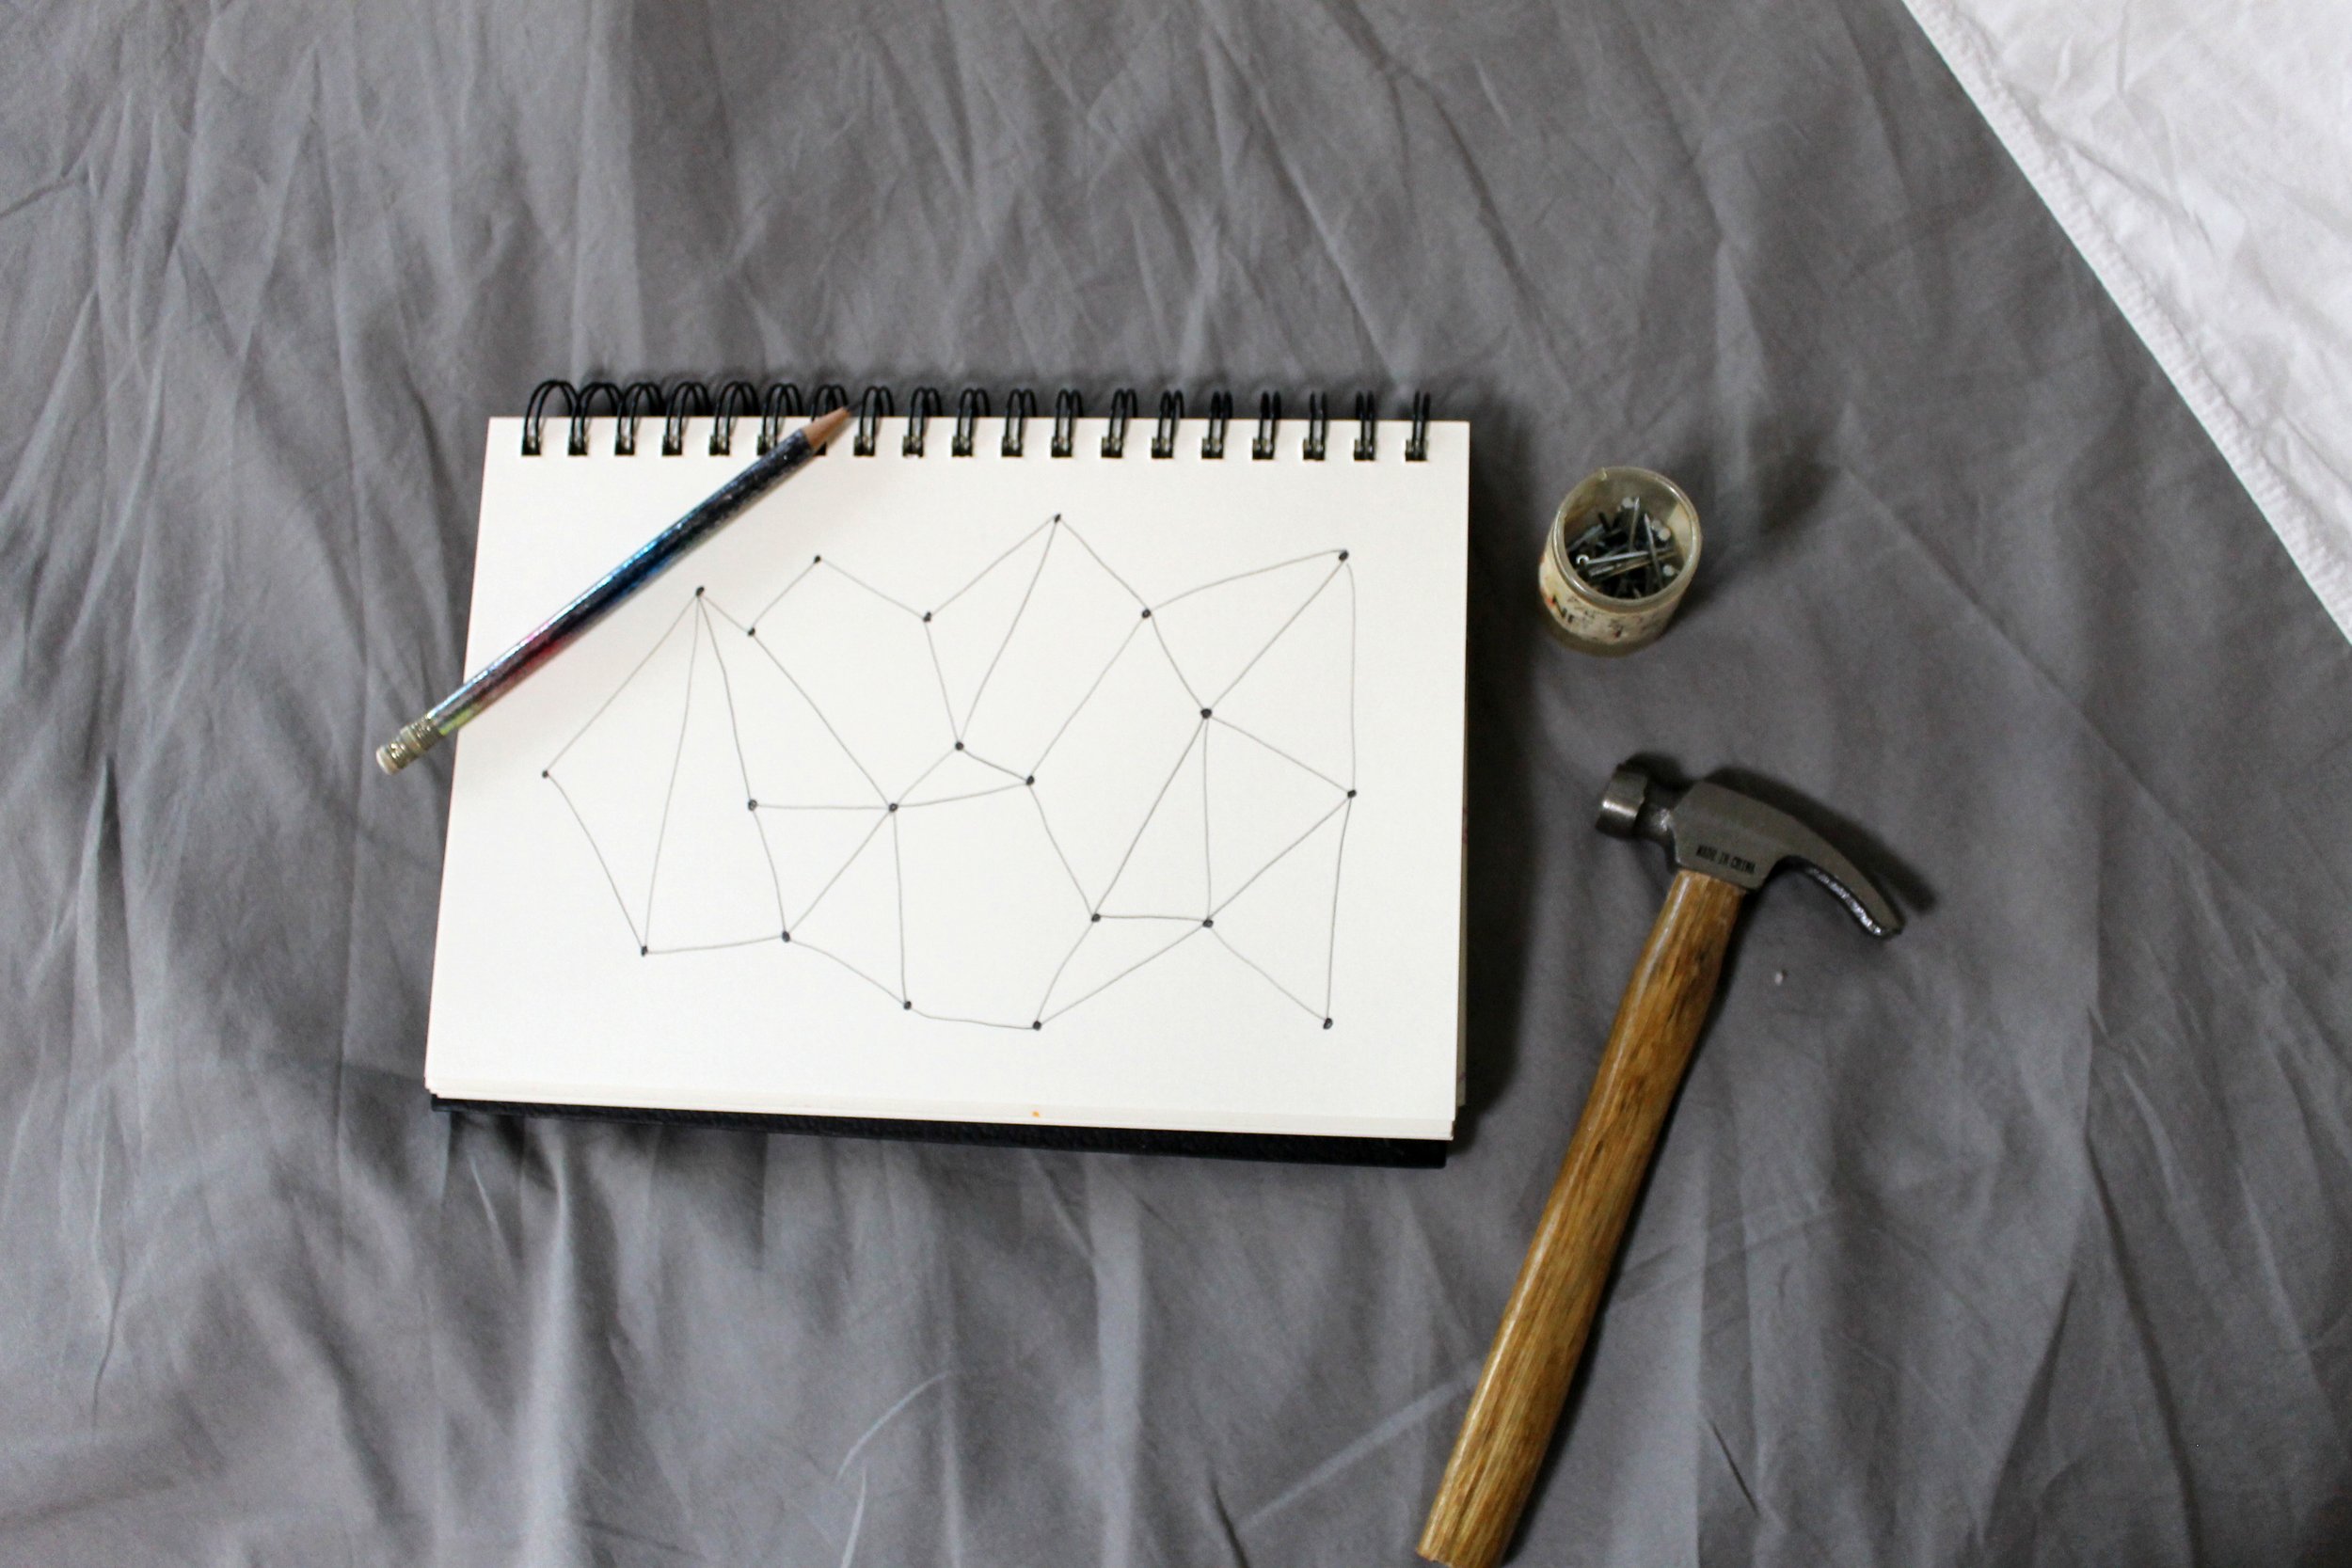 I got started by just eye-balling my sketch and measuring out how wide and tall I wanted the display to be. I did not trace anything or make any marks on the wall, but a pencil sketch could be helpful if you are worried about it being uneven. I think having a carpenter for a dad made me become a human level so I understand not everyone has this geometrical superpower. (seriously I never measure or use any levelling tools when hanging things-Its my spiritual gift)
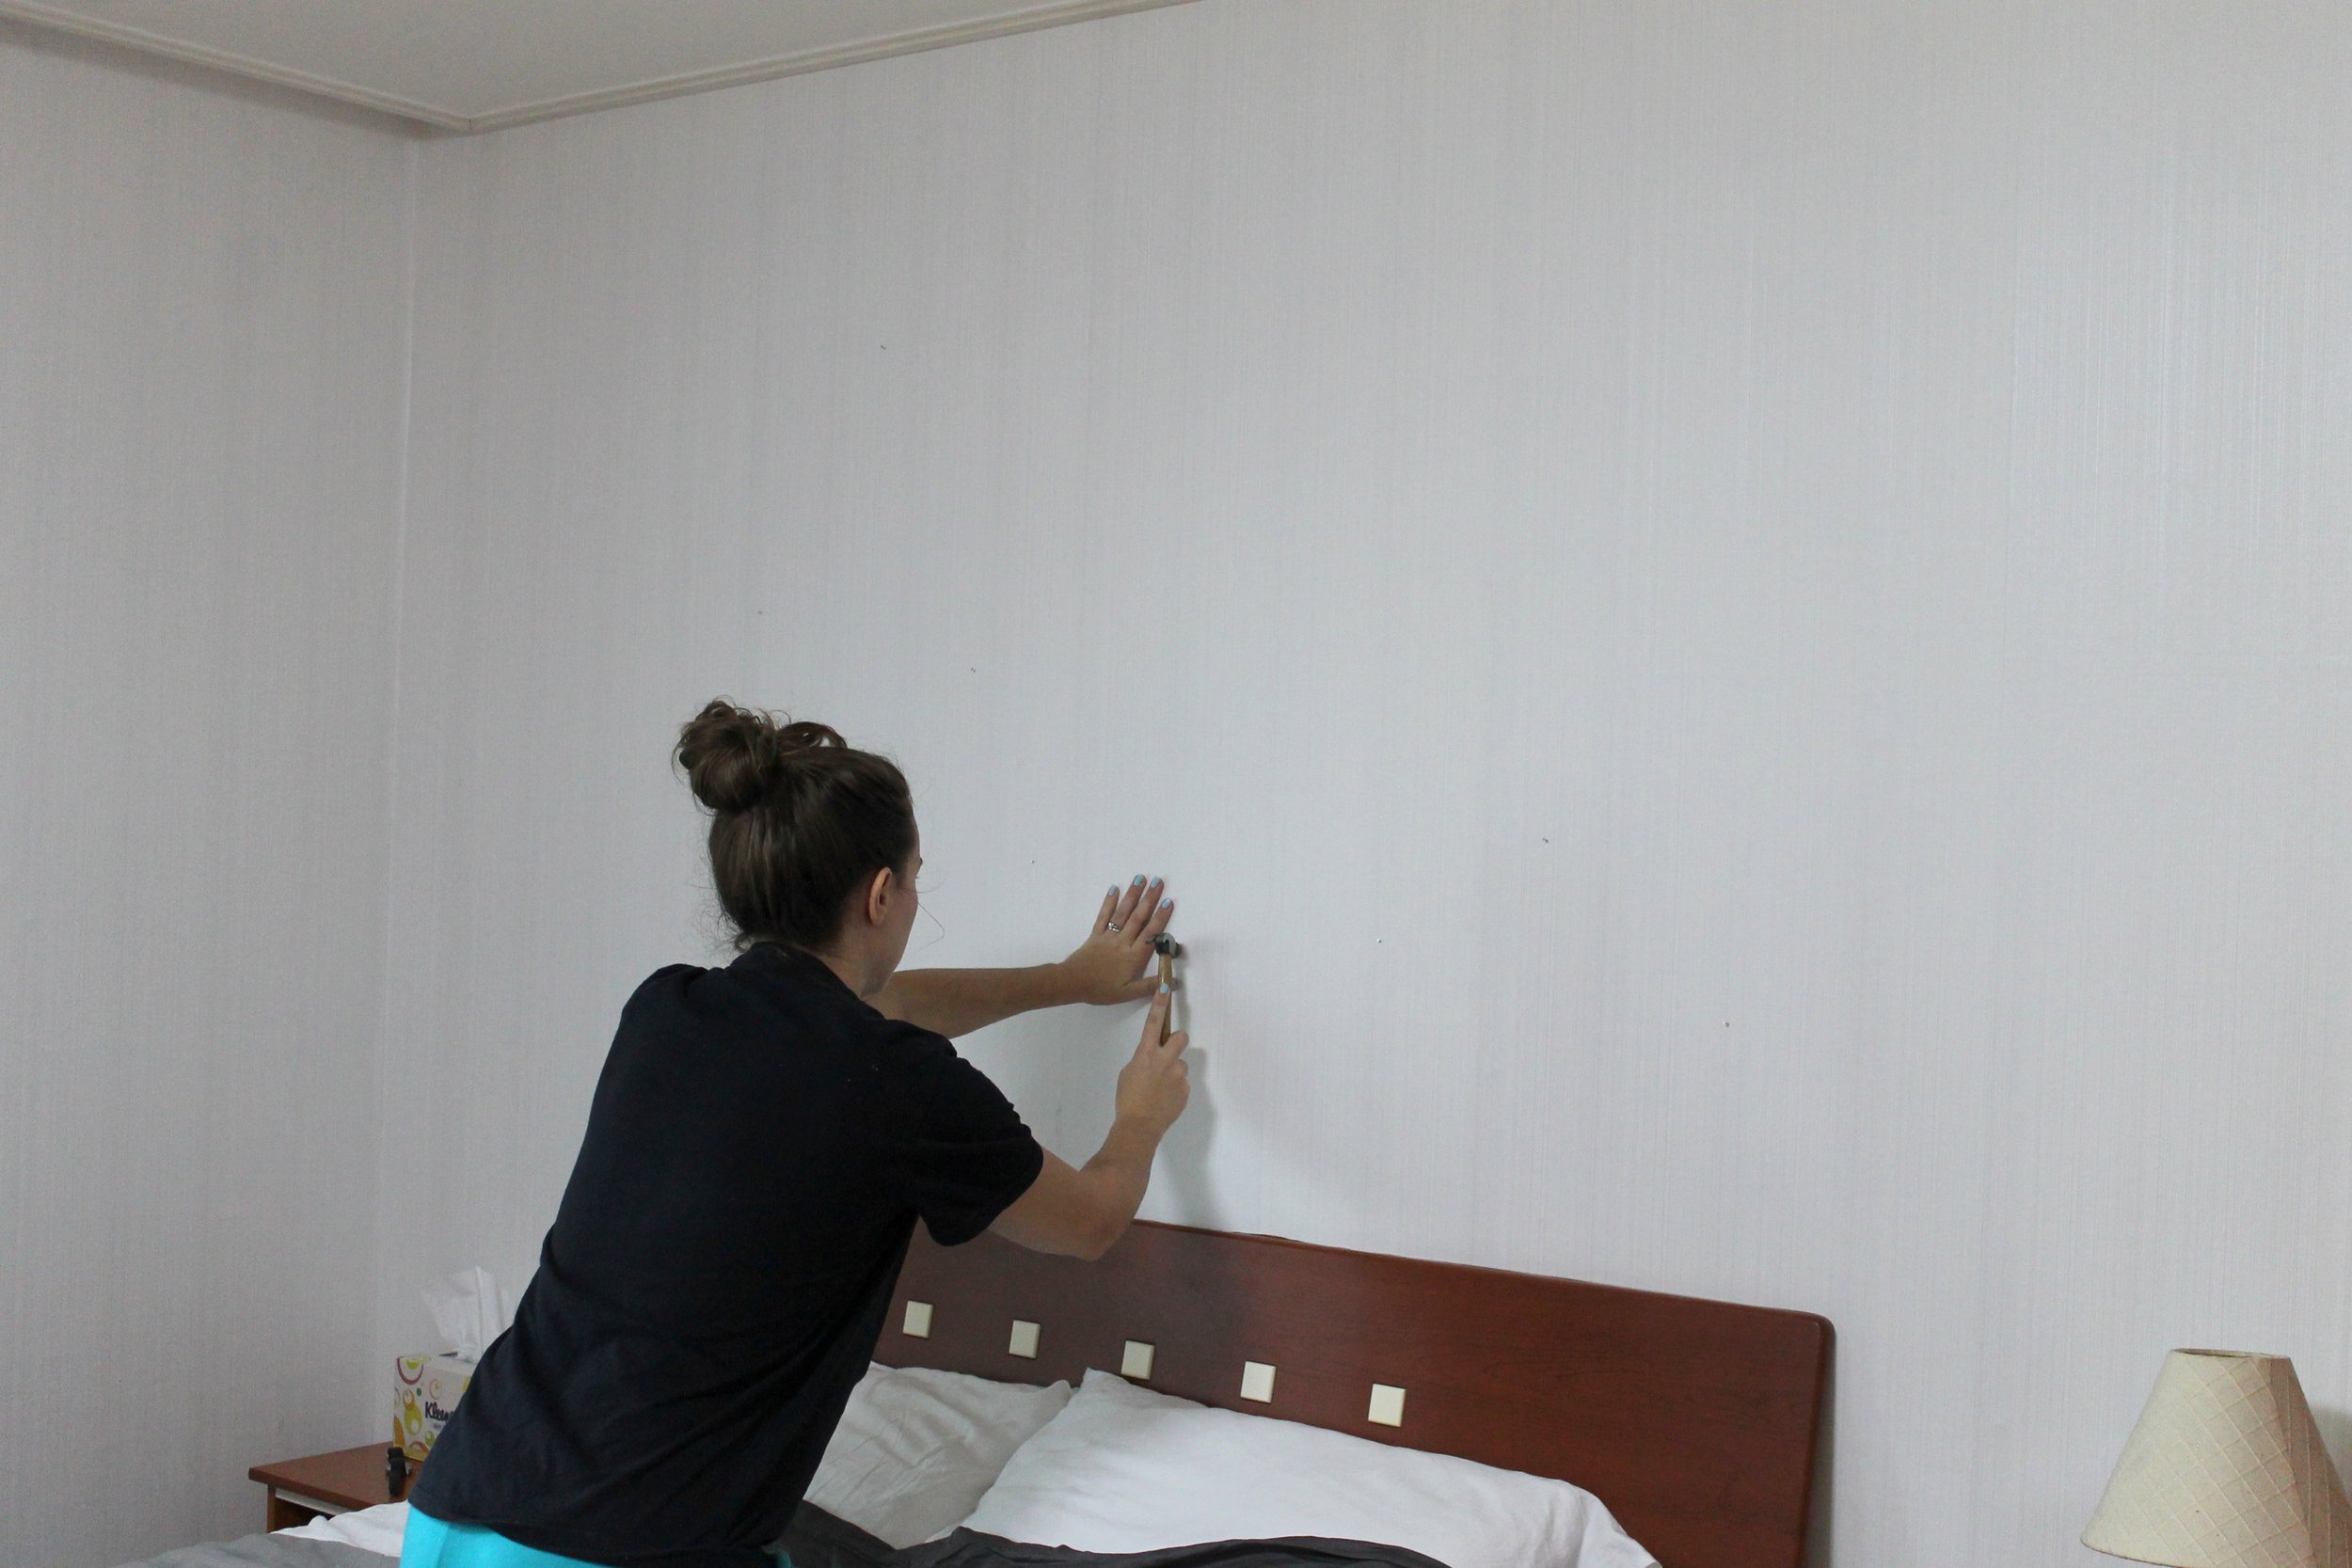
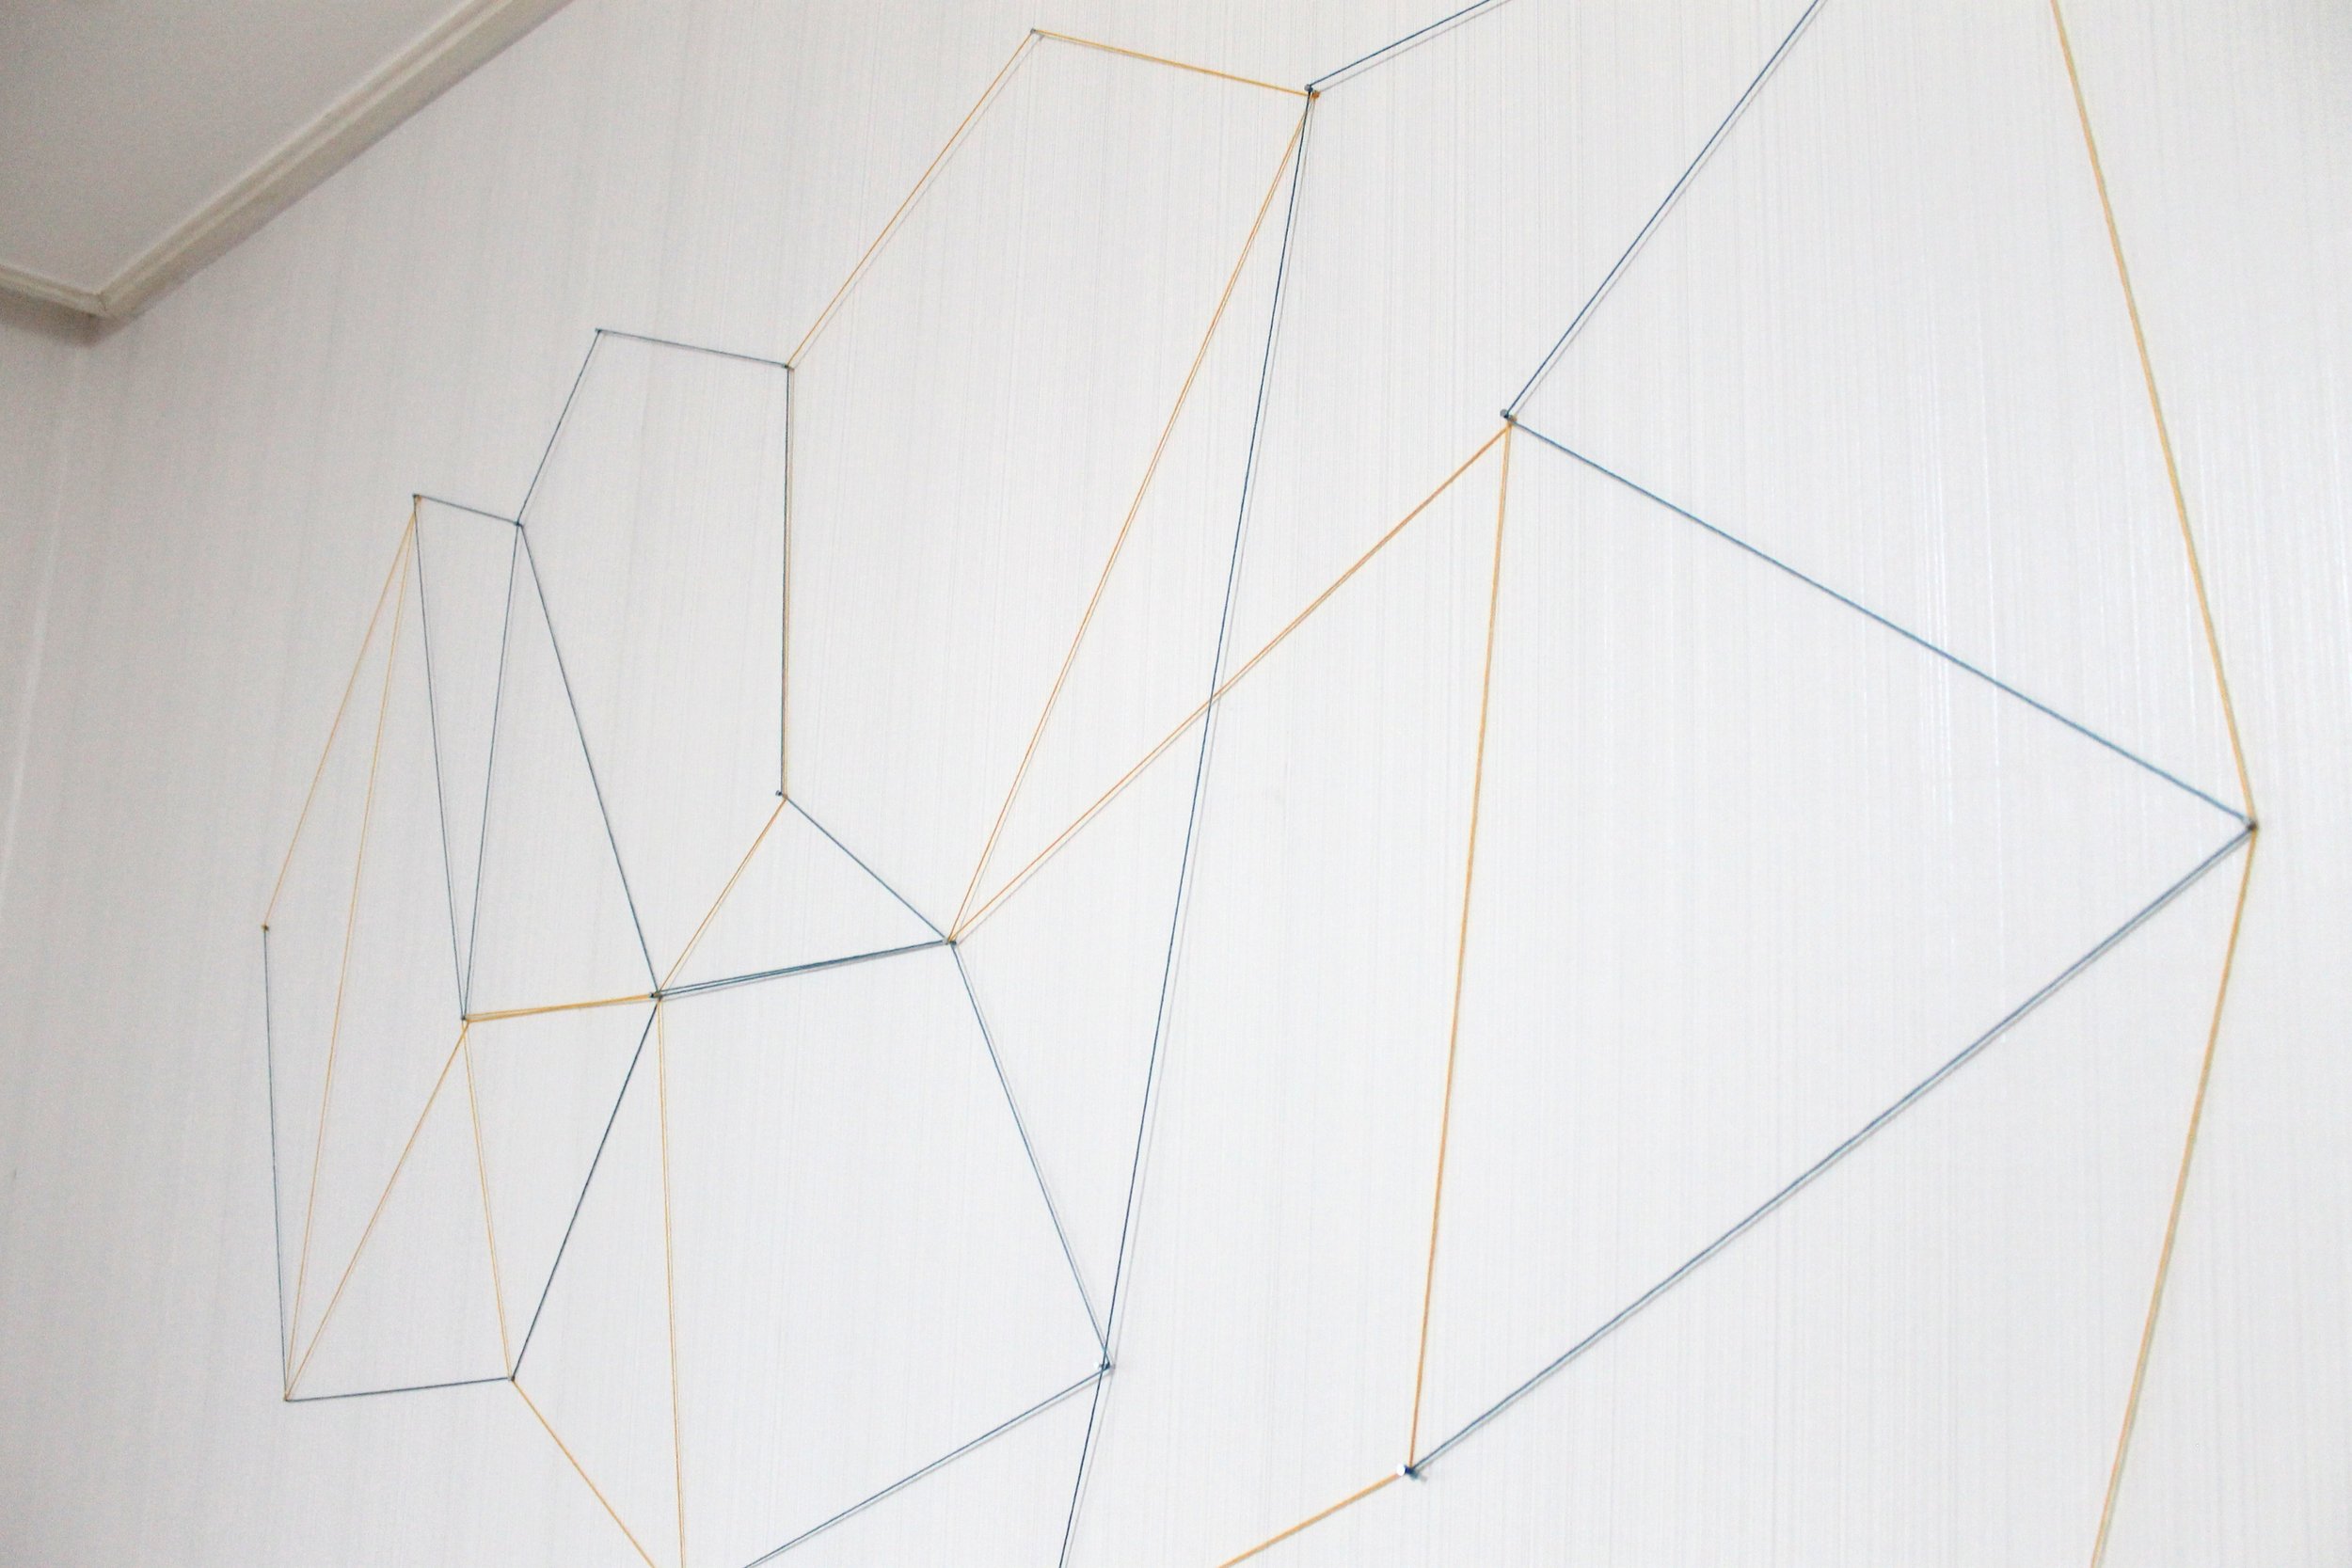
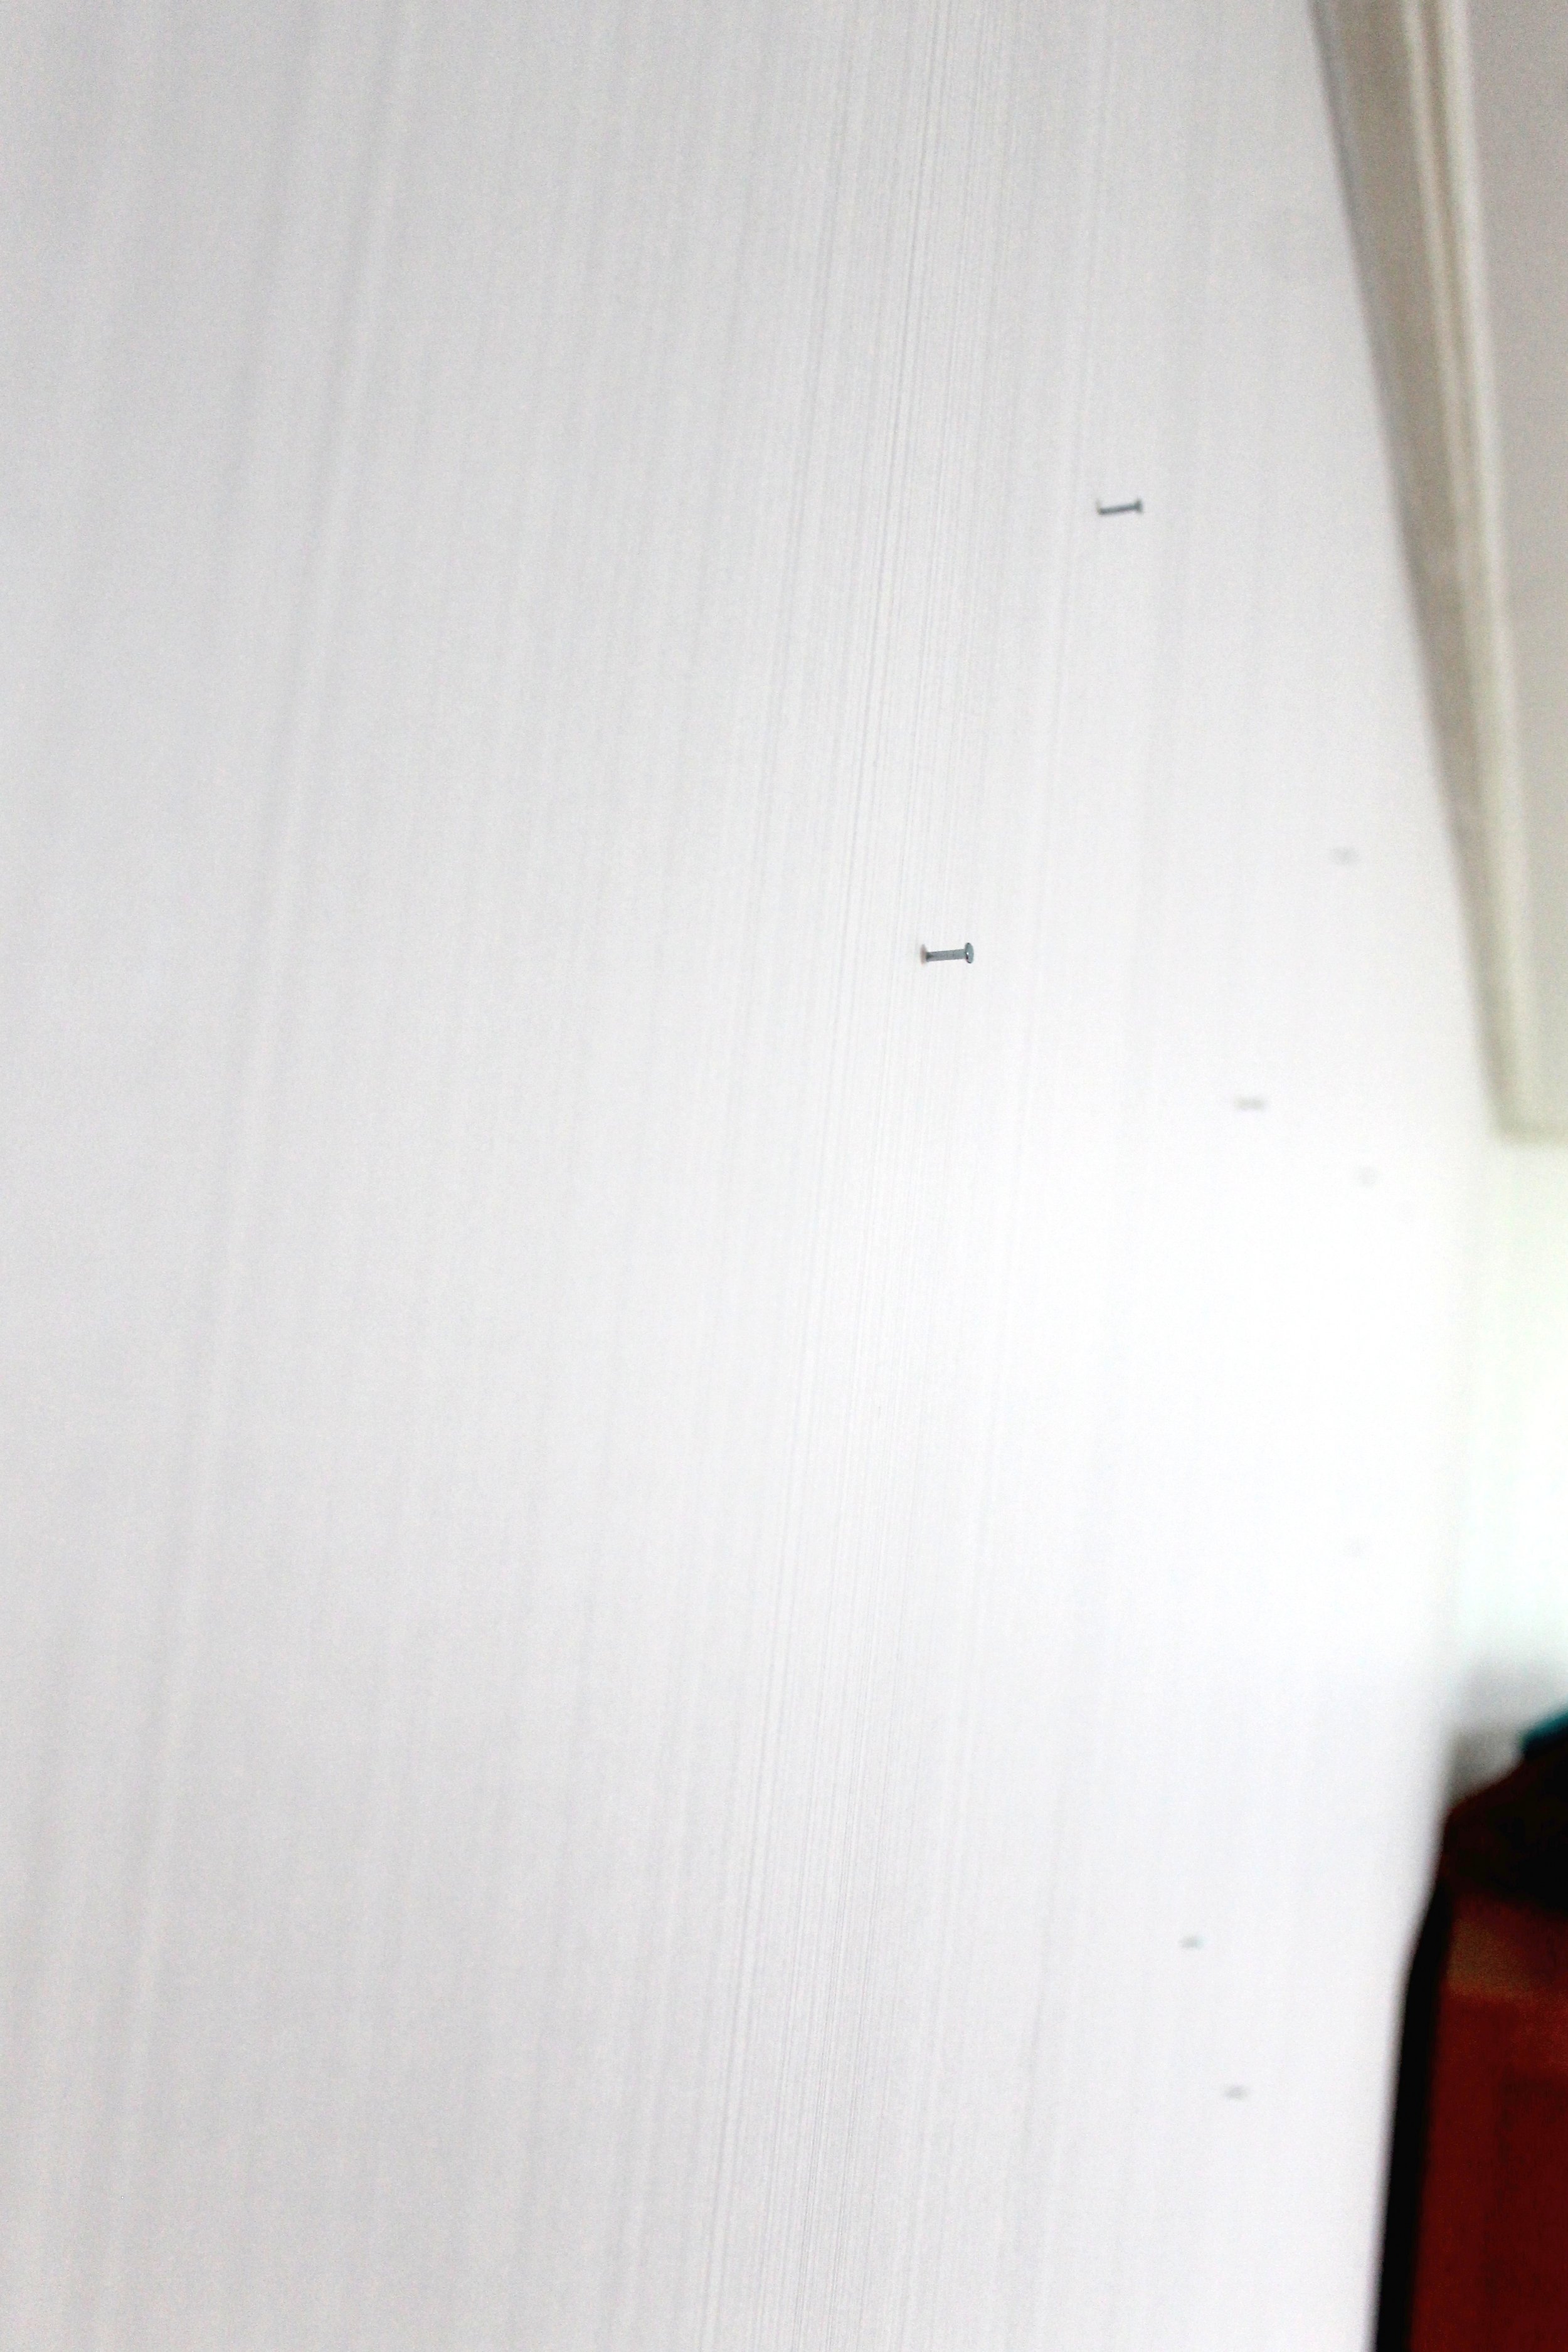 This is my attempt to show you to not nail the nails all the way into the wall. Leave enough space to wrap your strings around, sometimes multiple times.
 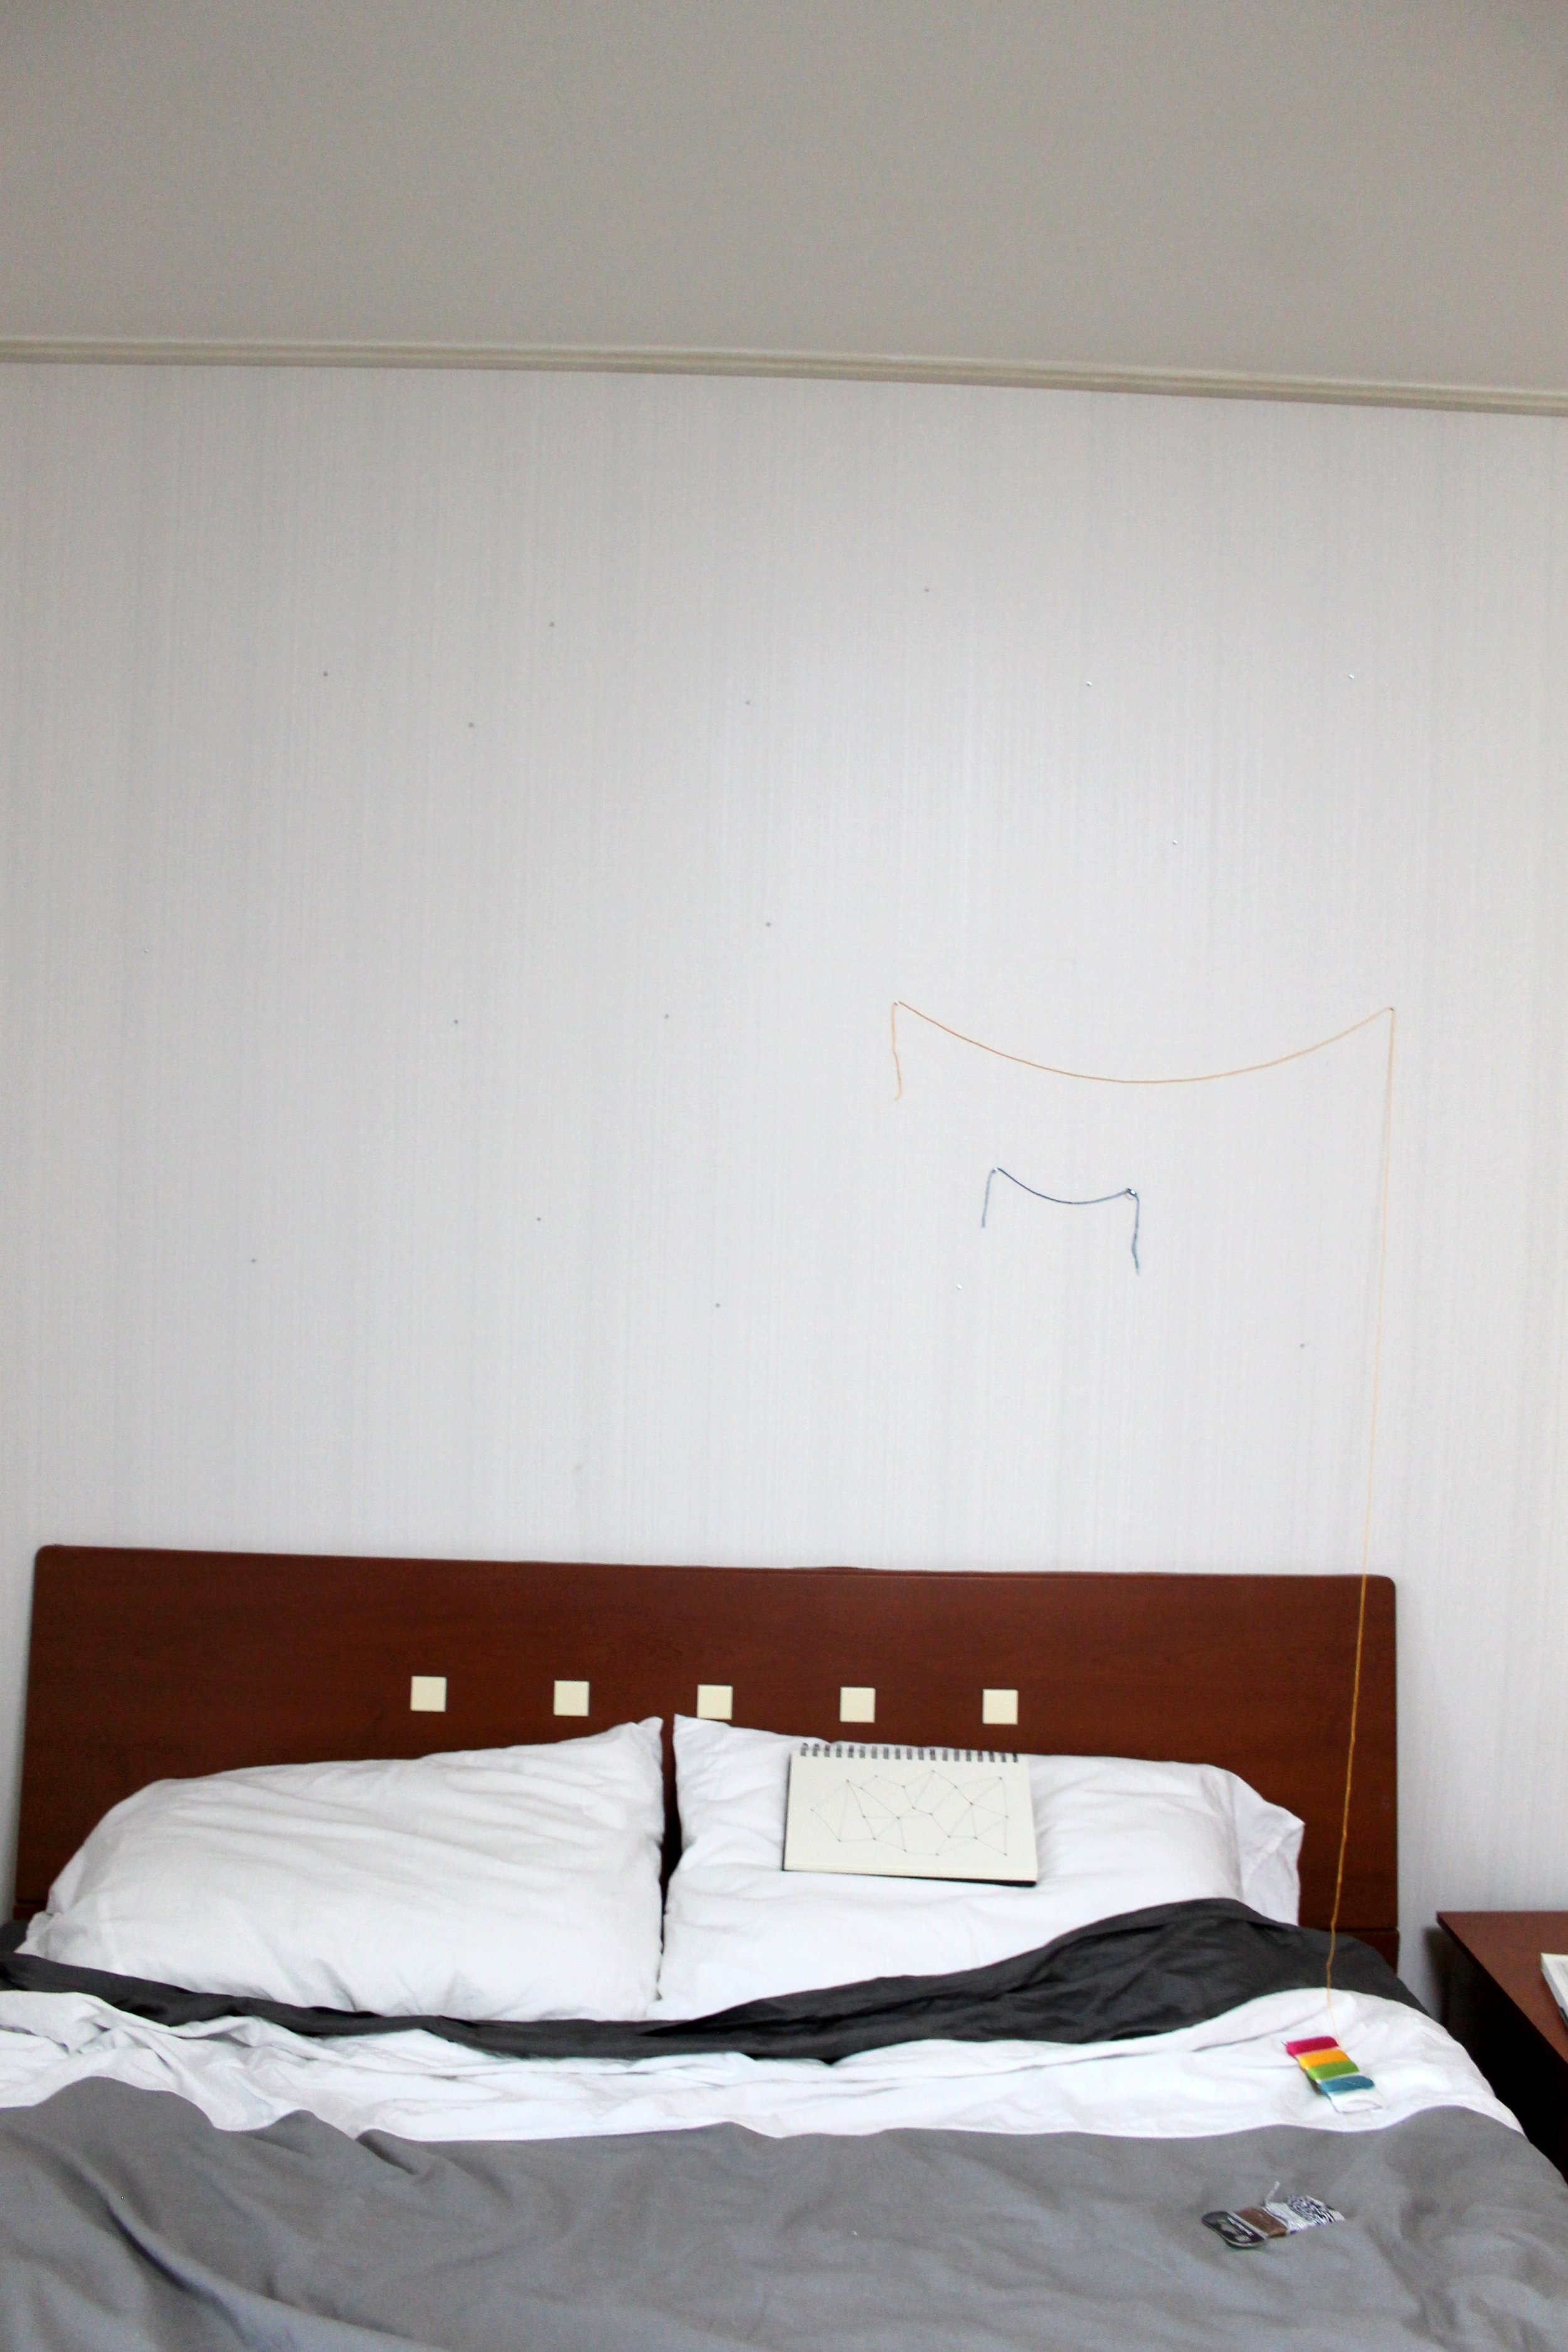 I was testing out colors here and neither of us could decide which color to use, so obviously the answer was BOTH. Our last house was more muted and had a very constricted color palate, so my goal is to branch out and create the Pinterest decor of my dreams.
 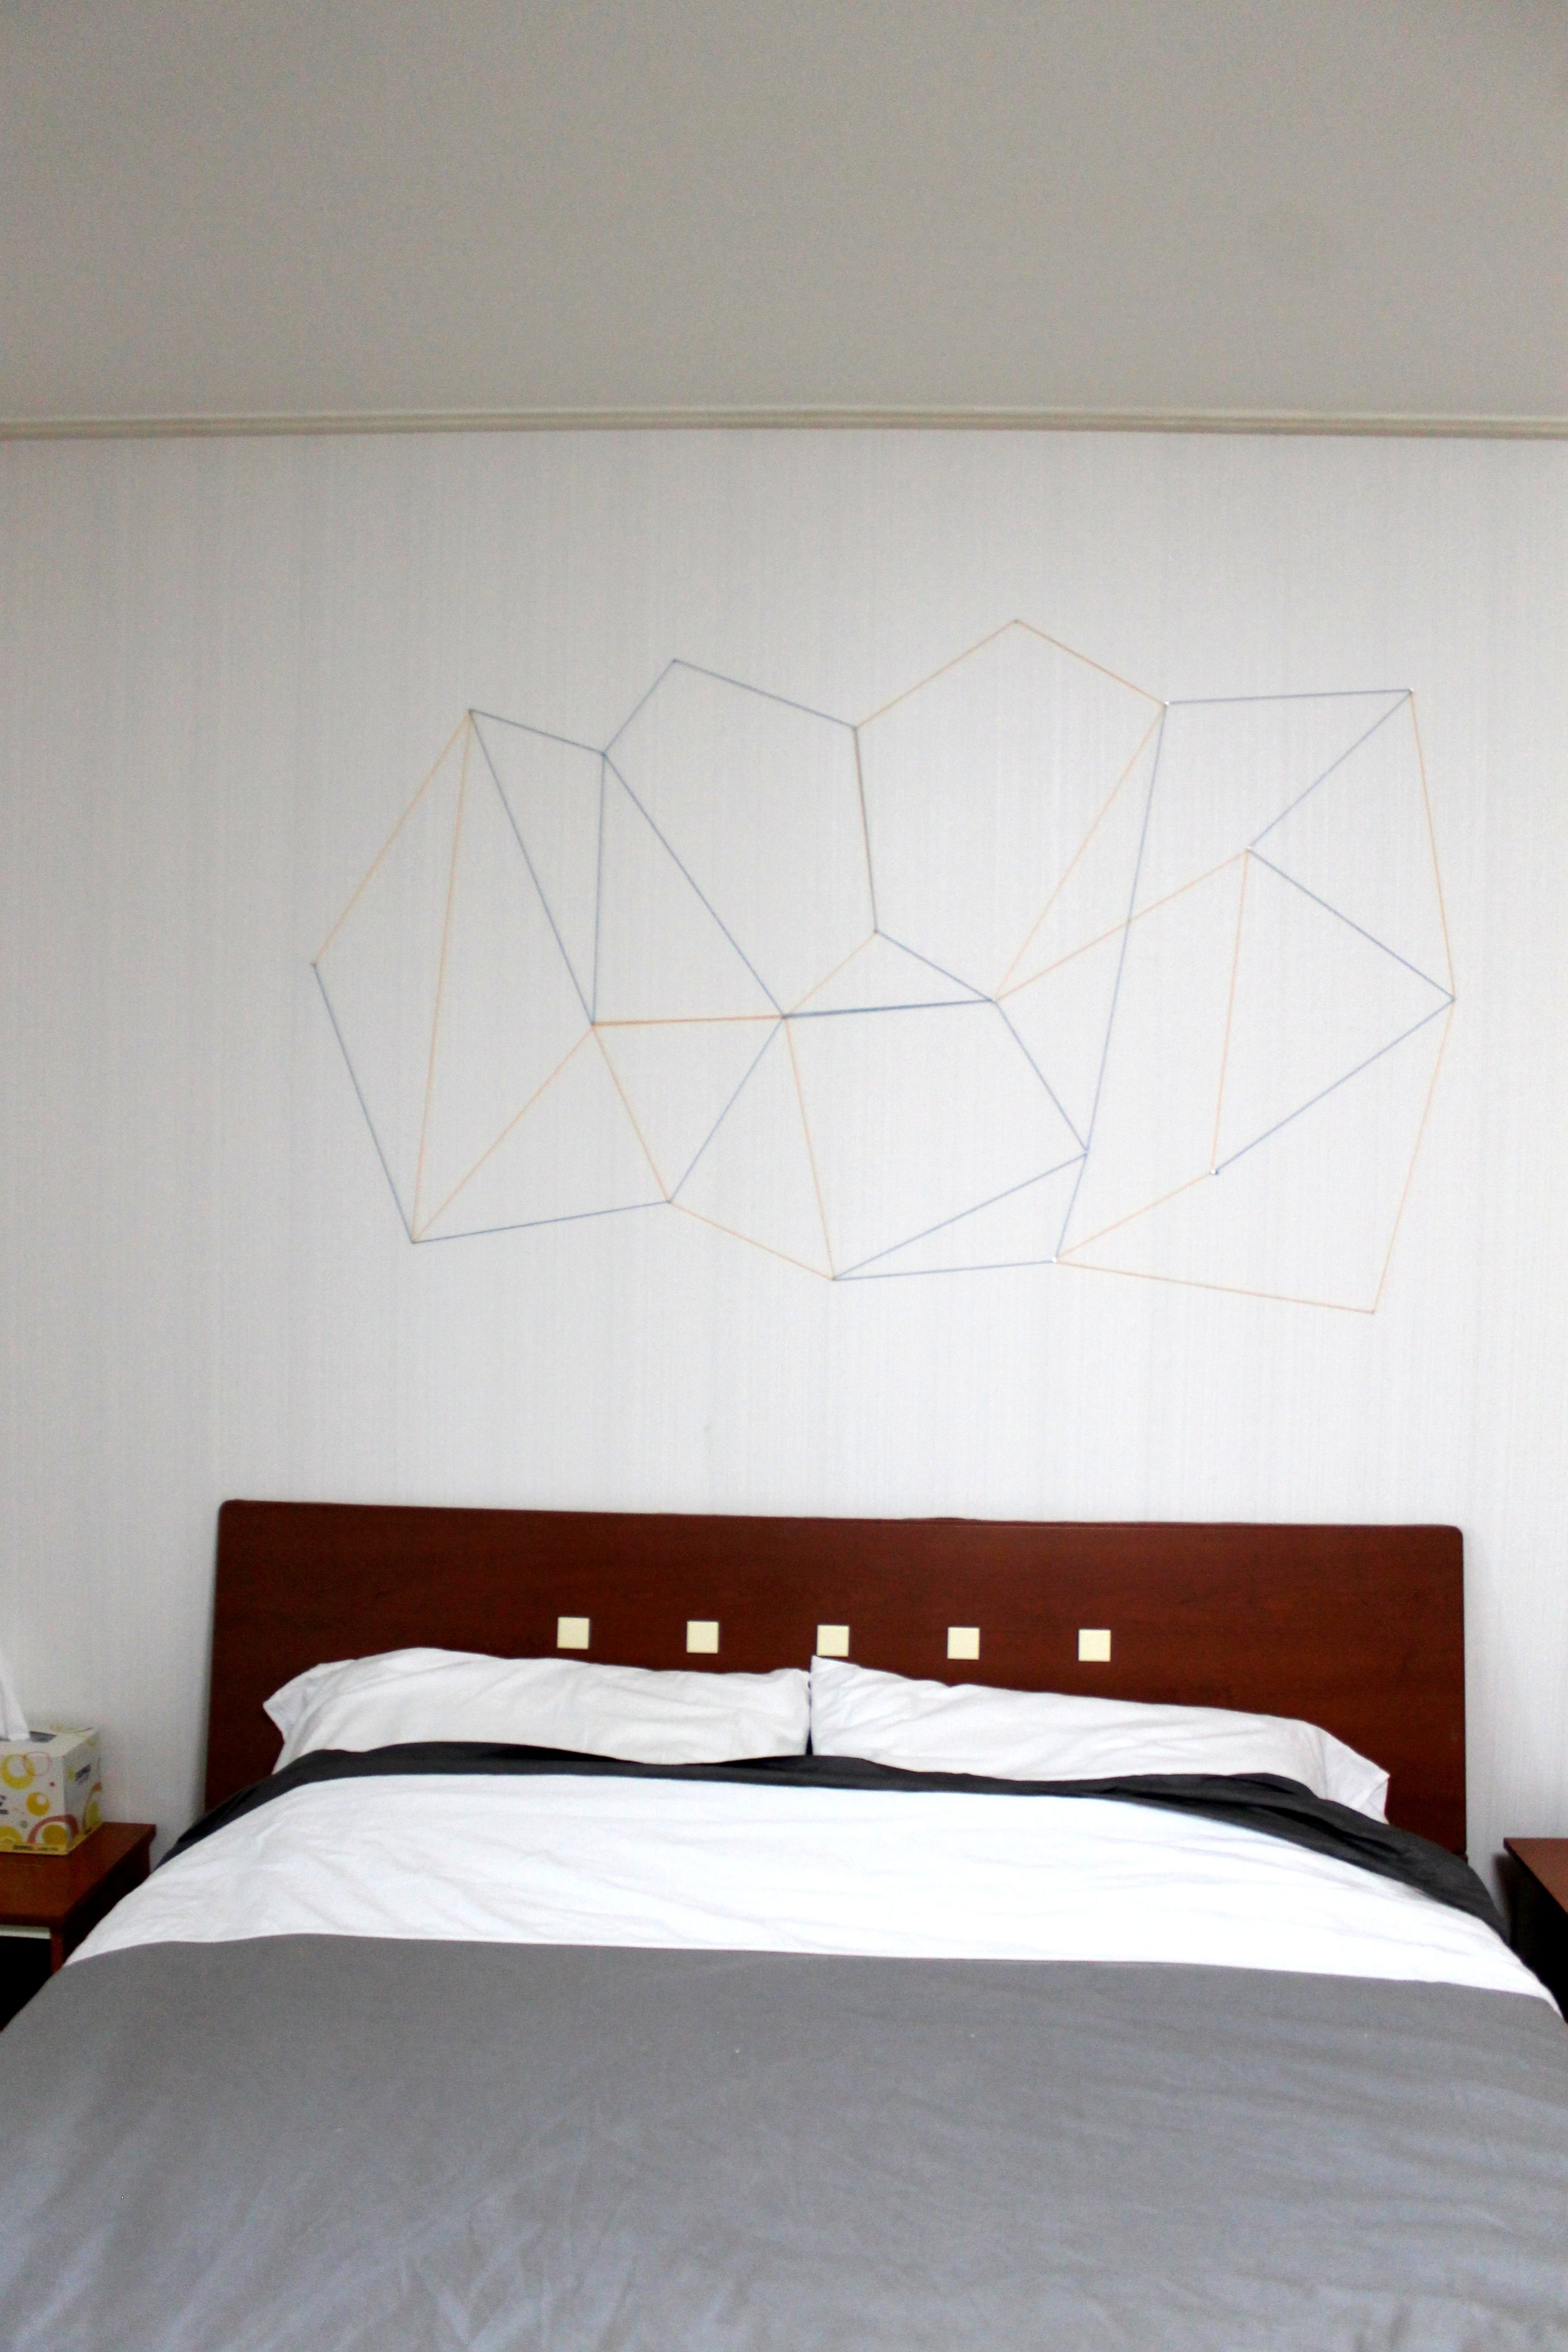 Ok, it was impossible to take photos as I was wrapping the strings. So I apologize, but Ill try to explain. I started on one nail and tide the string in a knot on it to start and began weaving the strings around the next nail attempting to follow the sketched design as best as possible. (again I eyeballed this and didnt preplan the direction to wrap the nails like they had) I had to circle the nails 2 times to get it to hold and had to hold the string really tight as it kept popping off the nails. I tried to make sure the colors were evenly mixed and tried not to back track too much over the same line and only had to mix the colors on one line once. This took some trial and error and backing up sometimes, but I felt it was easier to figure it out by doing (especially with two colors) than try to sketch it out, that would involve too much brain power. To finish I had my faithful DIY helper (the husband) cut the strings for me as the whole thing would have come apart if I had let go. To finish I just knotted both ends of the strings on the last nail and trimmed the edges. Each string is just 1 string, but it would be pretty easy if your strings weren't long enough to add more or if you just are stuck and need to stop there and pick up at another place in the design.
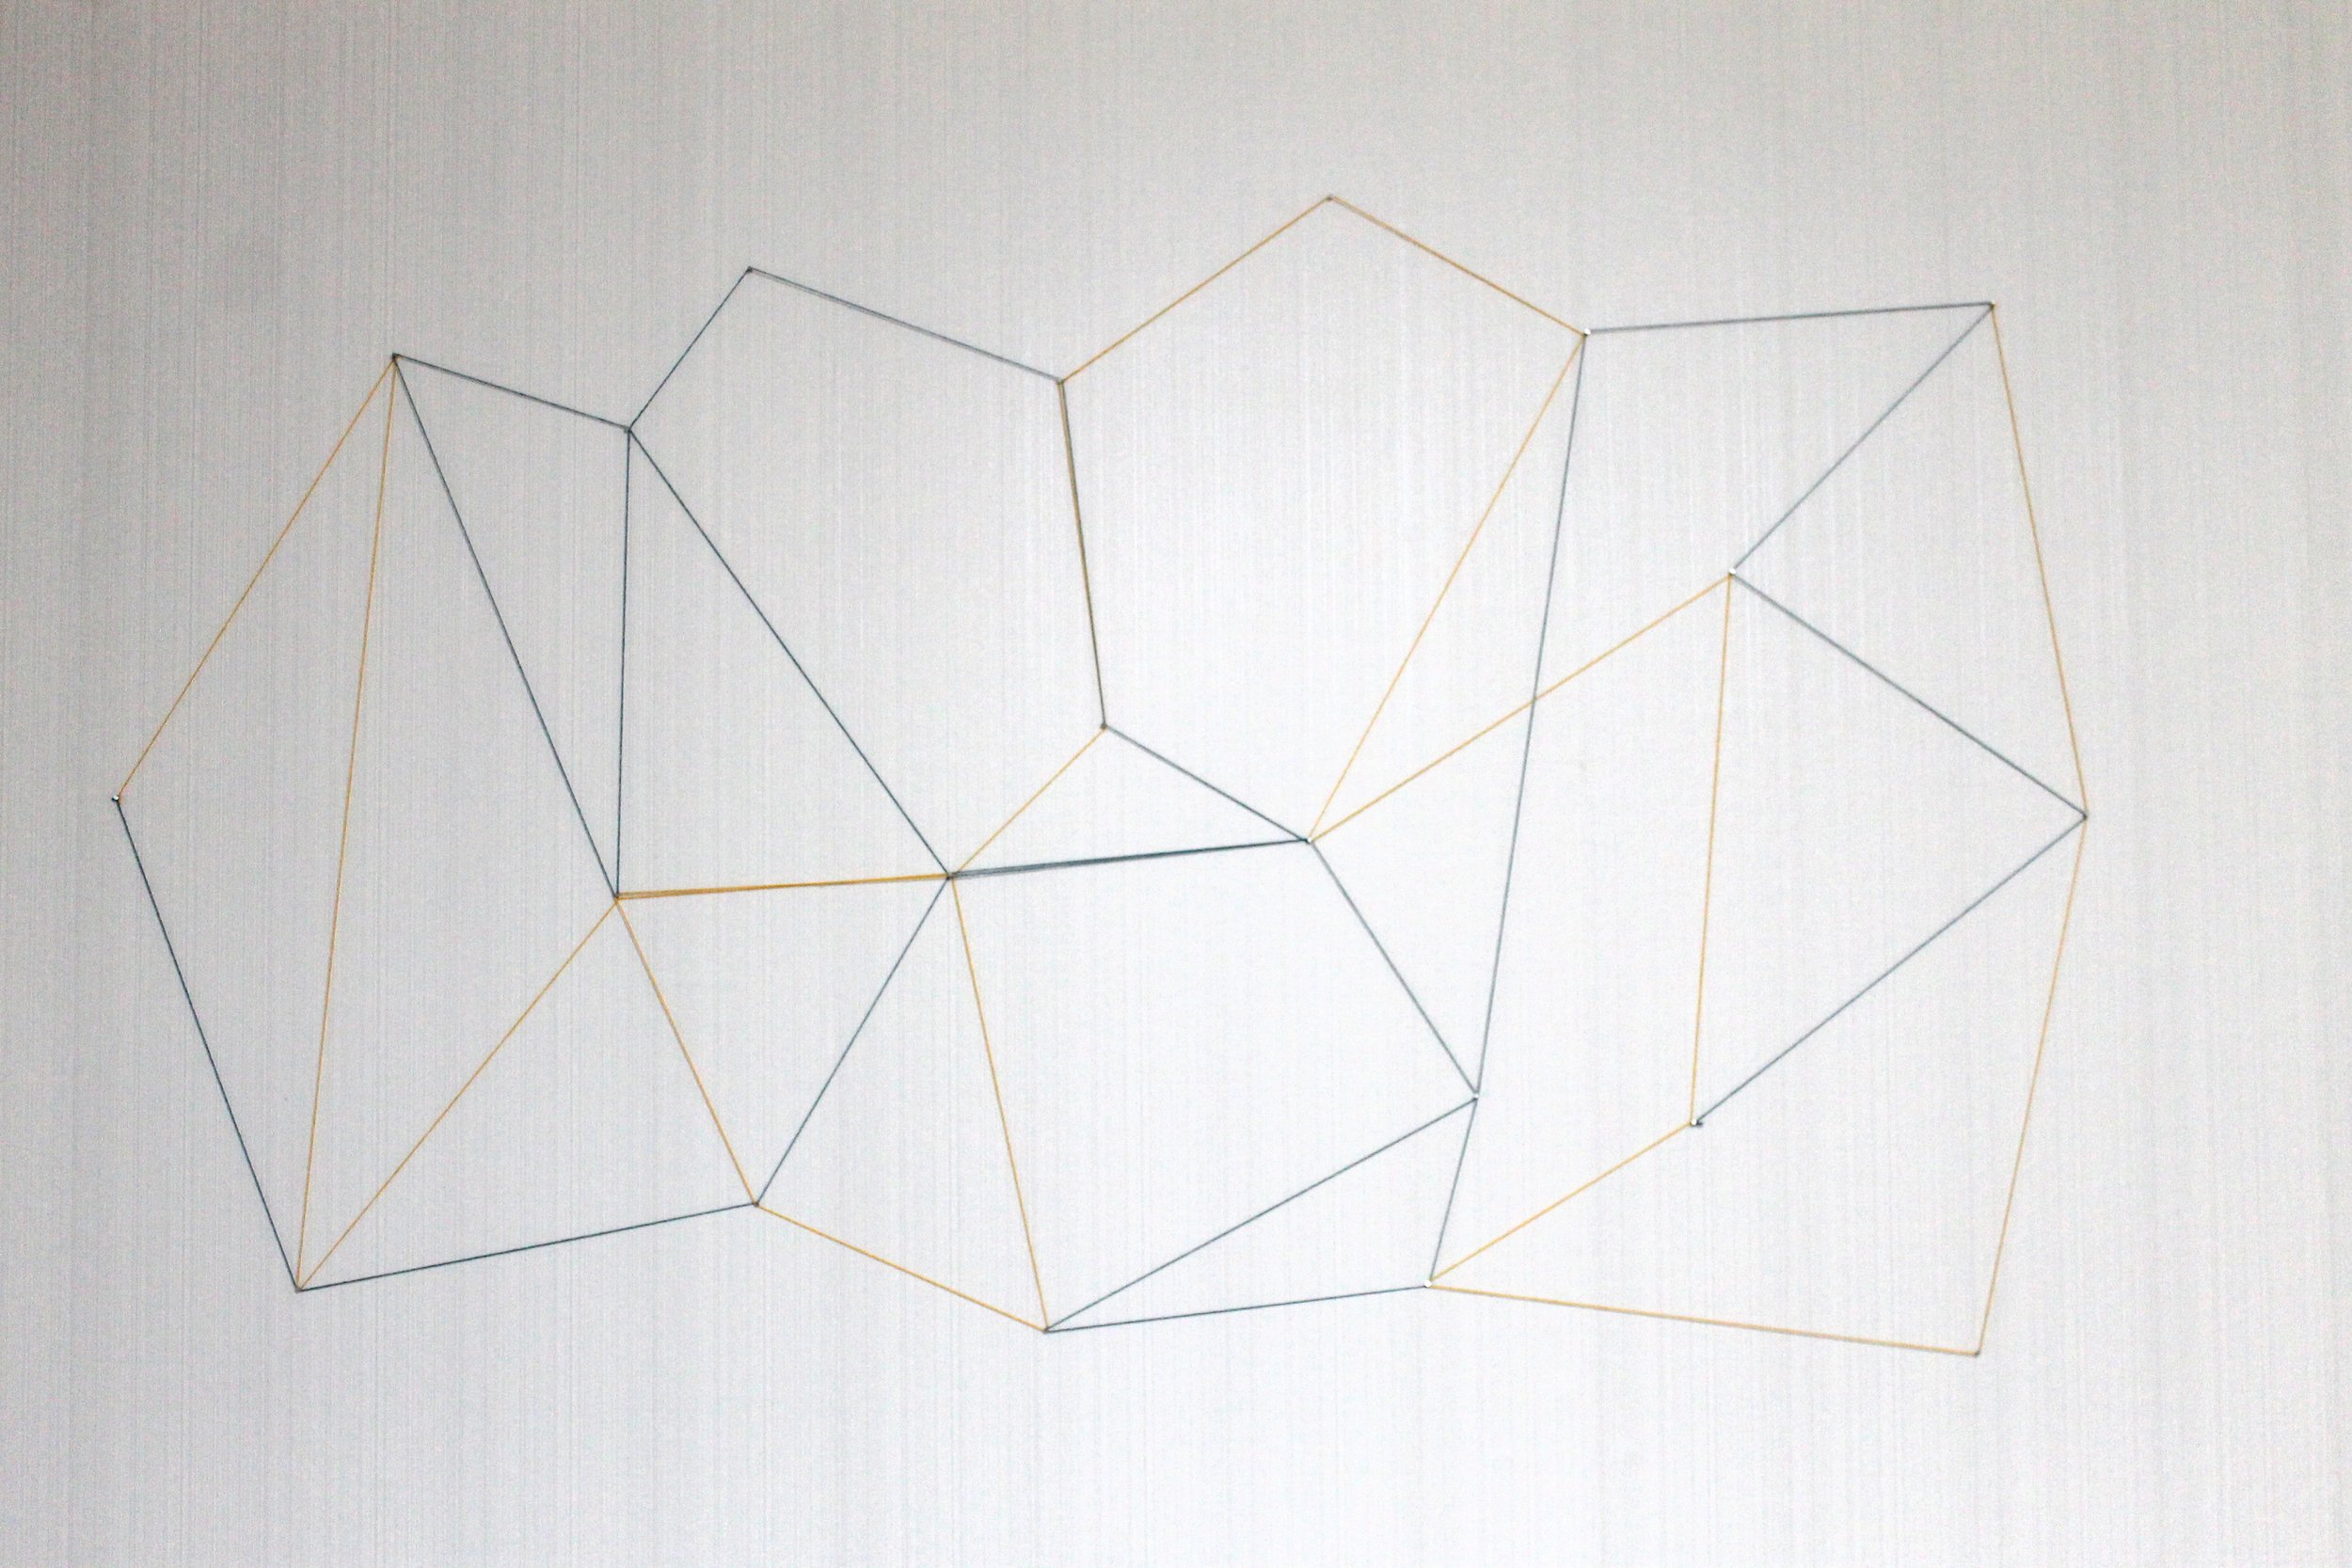
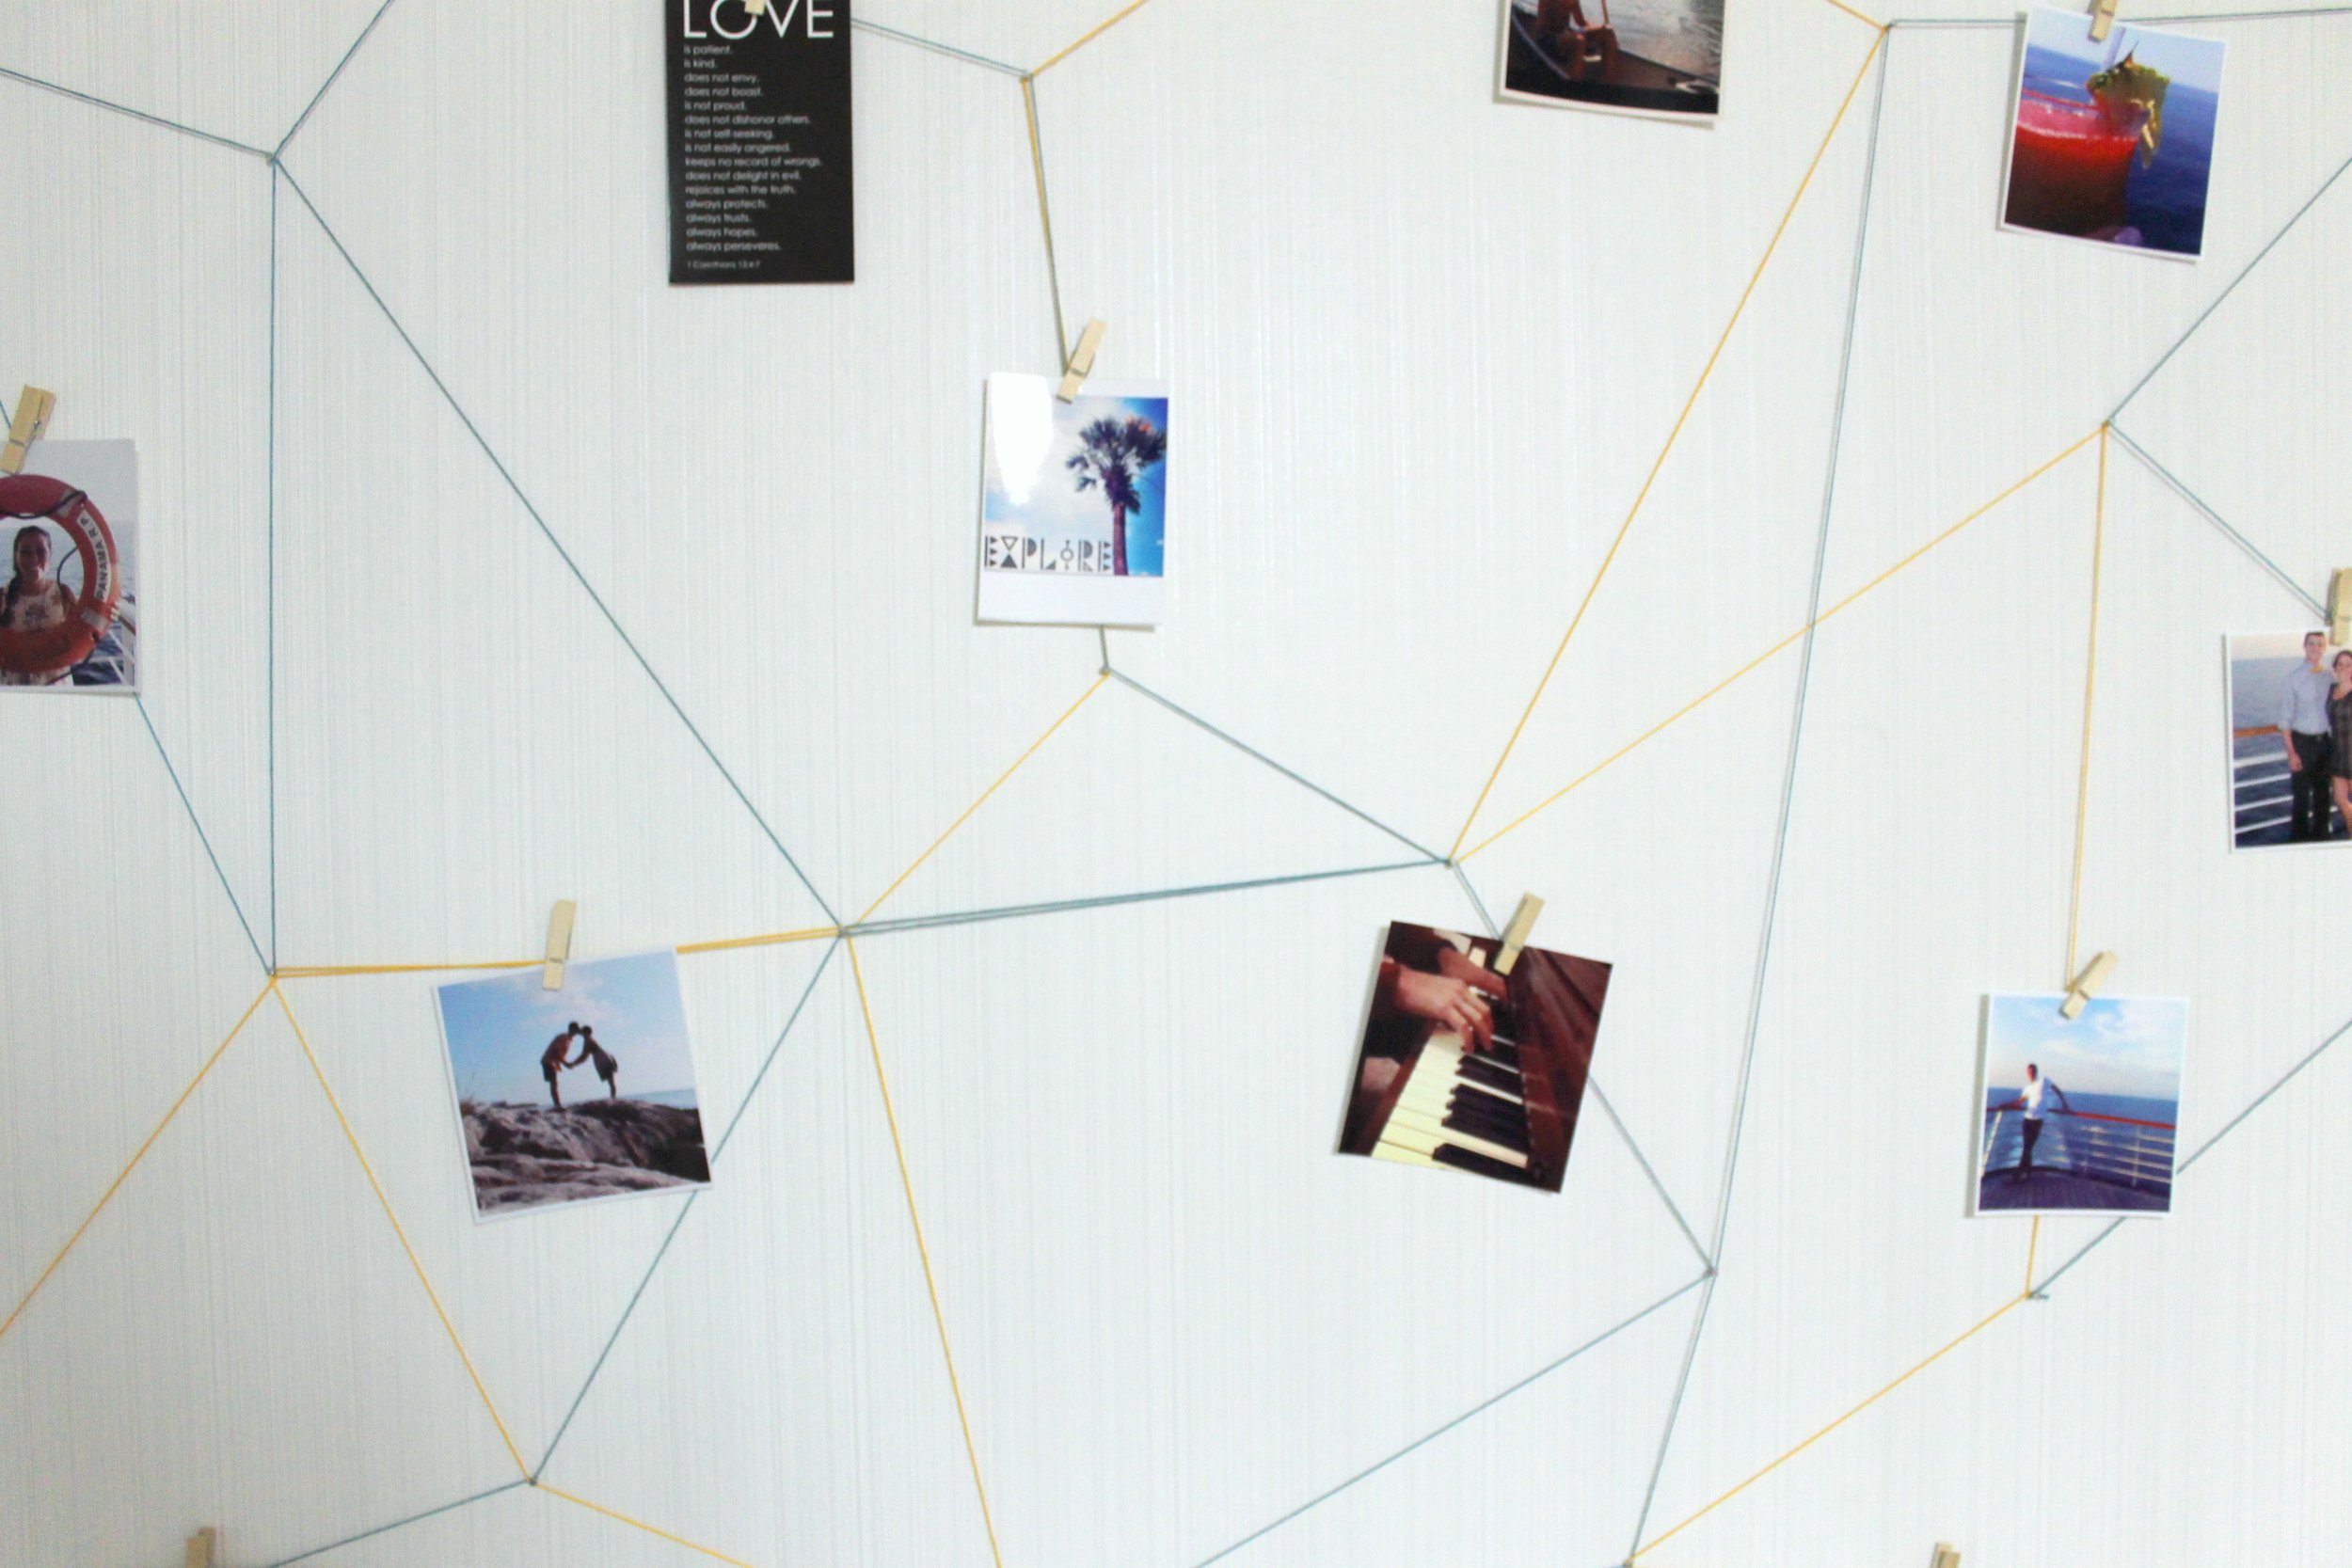
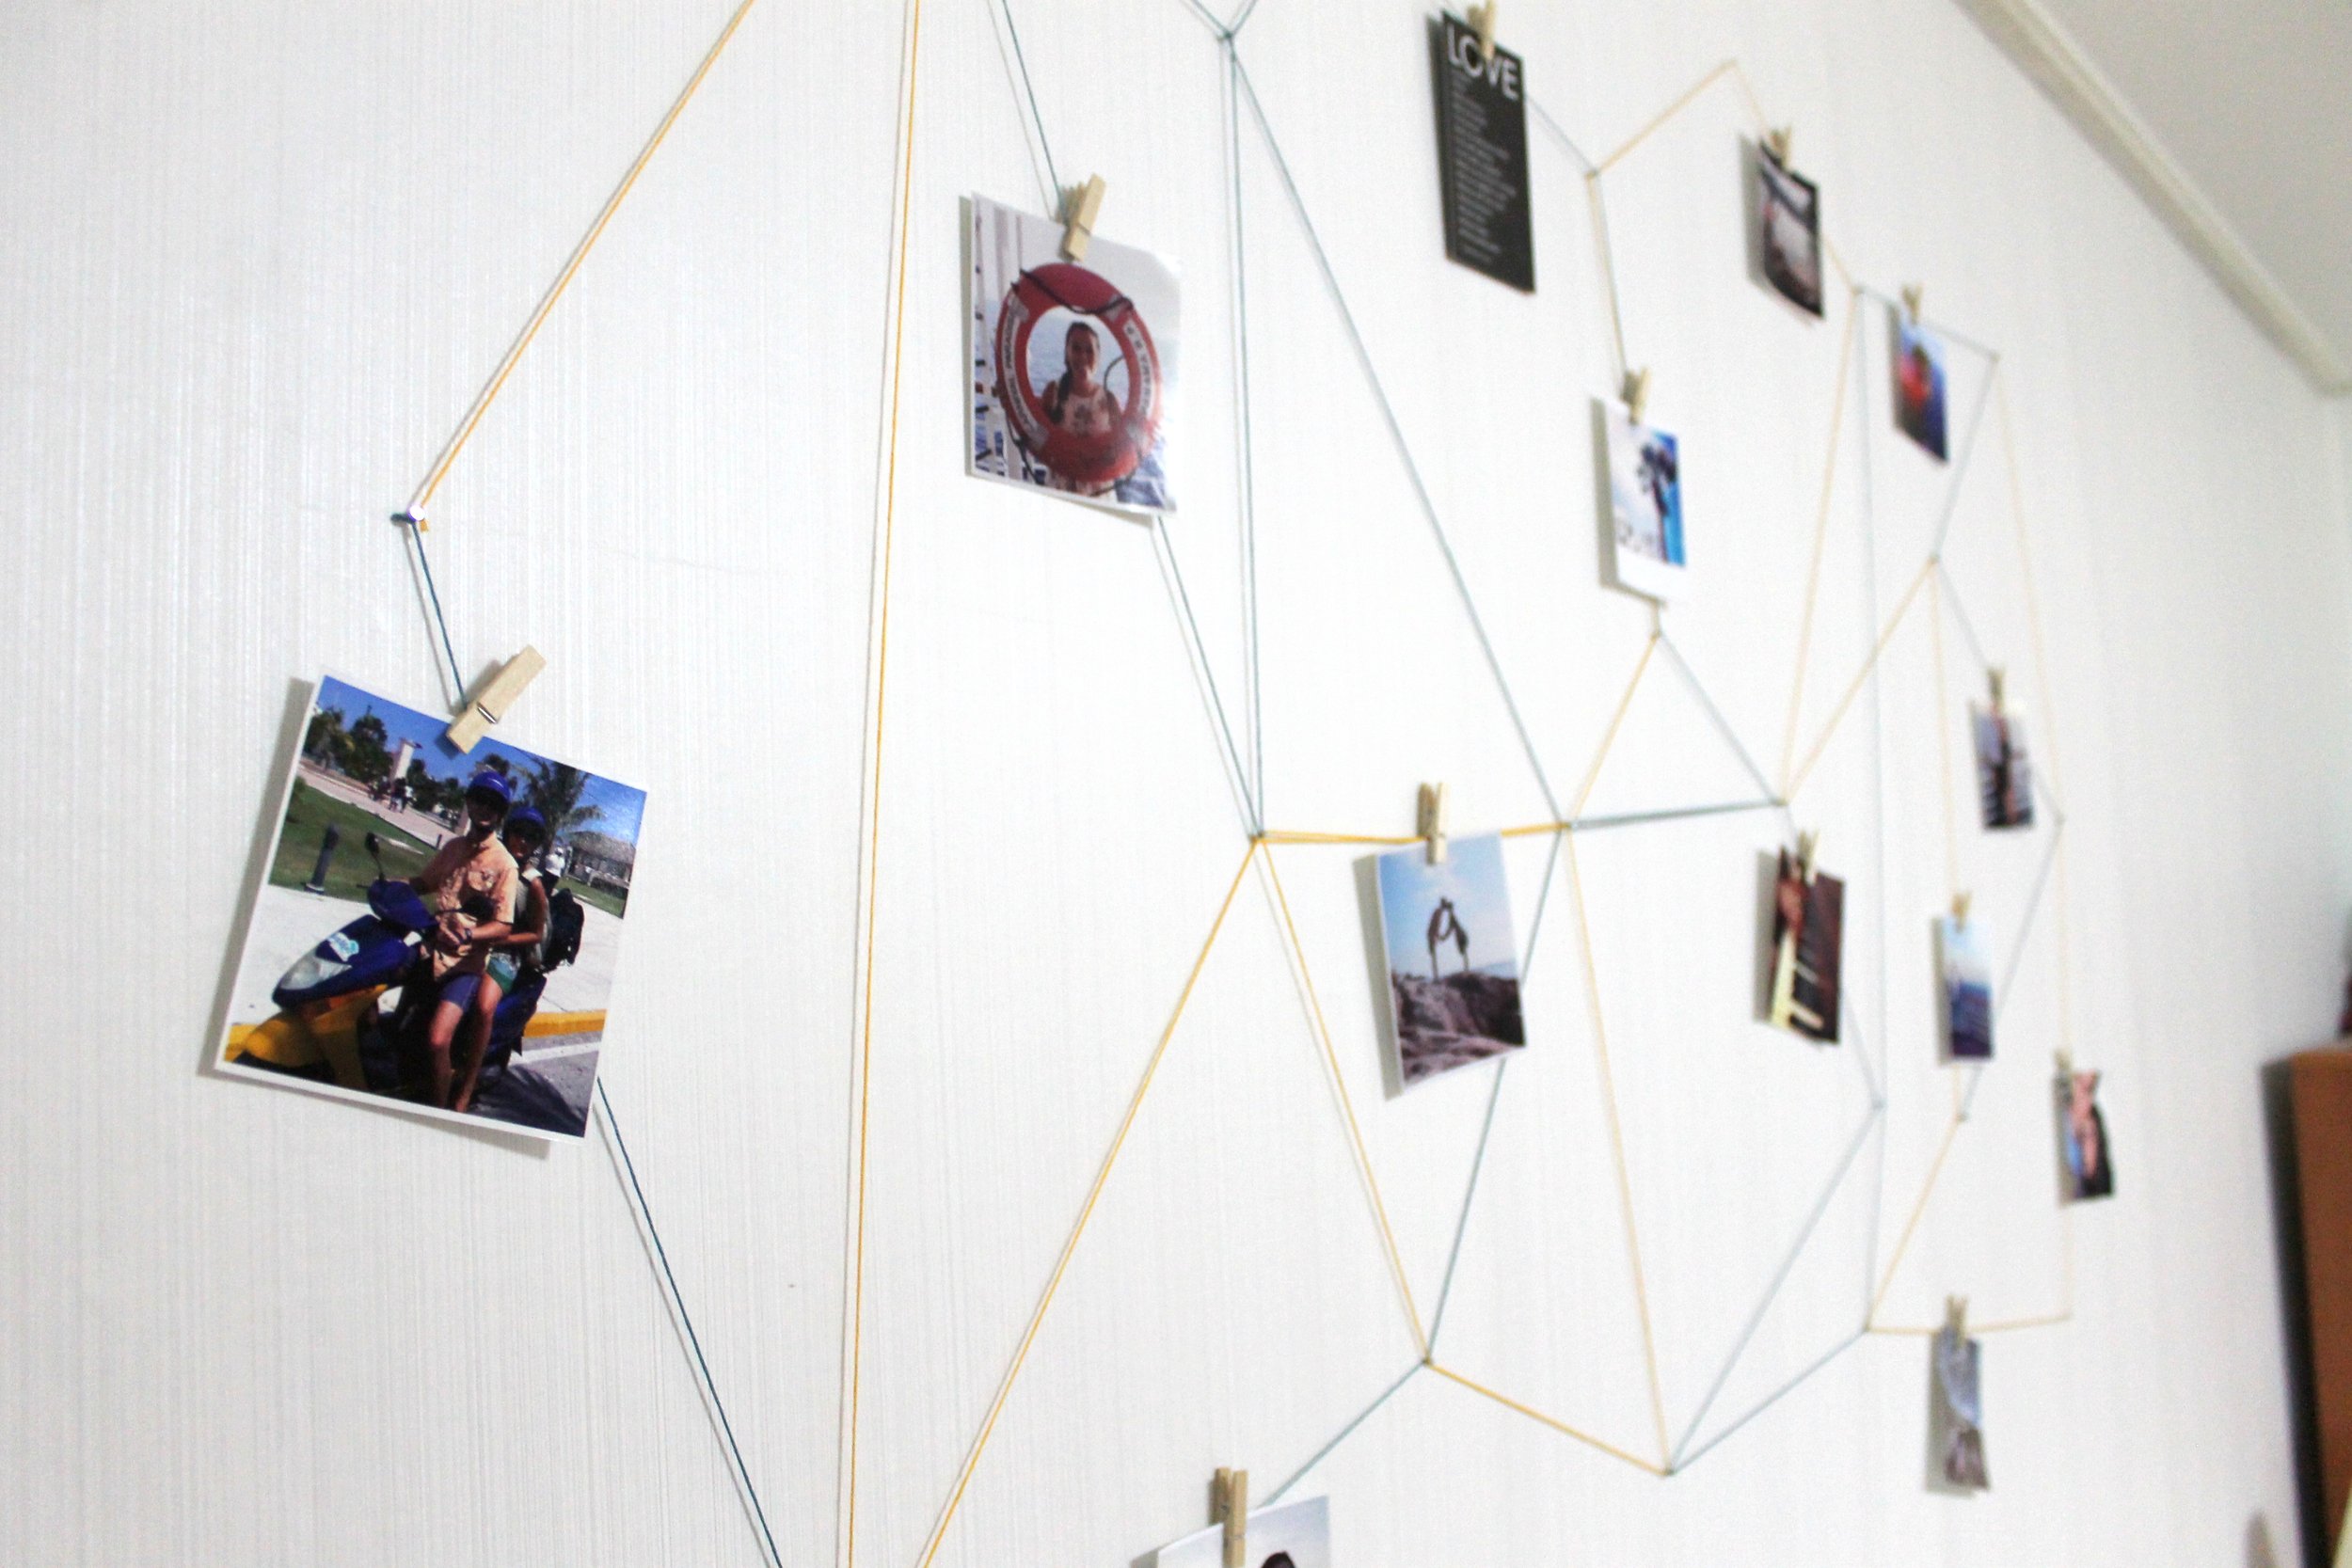
 The strings are pretty tight but there was plenty of give to add the clothespins and photos. I wouldn't use anything thinner than embroidery floss (like I did) or it may not hold. Make sure to pull your string tight enough but not too tight so the photos don't get droopy or is too tight and you can't squeeze the clips in.
 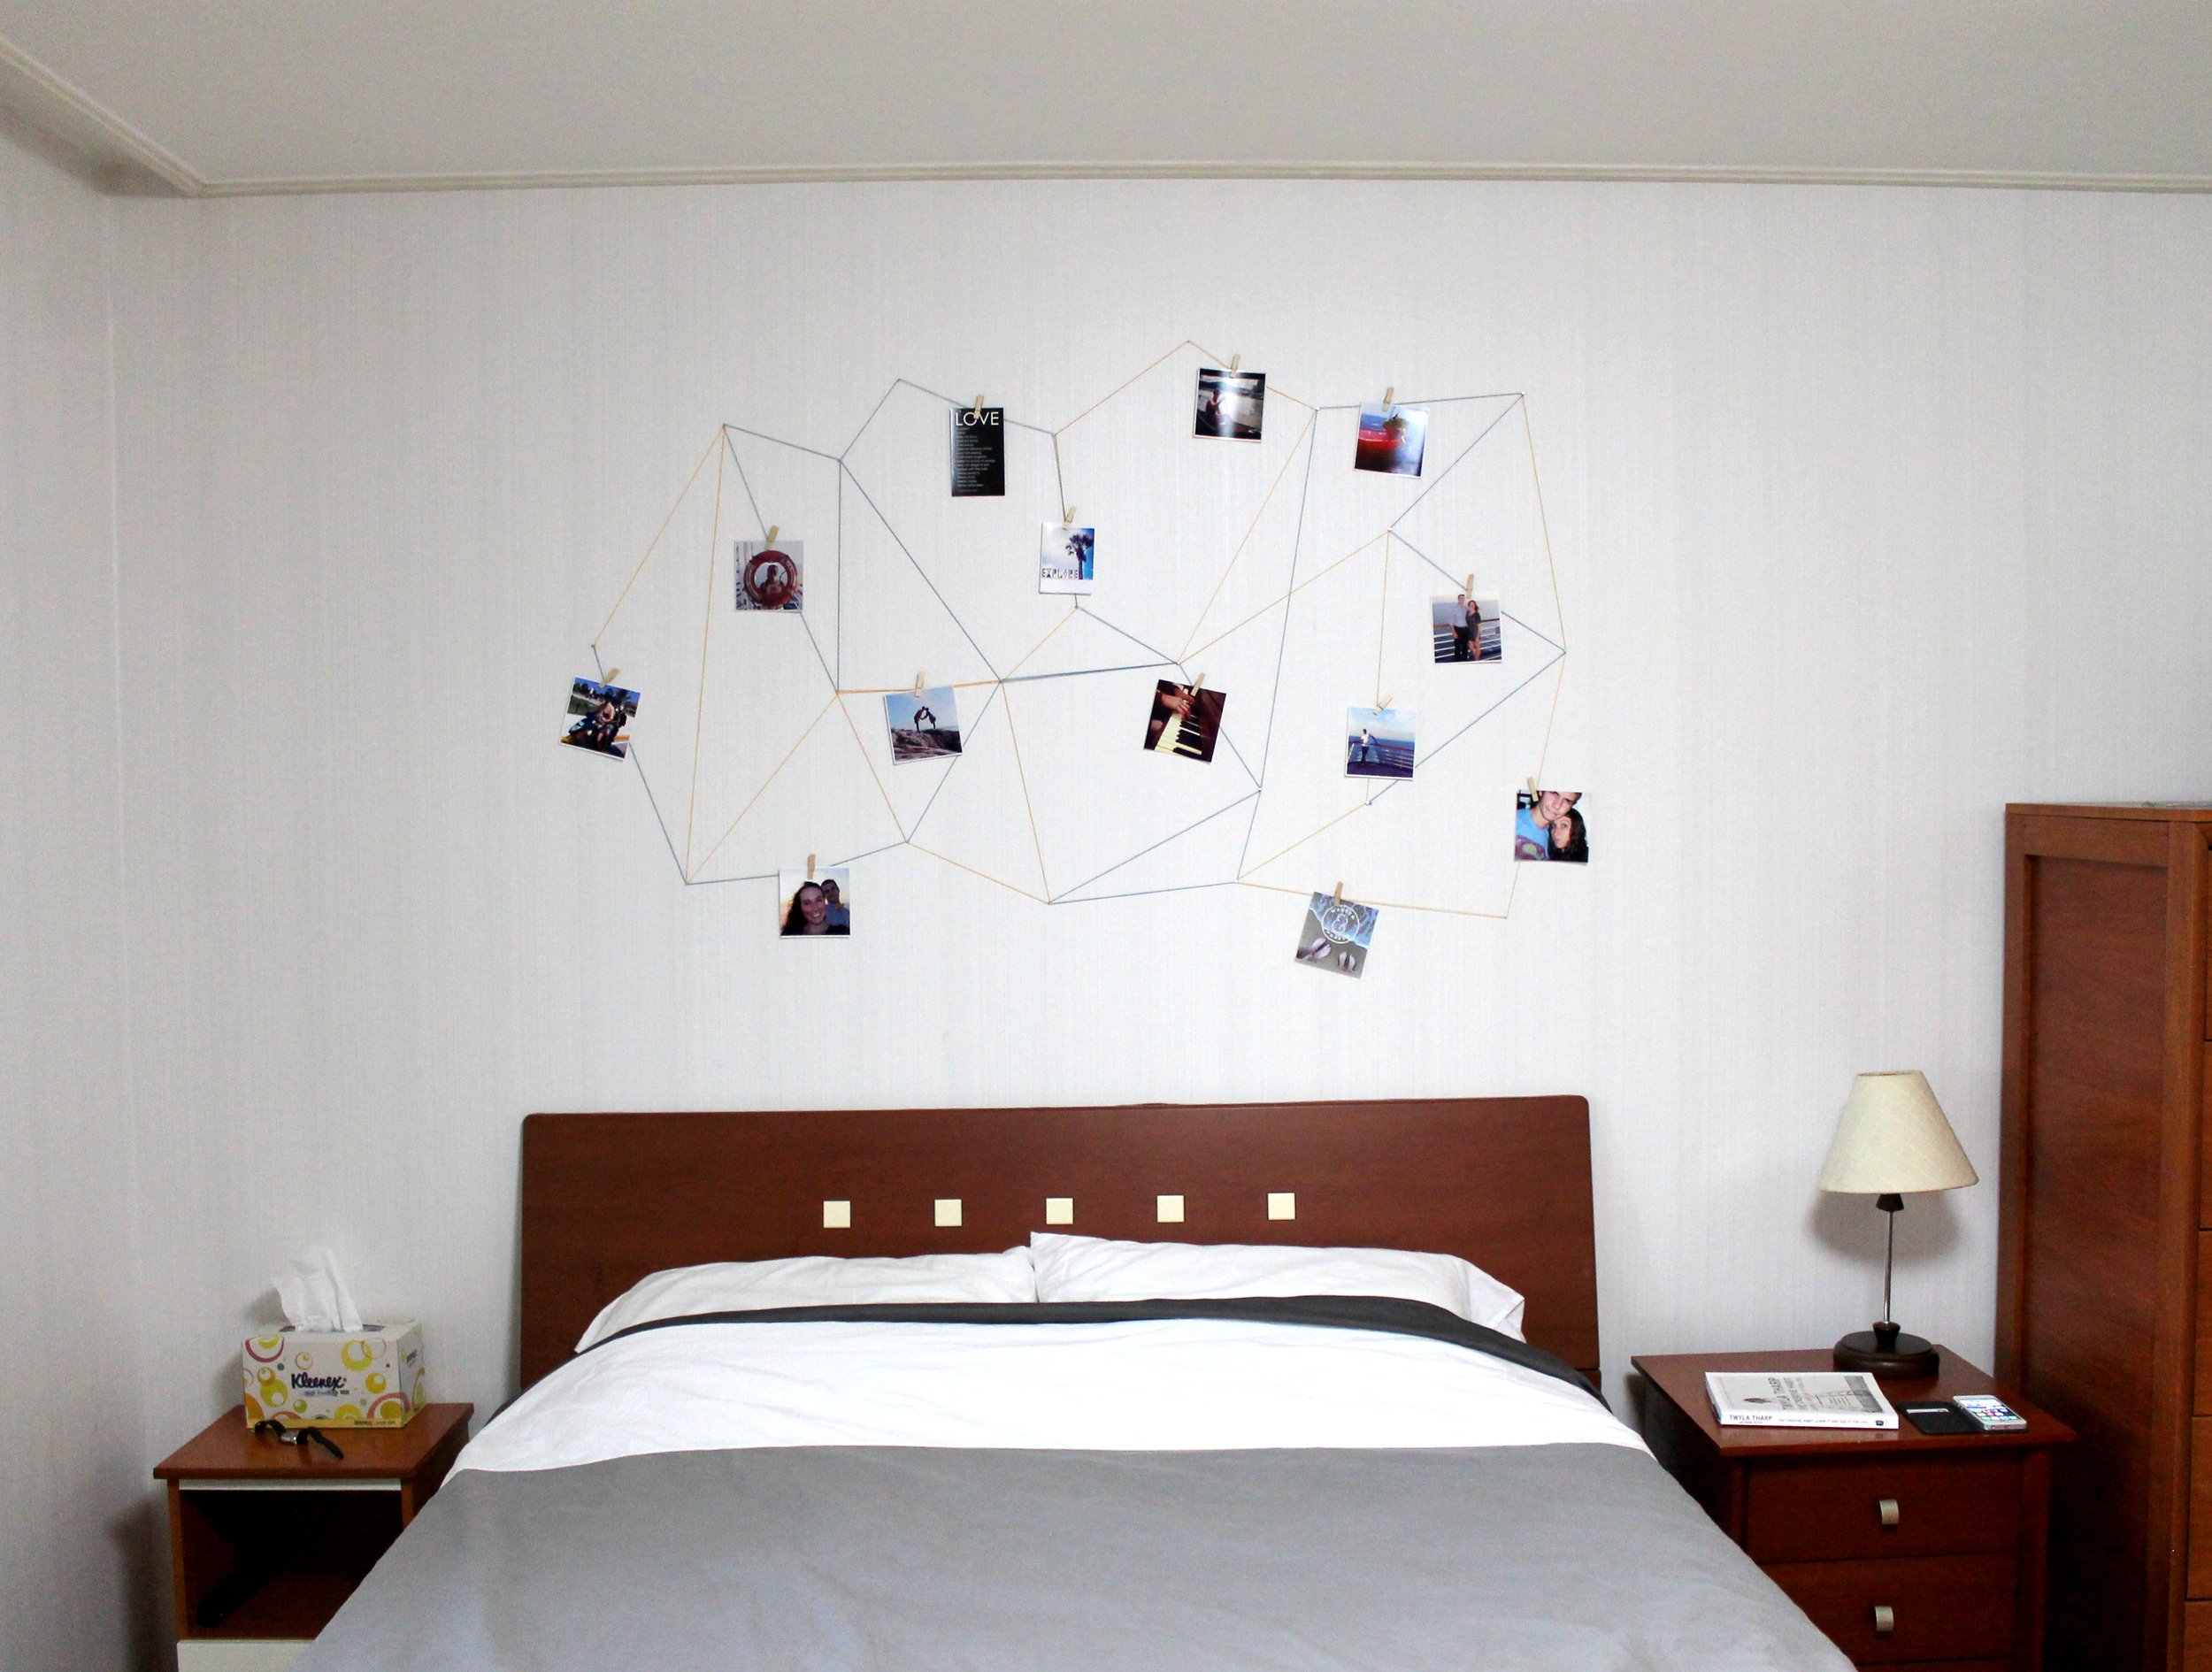 I played around with photo placement until I was happy and chose to stick with the square sizes to keep it similar. Now these photos are really easily interchangeable!
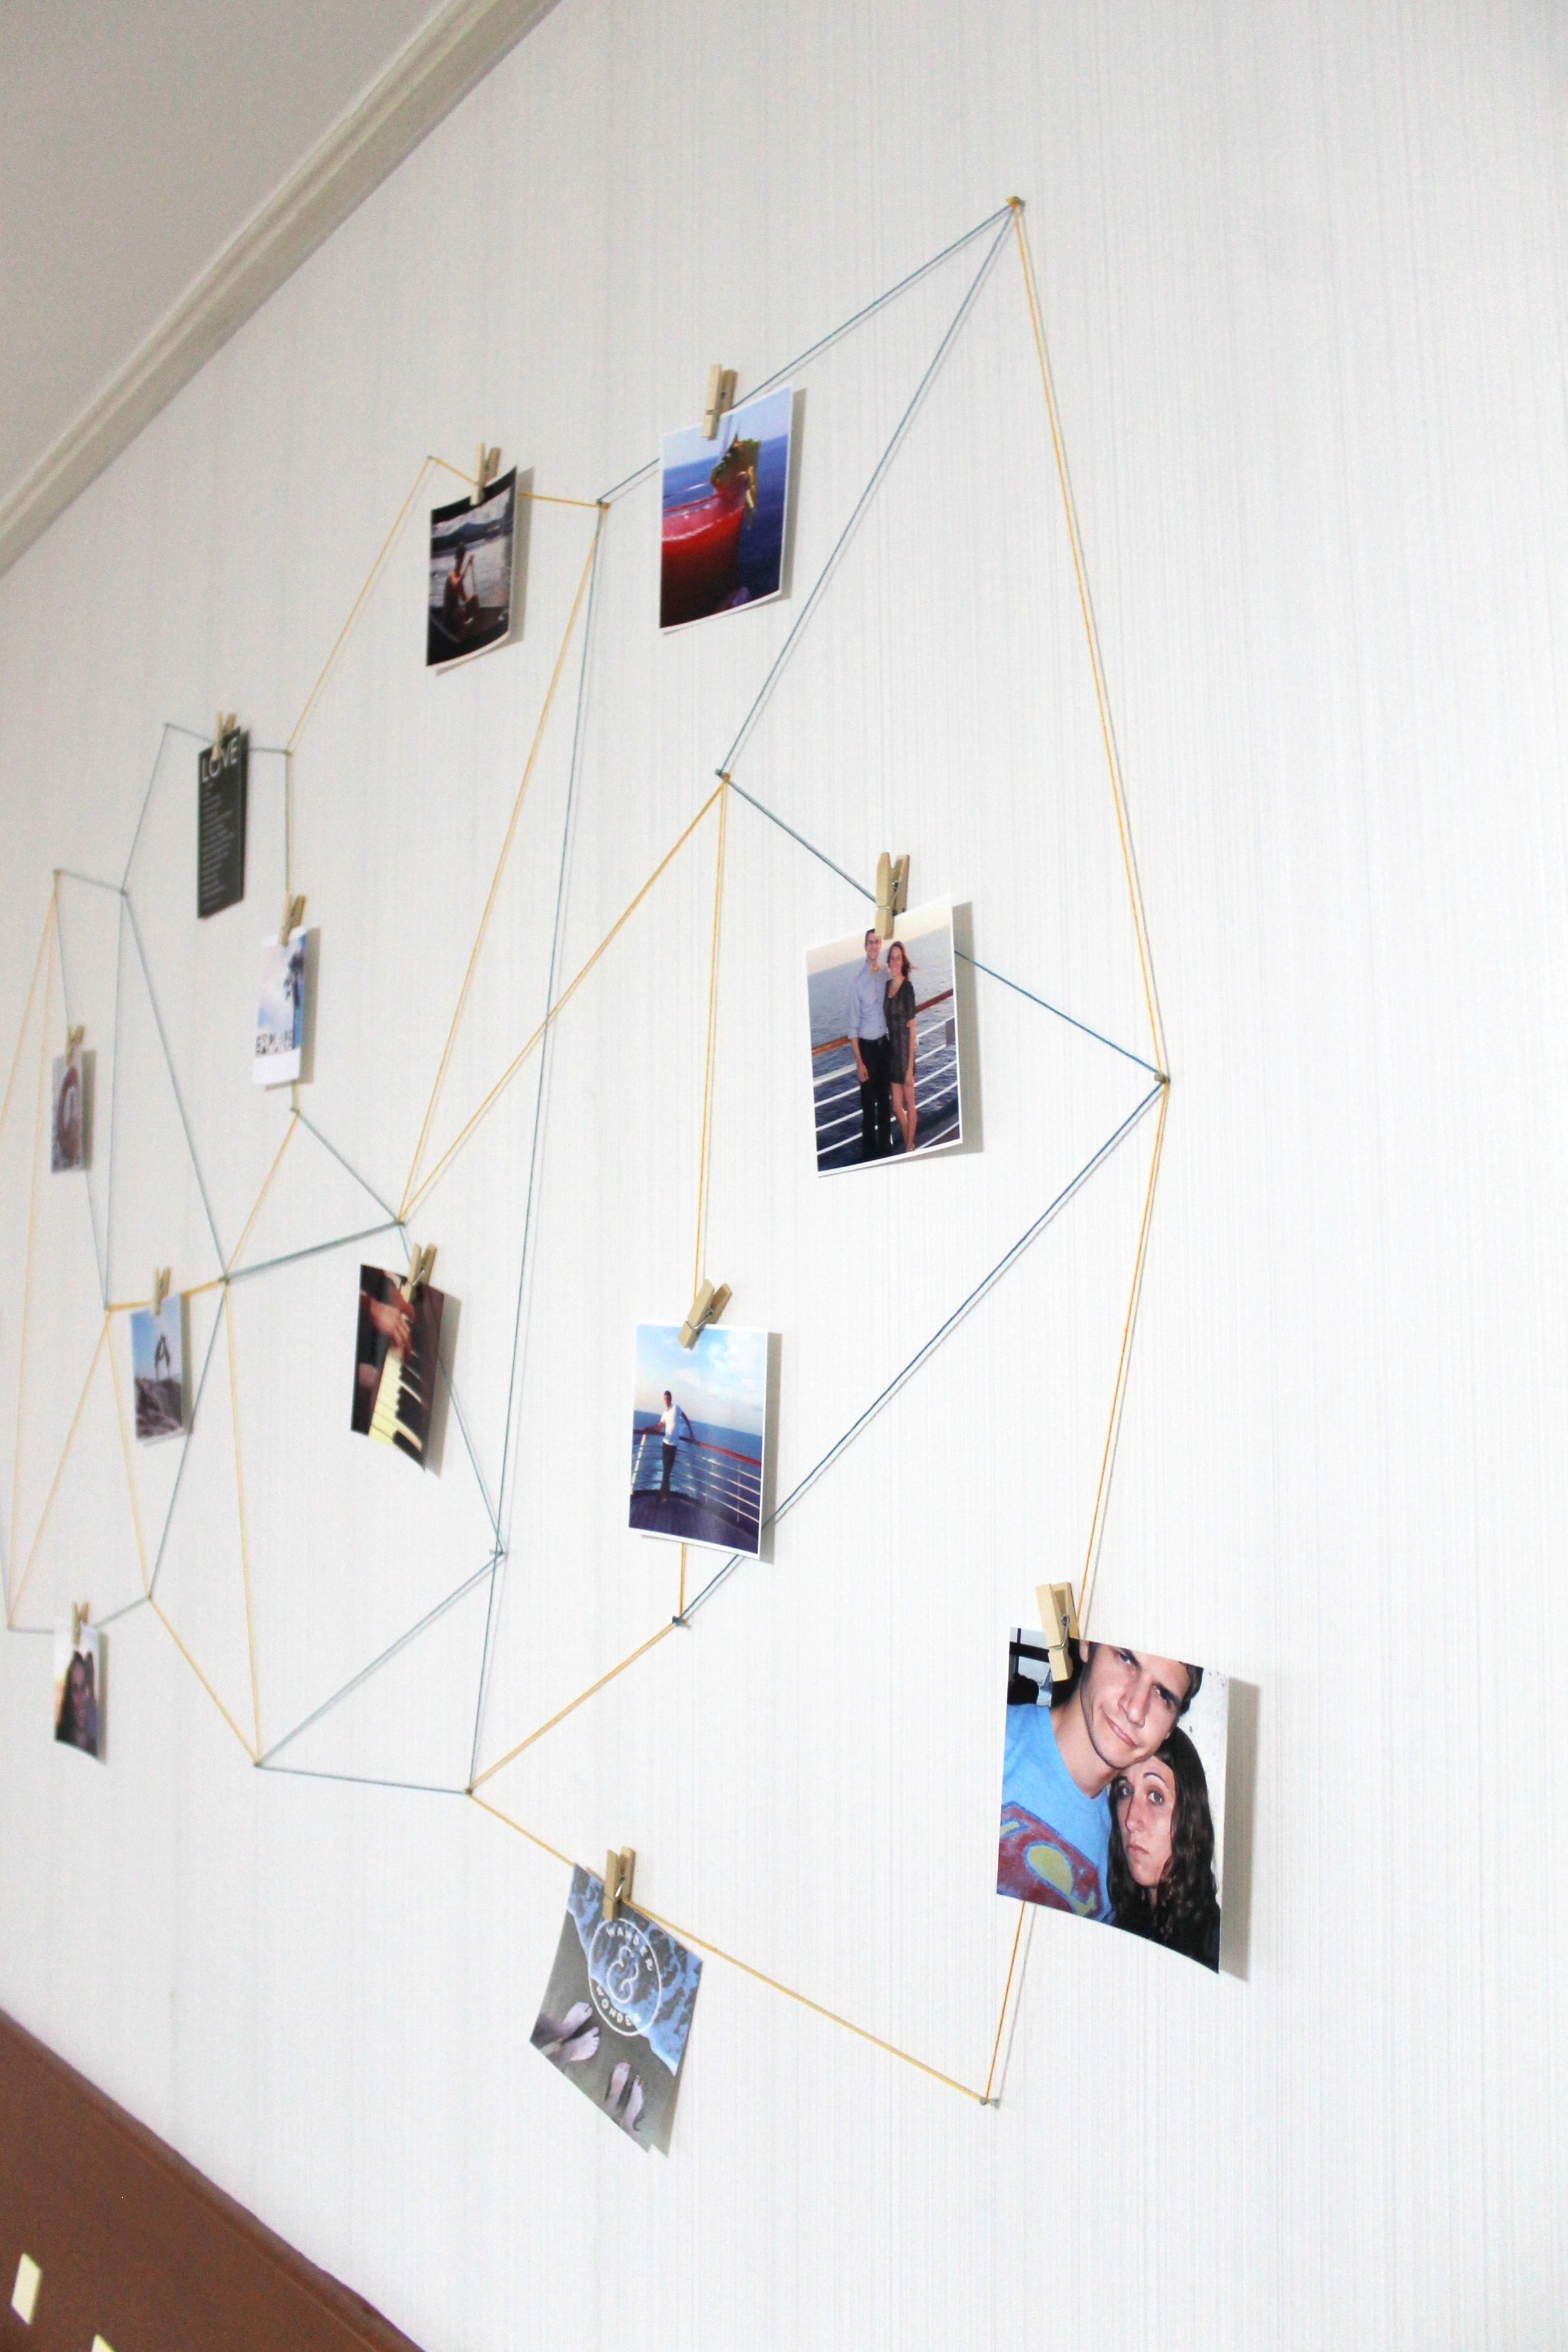
 If you guys make your own design let me know! There are sooooo many options you could do with this. I'm imagining a circle but with all the crazy triangles inside it? Someone go make one like that so I can see! Ps you should really check out The Caldwell Project blog who made this project originally. Their blog has SO many great DIYs!