
Mid Century Modern Clay Earring Tutorial
If you love Mid Century Modern, then this clay earring tutorial is for you! Today, I’m going to show you how to create eye catching jewelry and use all those cutters you have in new, interesting ways! Lets get started.

CLAY
Sculpey just released new colors in their Soufflé line, Racing Green, Citron and Koi, so lets celebrate and create together.
Soufflé is one of my favorite types of clay as its colors are gorgeous but also because of its flexibility - literally! It feels like buttery leather in your hands and it’s dreamy to work with. This is an oven-baked clay that is super strong but also flexible after baking so you can continue crafting with it - you can even stitch into it!! Clay is lightweight and holds up to everyday use really well. Plus! It won't dry out - it stays usable for multiple projects if you don’t use a whole bar, I just keep mine sealed in an airtight container.
Grab your favorite colors from sculpey.com and let’s gather our supplies and get started!

SUPPLIES
Workspace:
Clean surface such as a tile, wax paper or desk
Tools:
Roller (included in mix pack) or Clay Machine/Pasta Maker
Clay blades are really handy (included in mix pack)
Exacto Knife
Clay:
Baking:
Baking Sheet
Oven
Jewelry:
Jewelry Pliers
Jump rings
Dremel or tool to create holes
Cutters:
Arch Cutters
Mixed set of shapes (Circles, etc)
A note about your workspace:
You can use wax paper or a tile or just your table to work on. Just be sure it's really clean so your clay doesn’t pick up any fuzz or other colors, so be sure to wipe it down and wash your hands between colors.
LET'S CREATE
I’m basing today’s earrings on this beautiful home interior image I found online here. We’ll let the inspiration guide us and our creativity play!

To get started you need to condition your clay. You want it to be warm and smooth to the touch so it’s really malleable so you don’t get any air bubbles when you bake. Start by rolling it in your hands to warm it up and smash smash smash it until it’s really easy to work with. Or you can use your pasta machine to condition it by rolling it though and folding it in on itself until its smooth and without bubbles. If it gets too hot and it’s sticking to your hands just let it sit out for a few minutes or pop it in the fridge and then come back to it. But this is a really important step because you need it to be as conditioned as possible to keep it from bubbling when you bake it.

This should take about 5-10 minutes per block of clay depending on how soft it is.
Next, you’re going to want to roll out a flat slab, I used the citron for my background. You can do this by lying two of the same thickness rulers side-by-side and using them as your guide to make sure your surface is even. Shoot for about a quarter of an inch thick. You don’t want to go too thin or it’ll be impossible to work with, so ere on the side of thicker than thinner.

Then, I cut my background shape out.
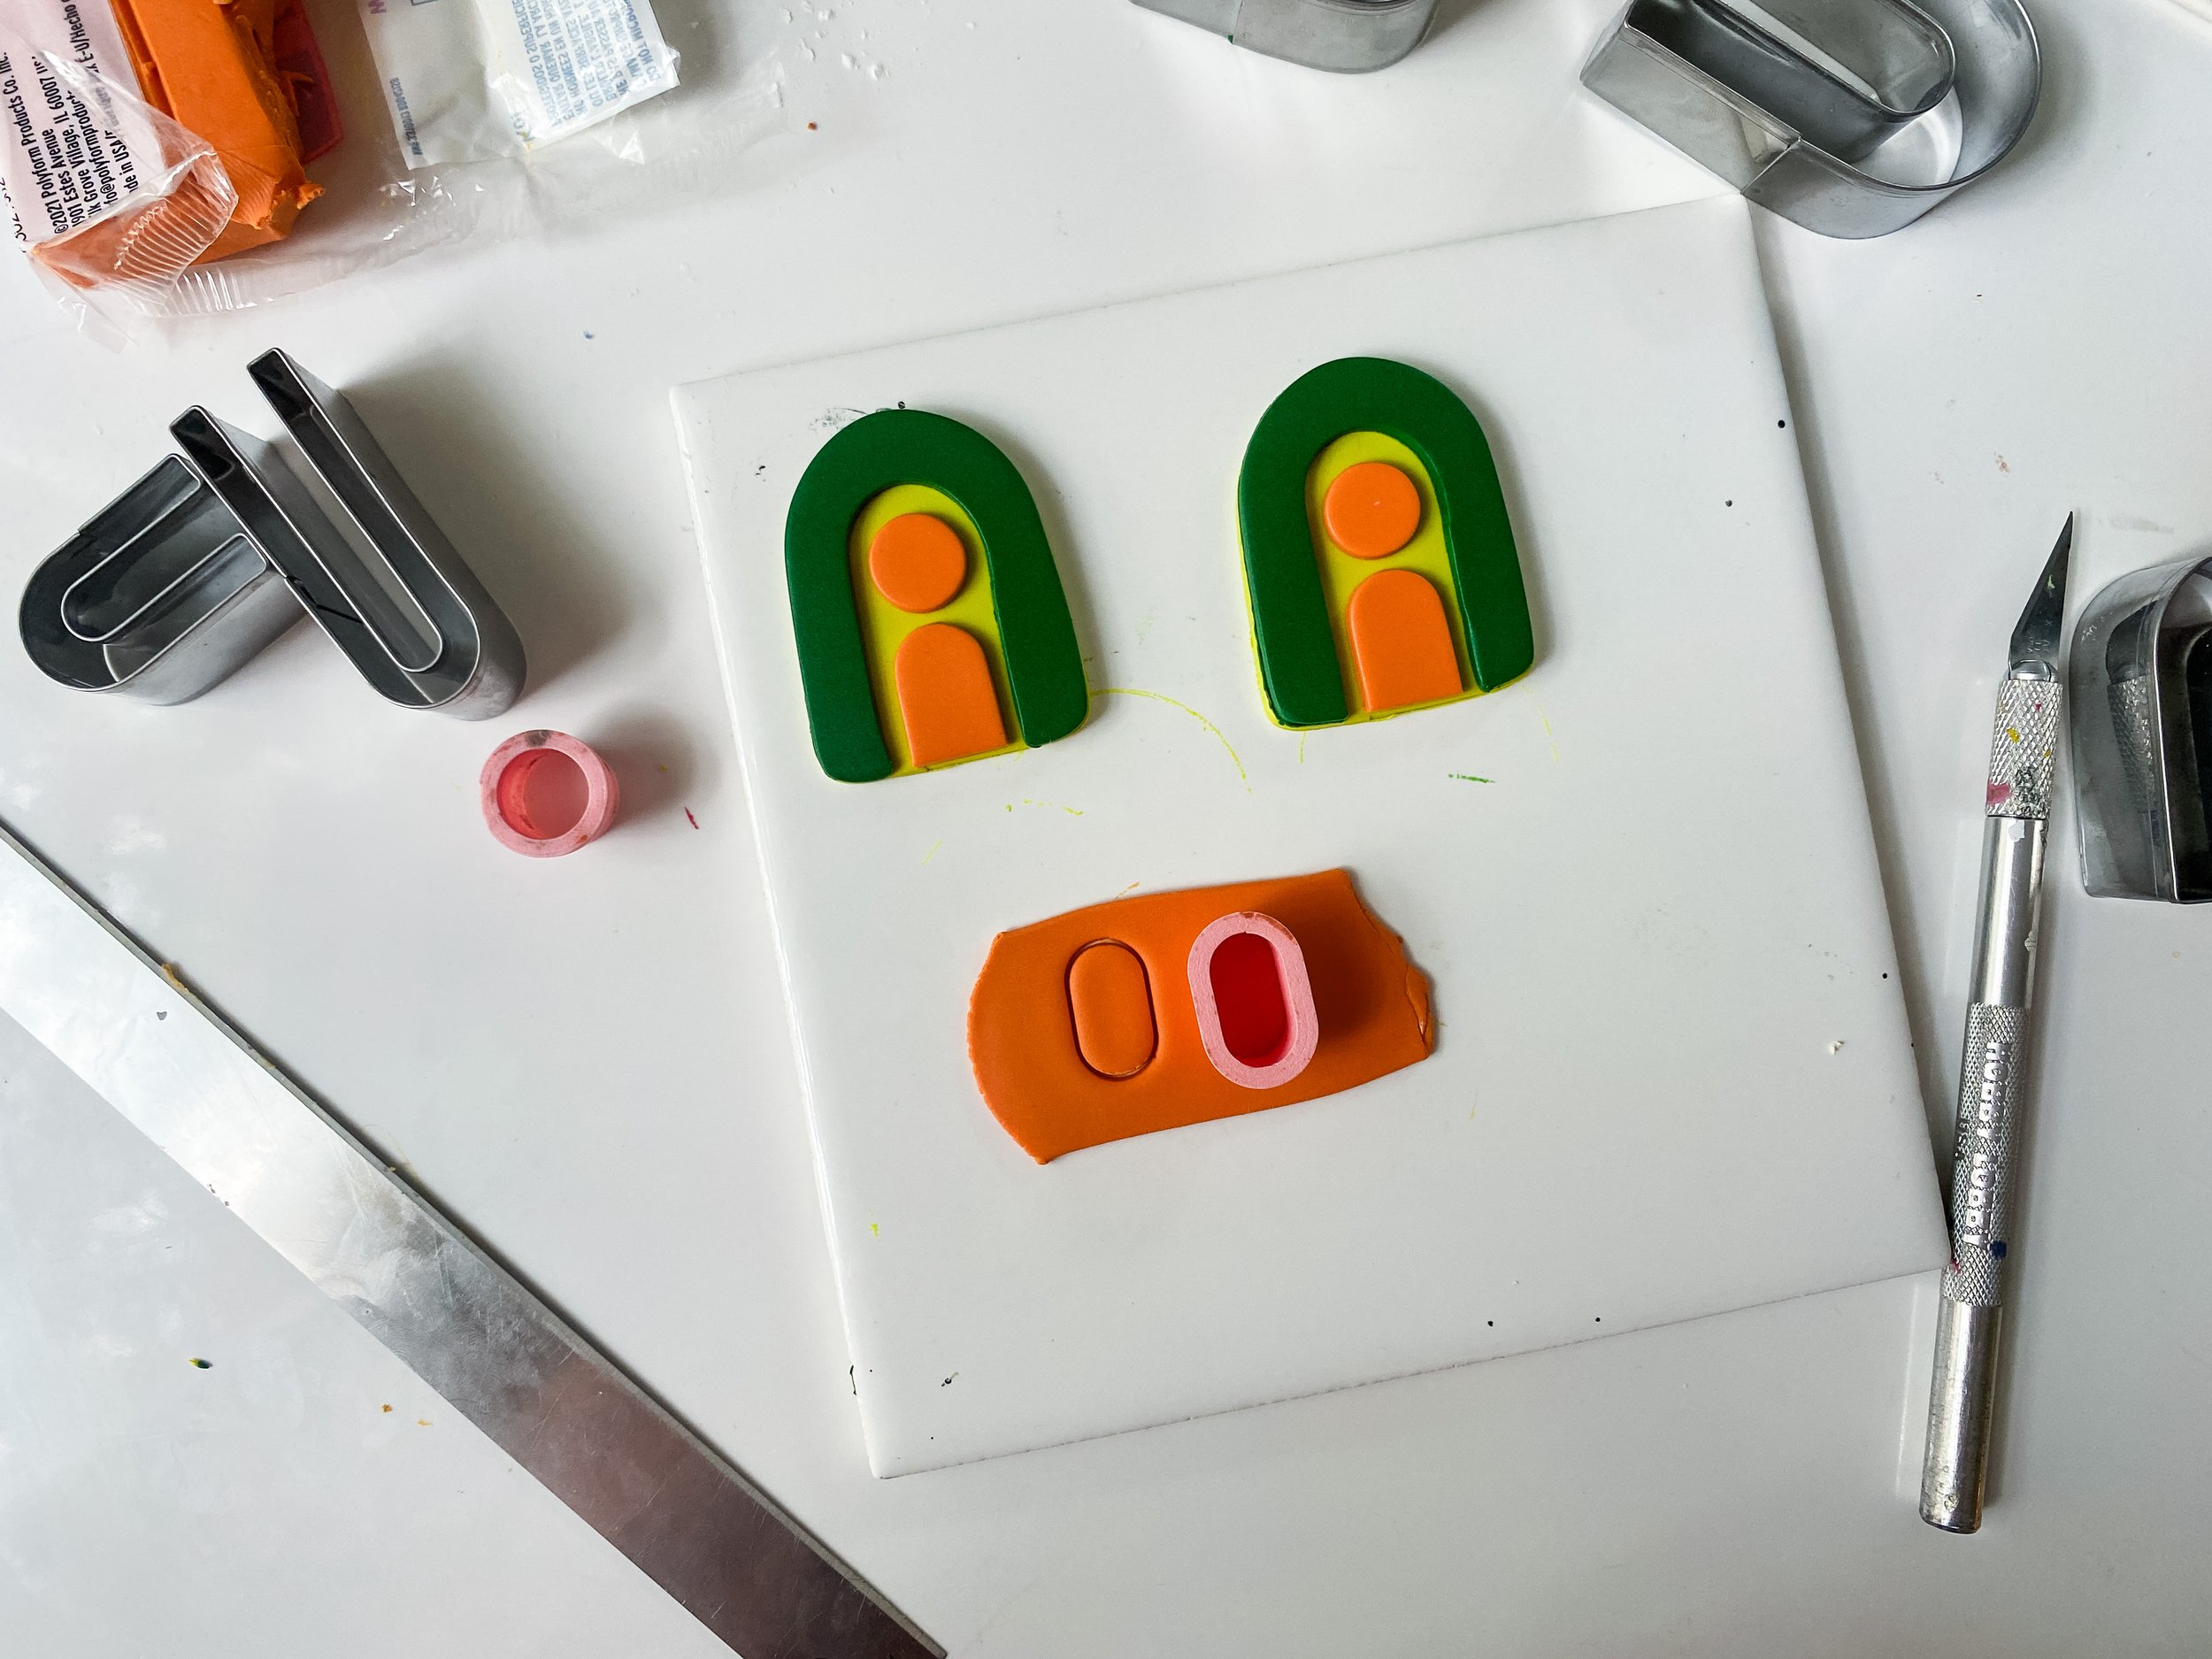
Now is when the fun starts!
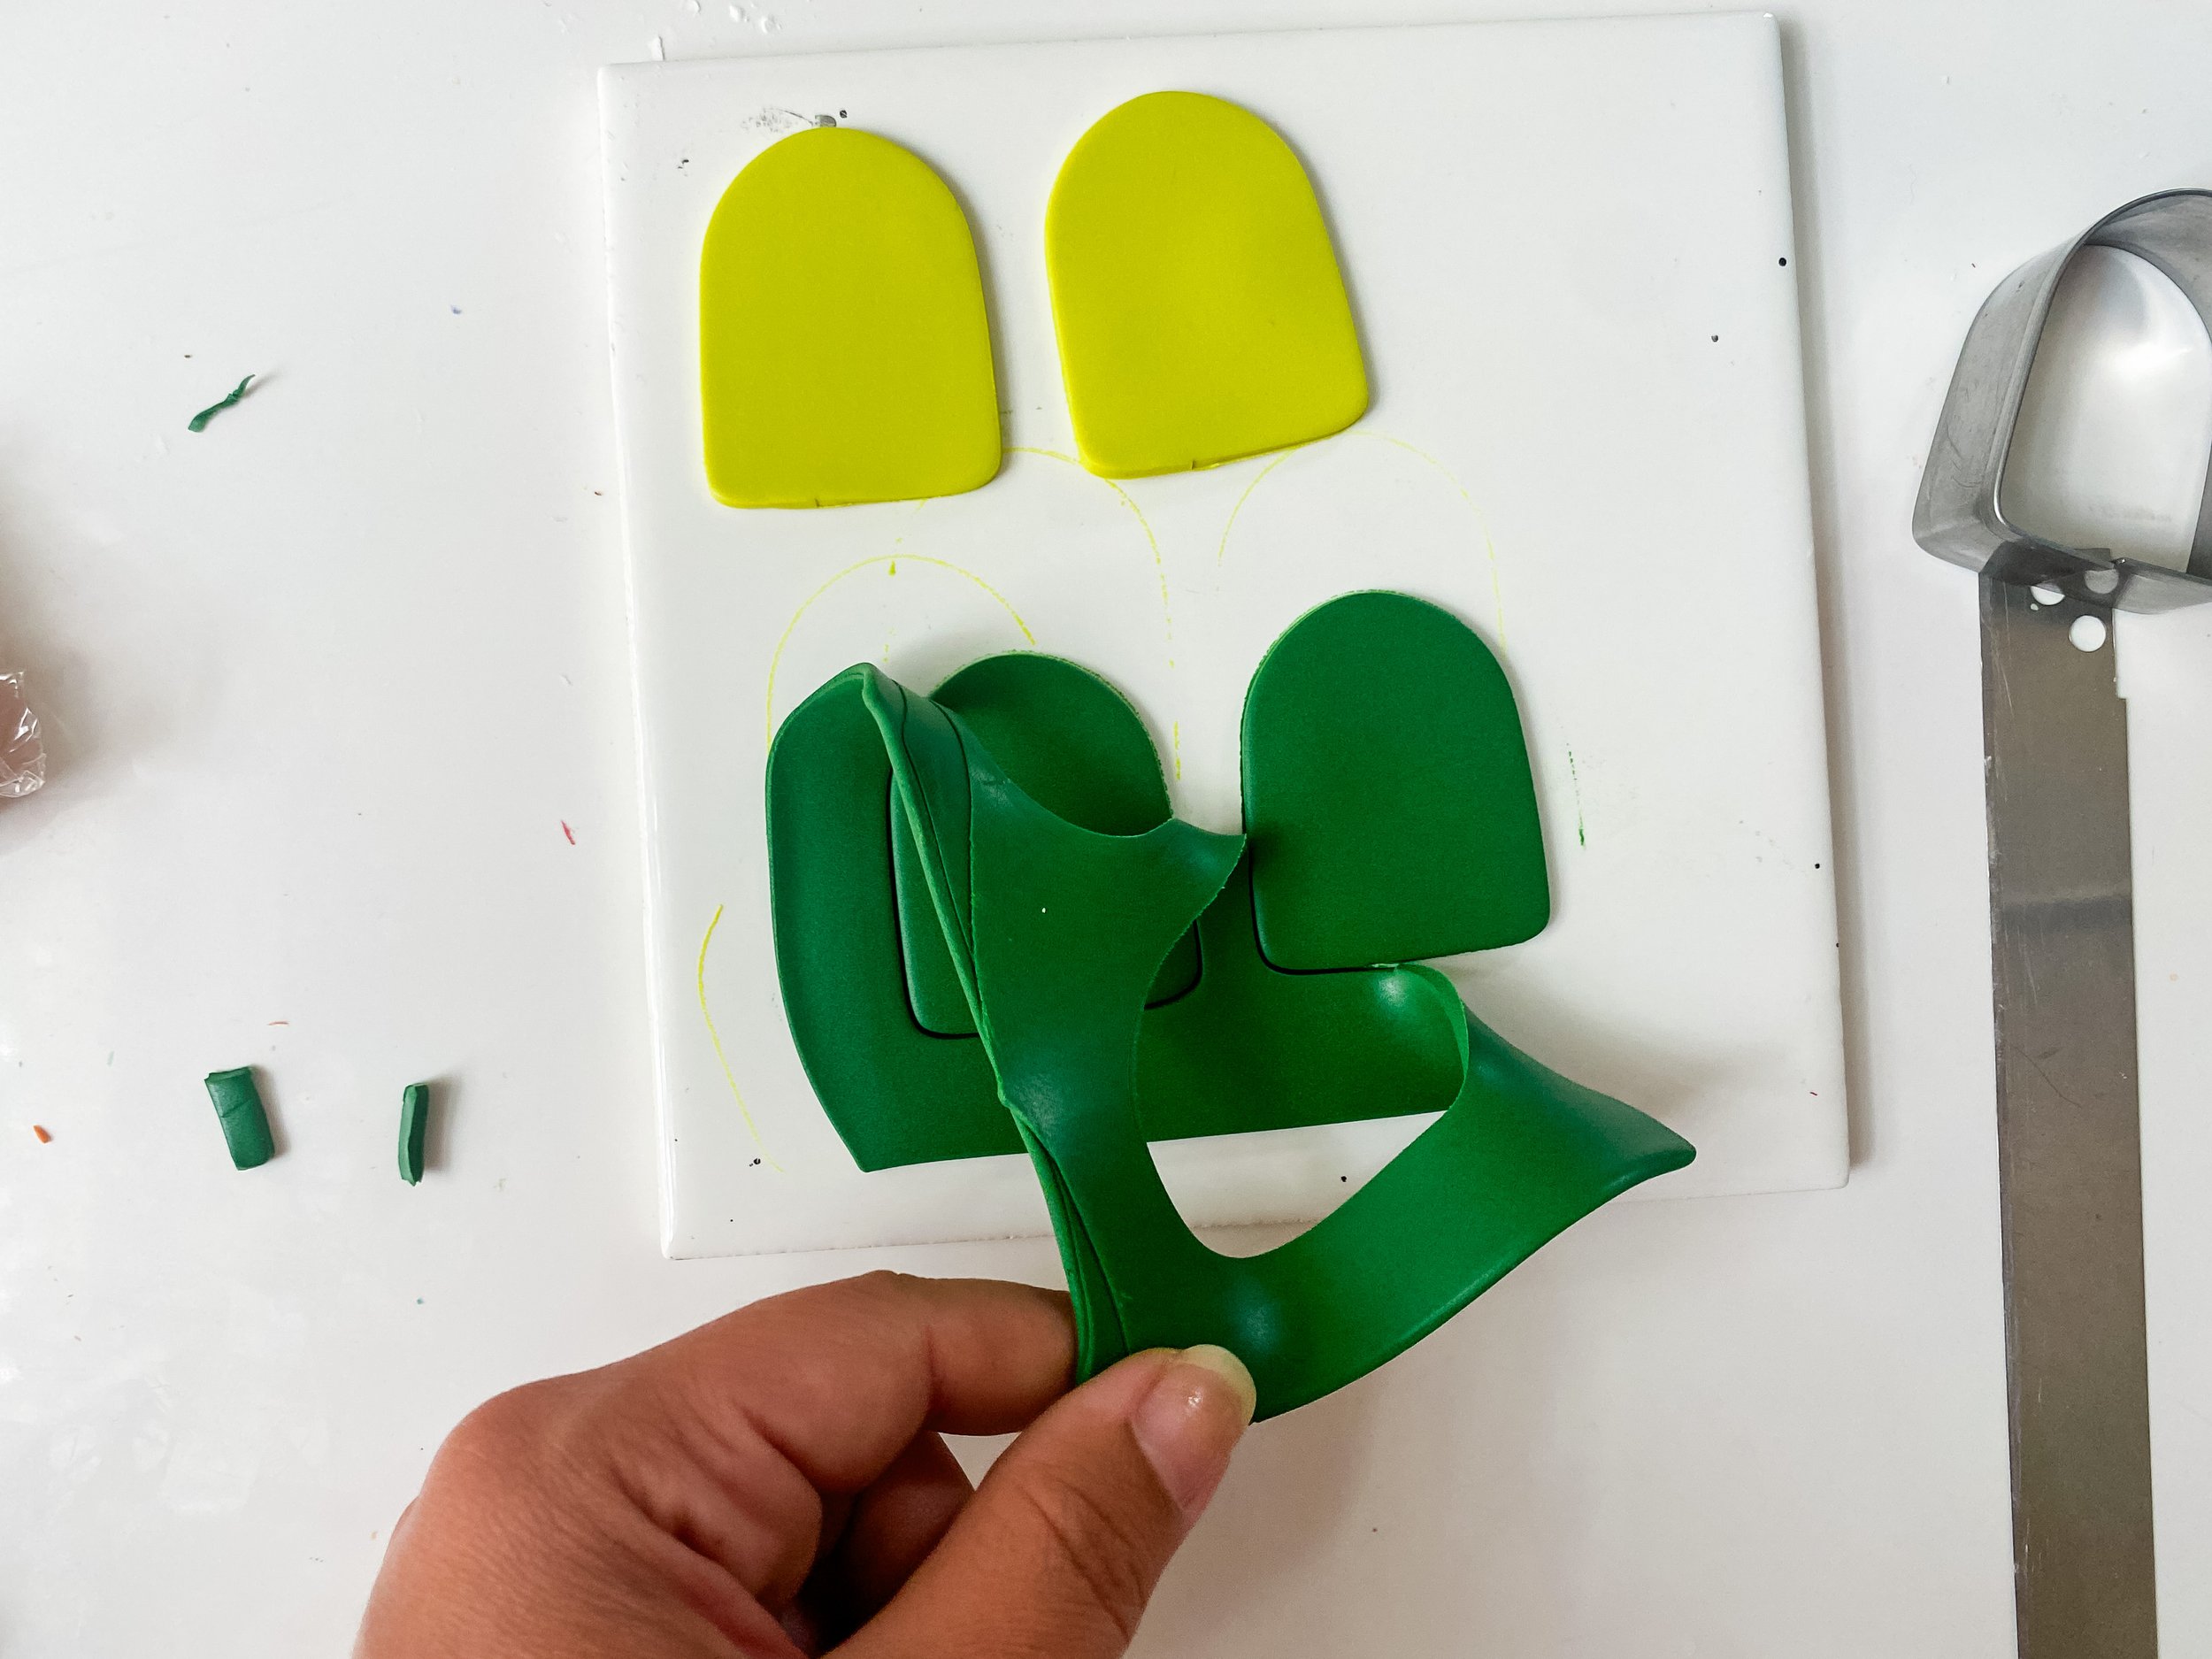
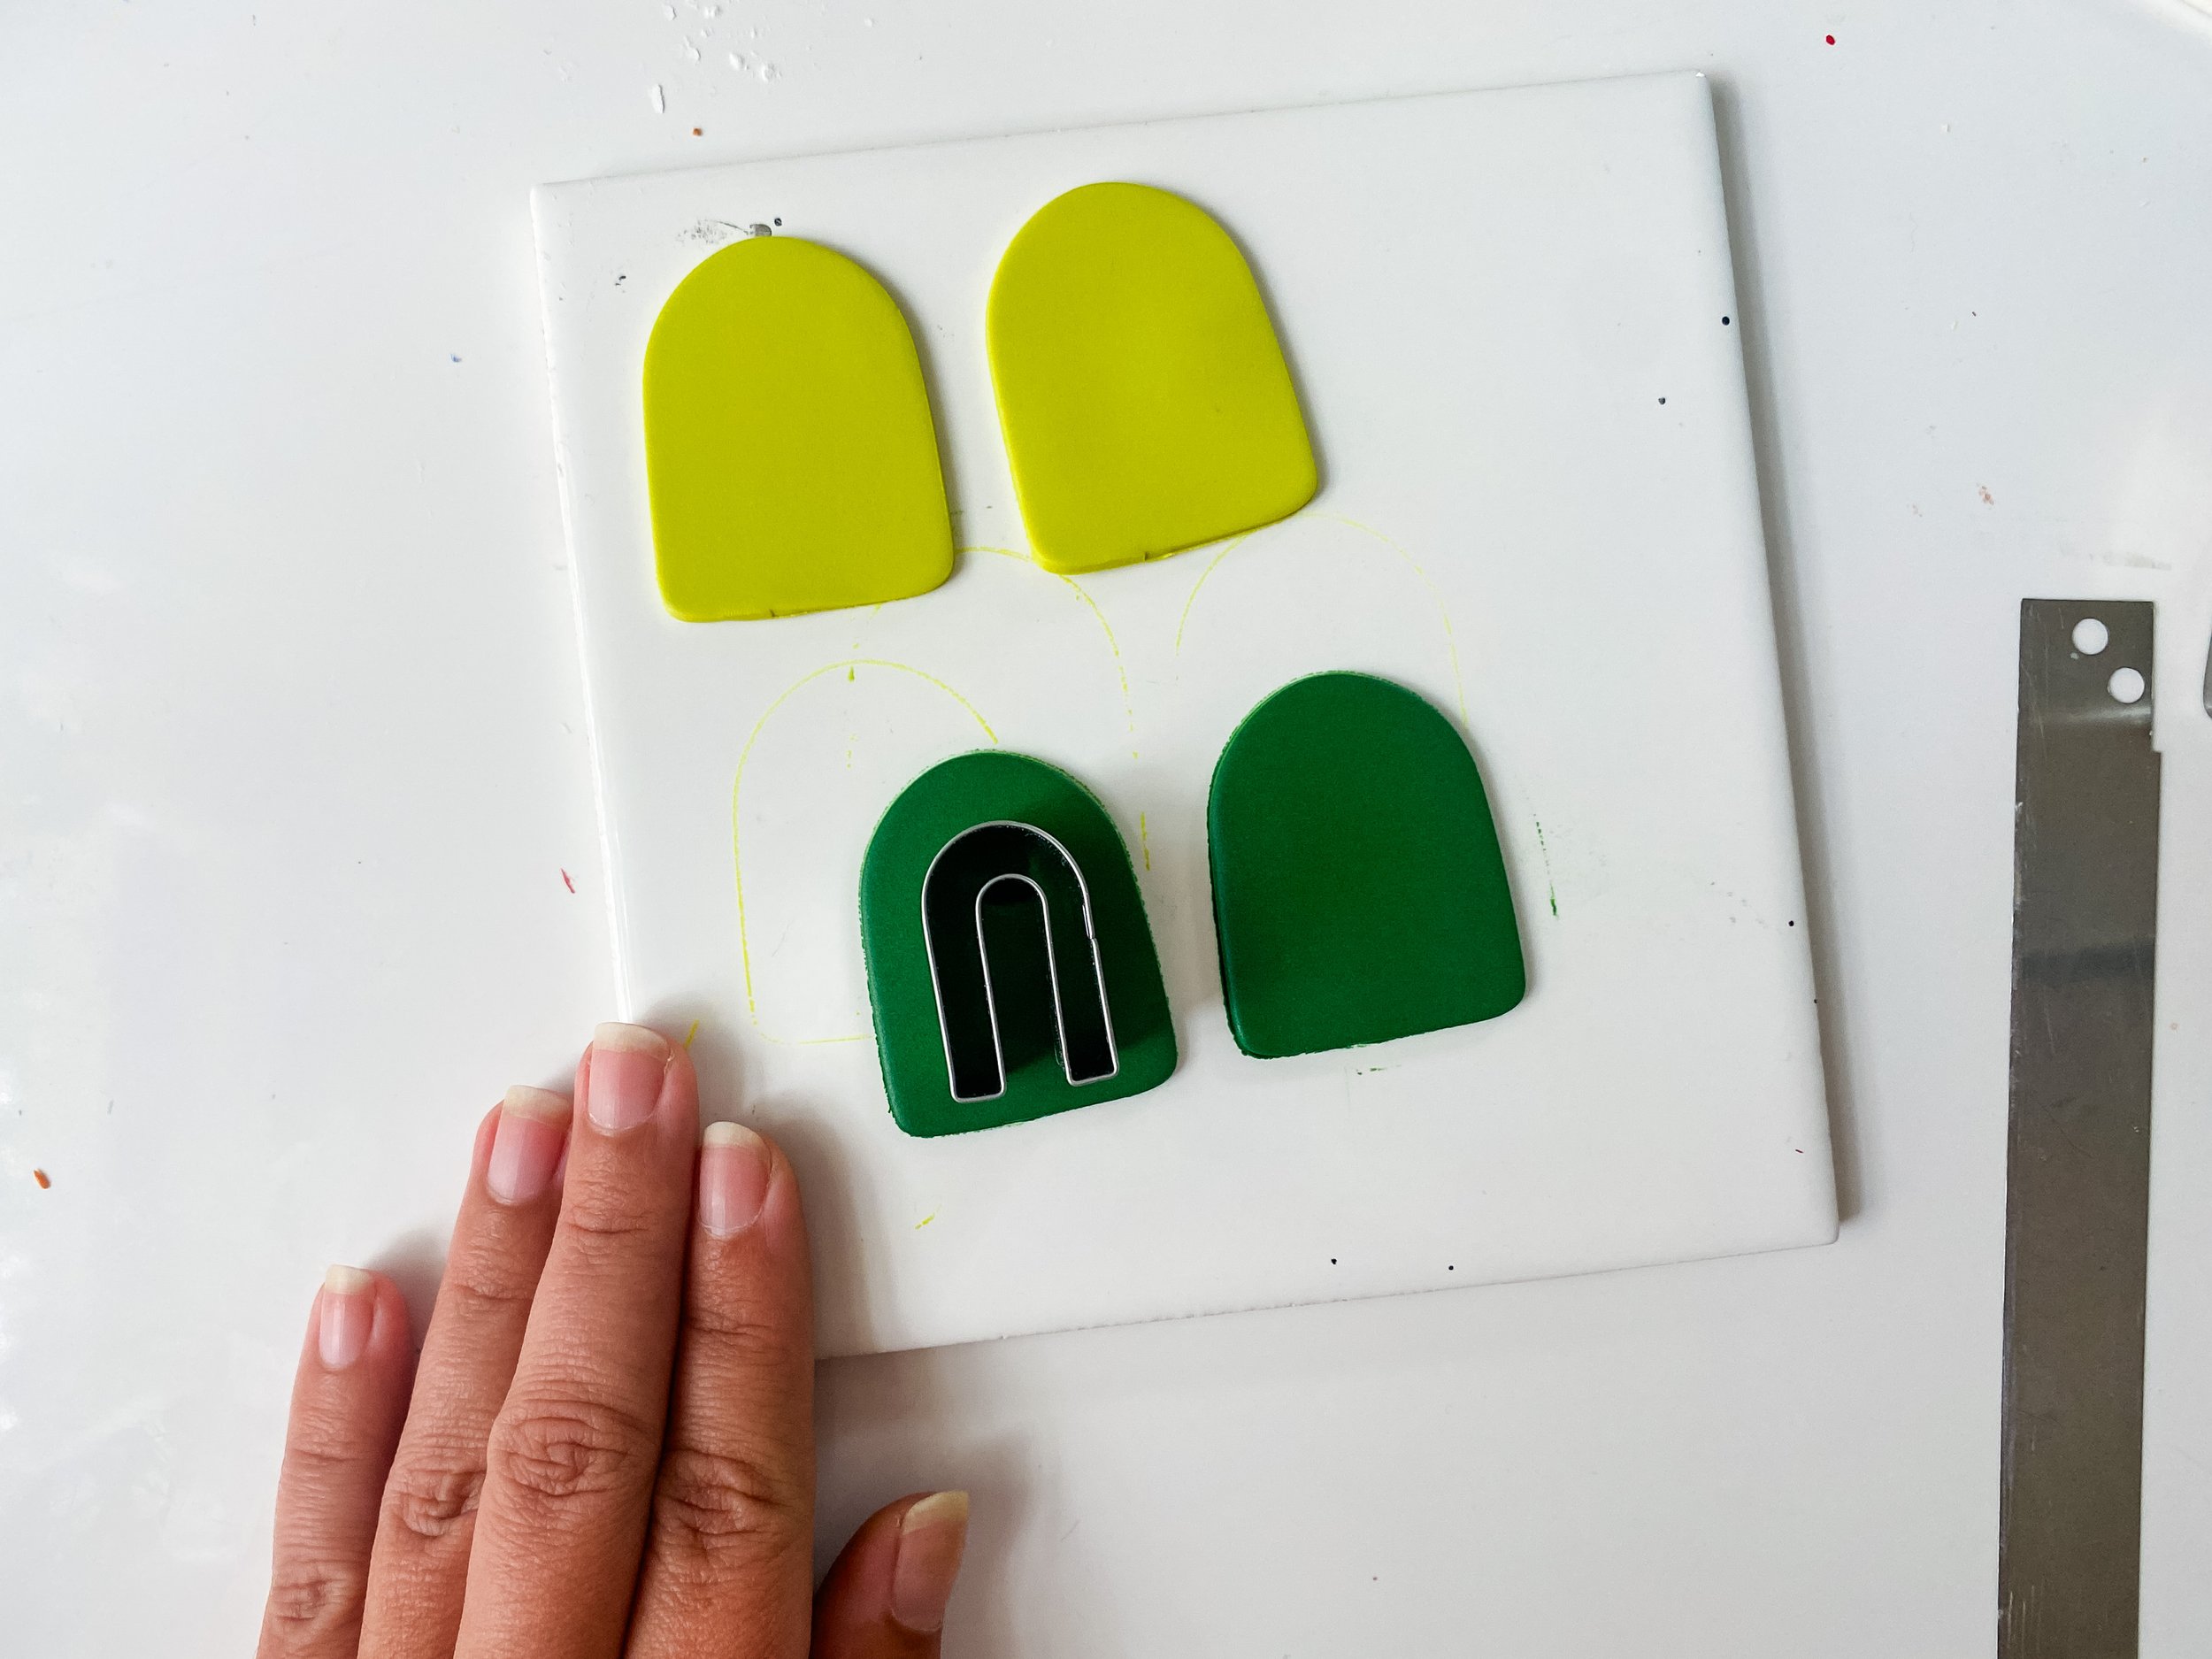
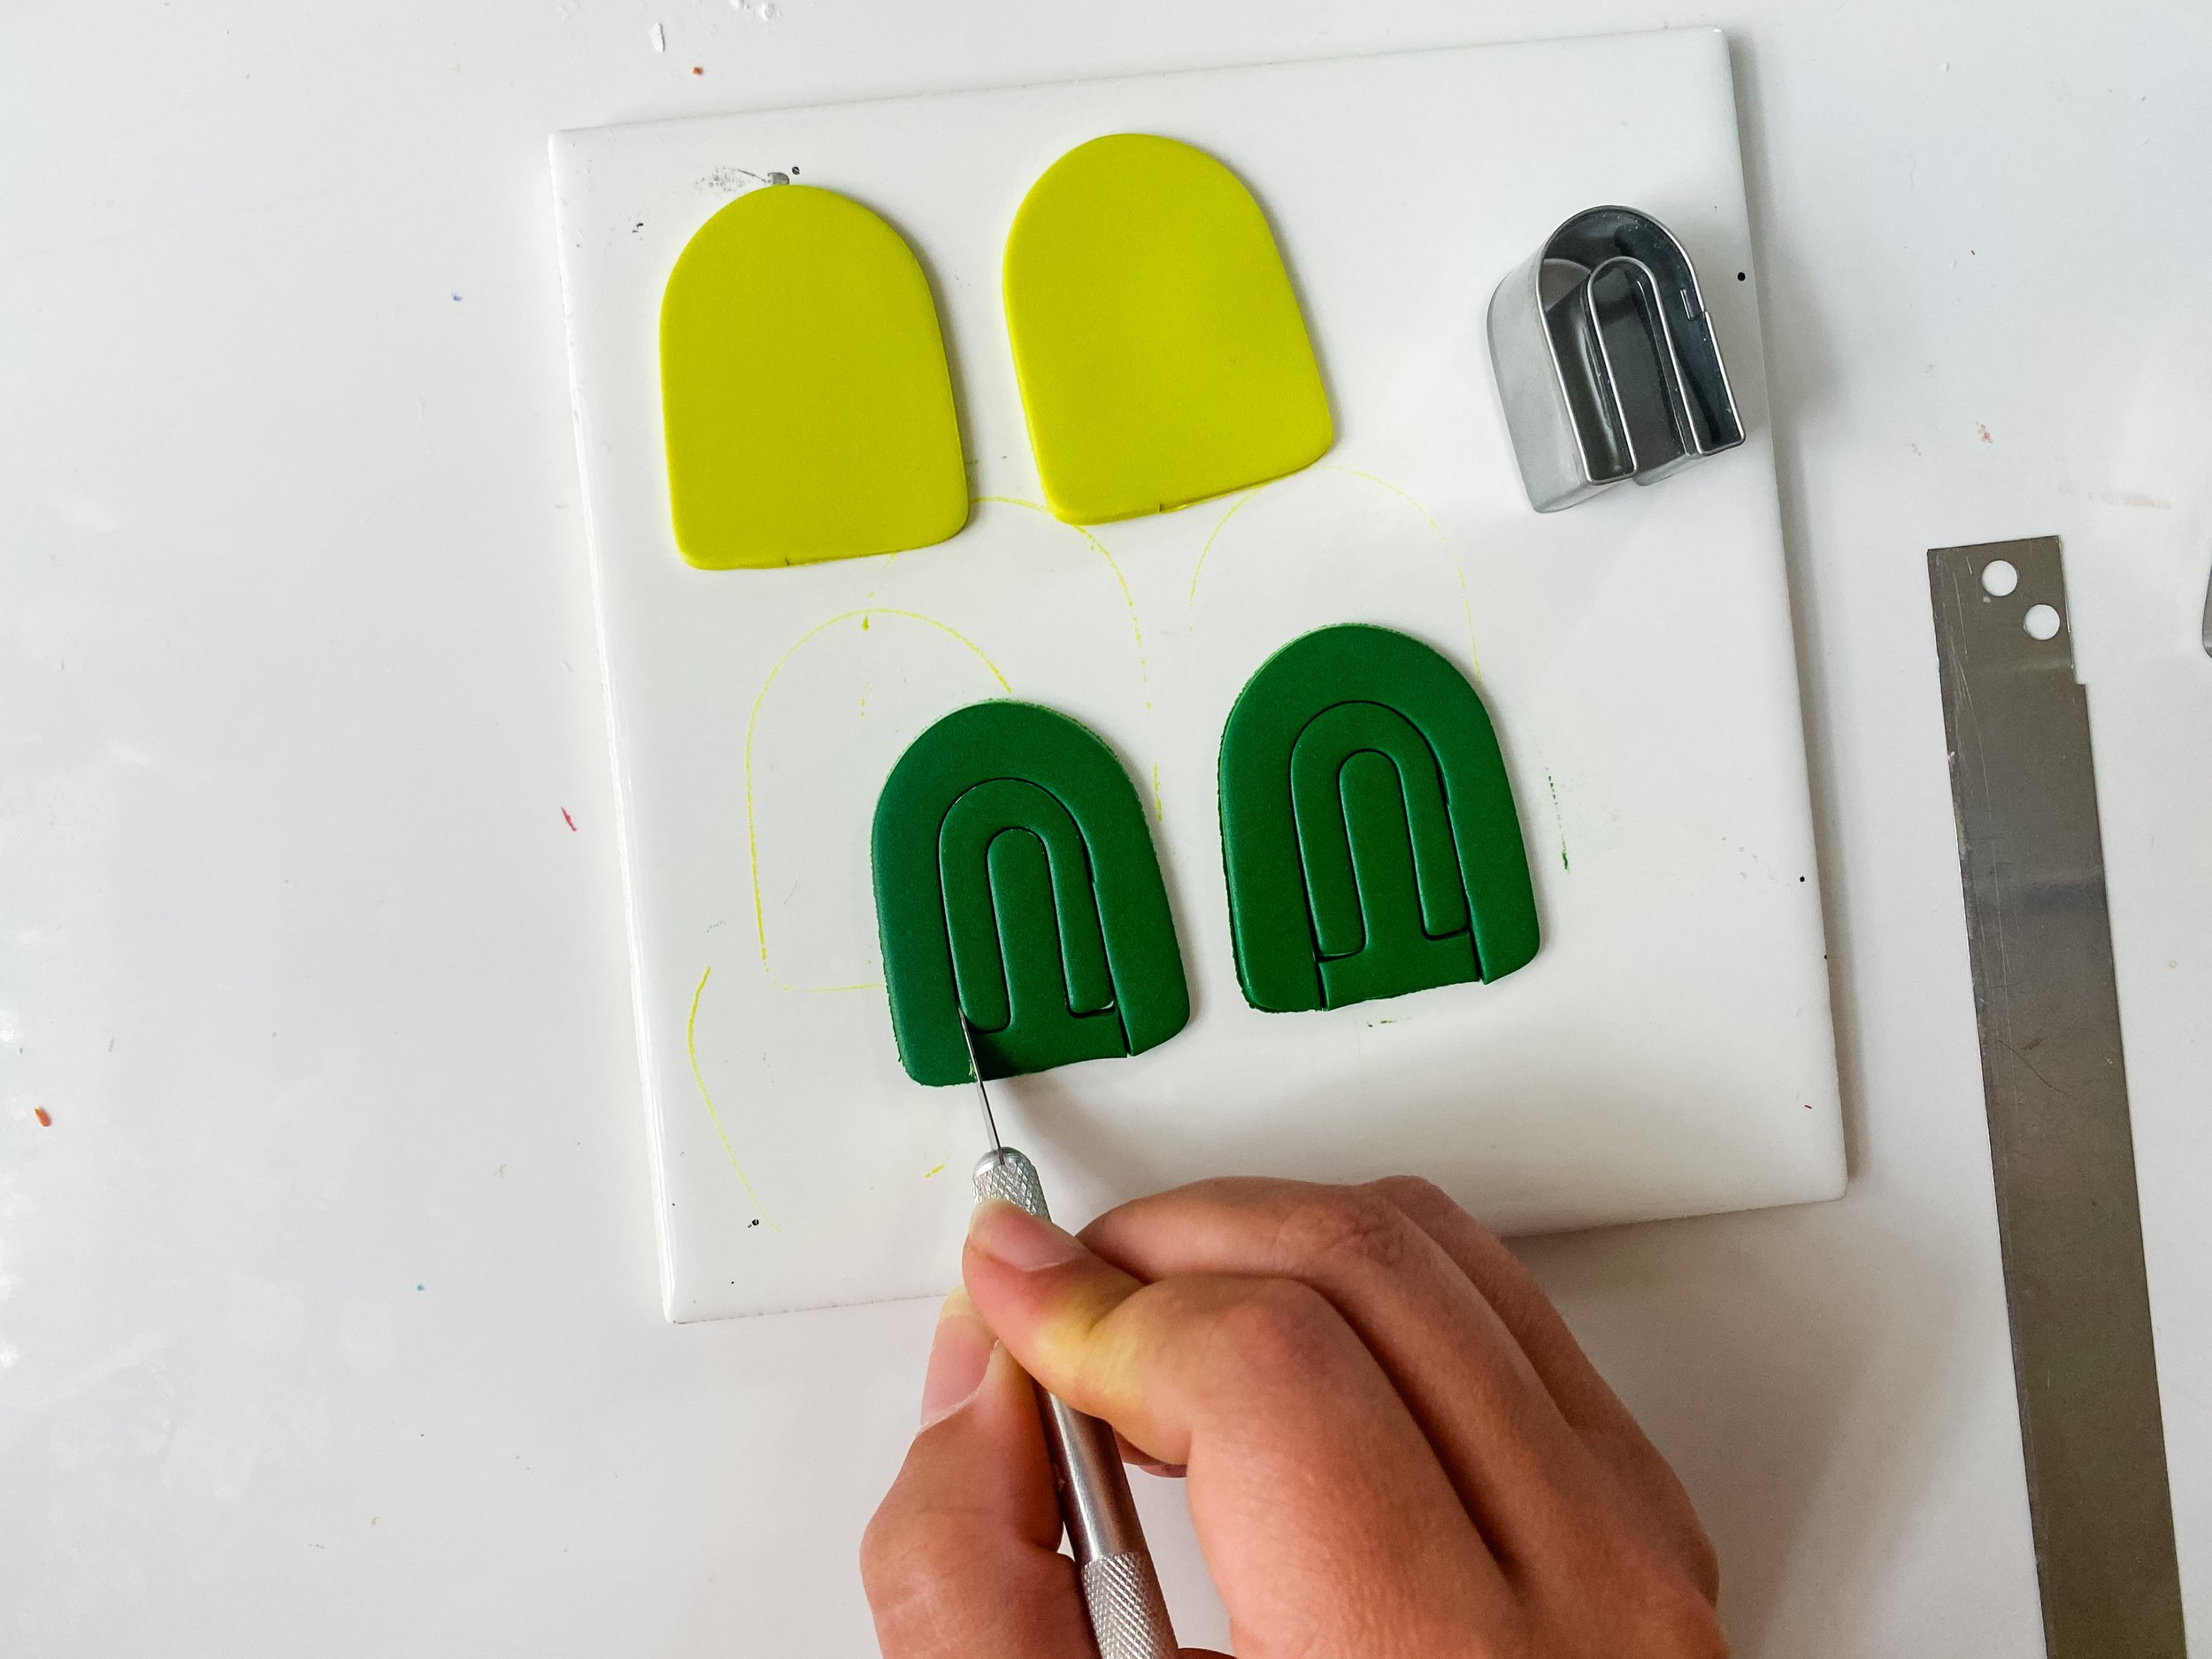
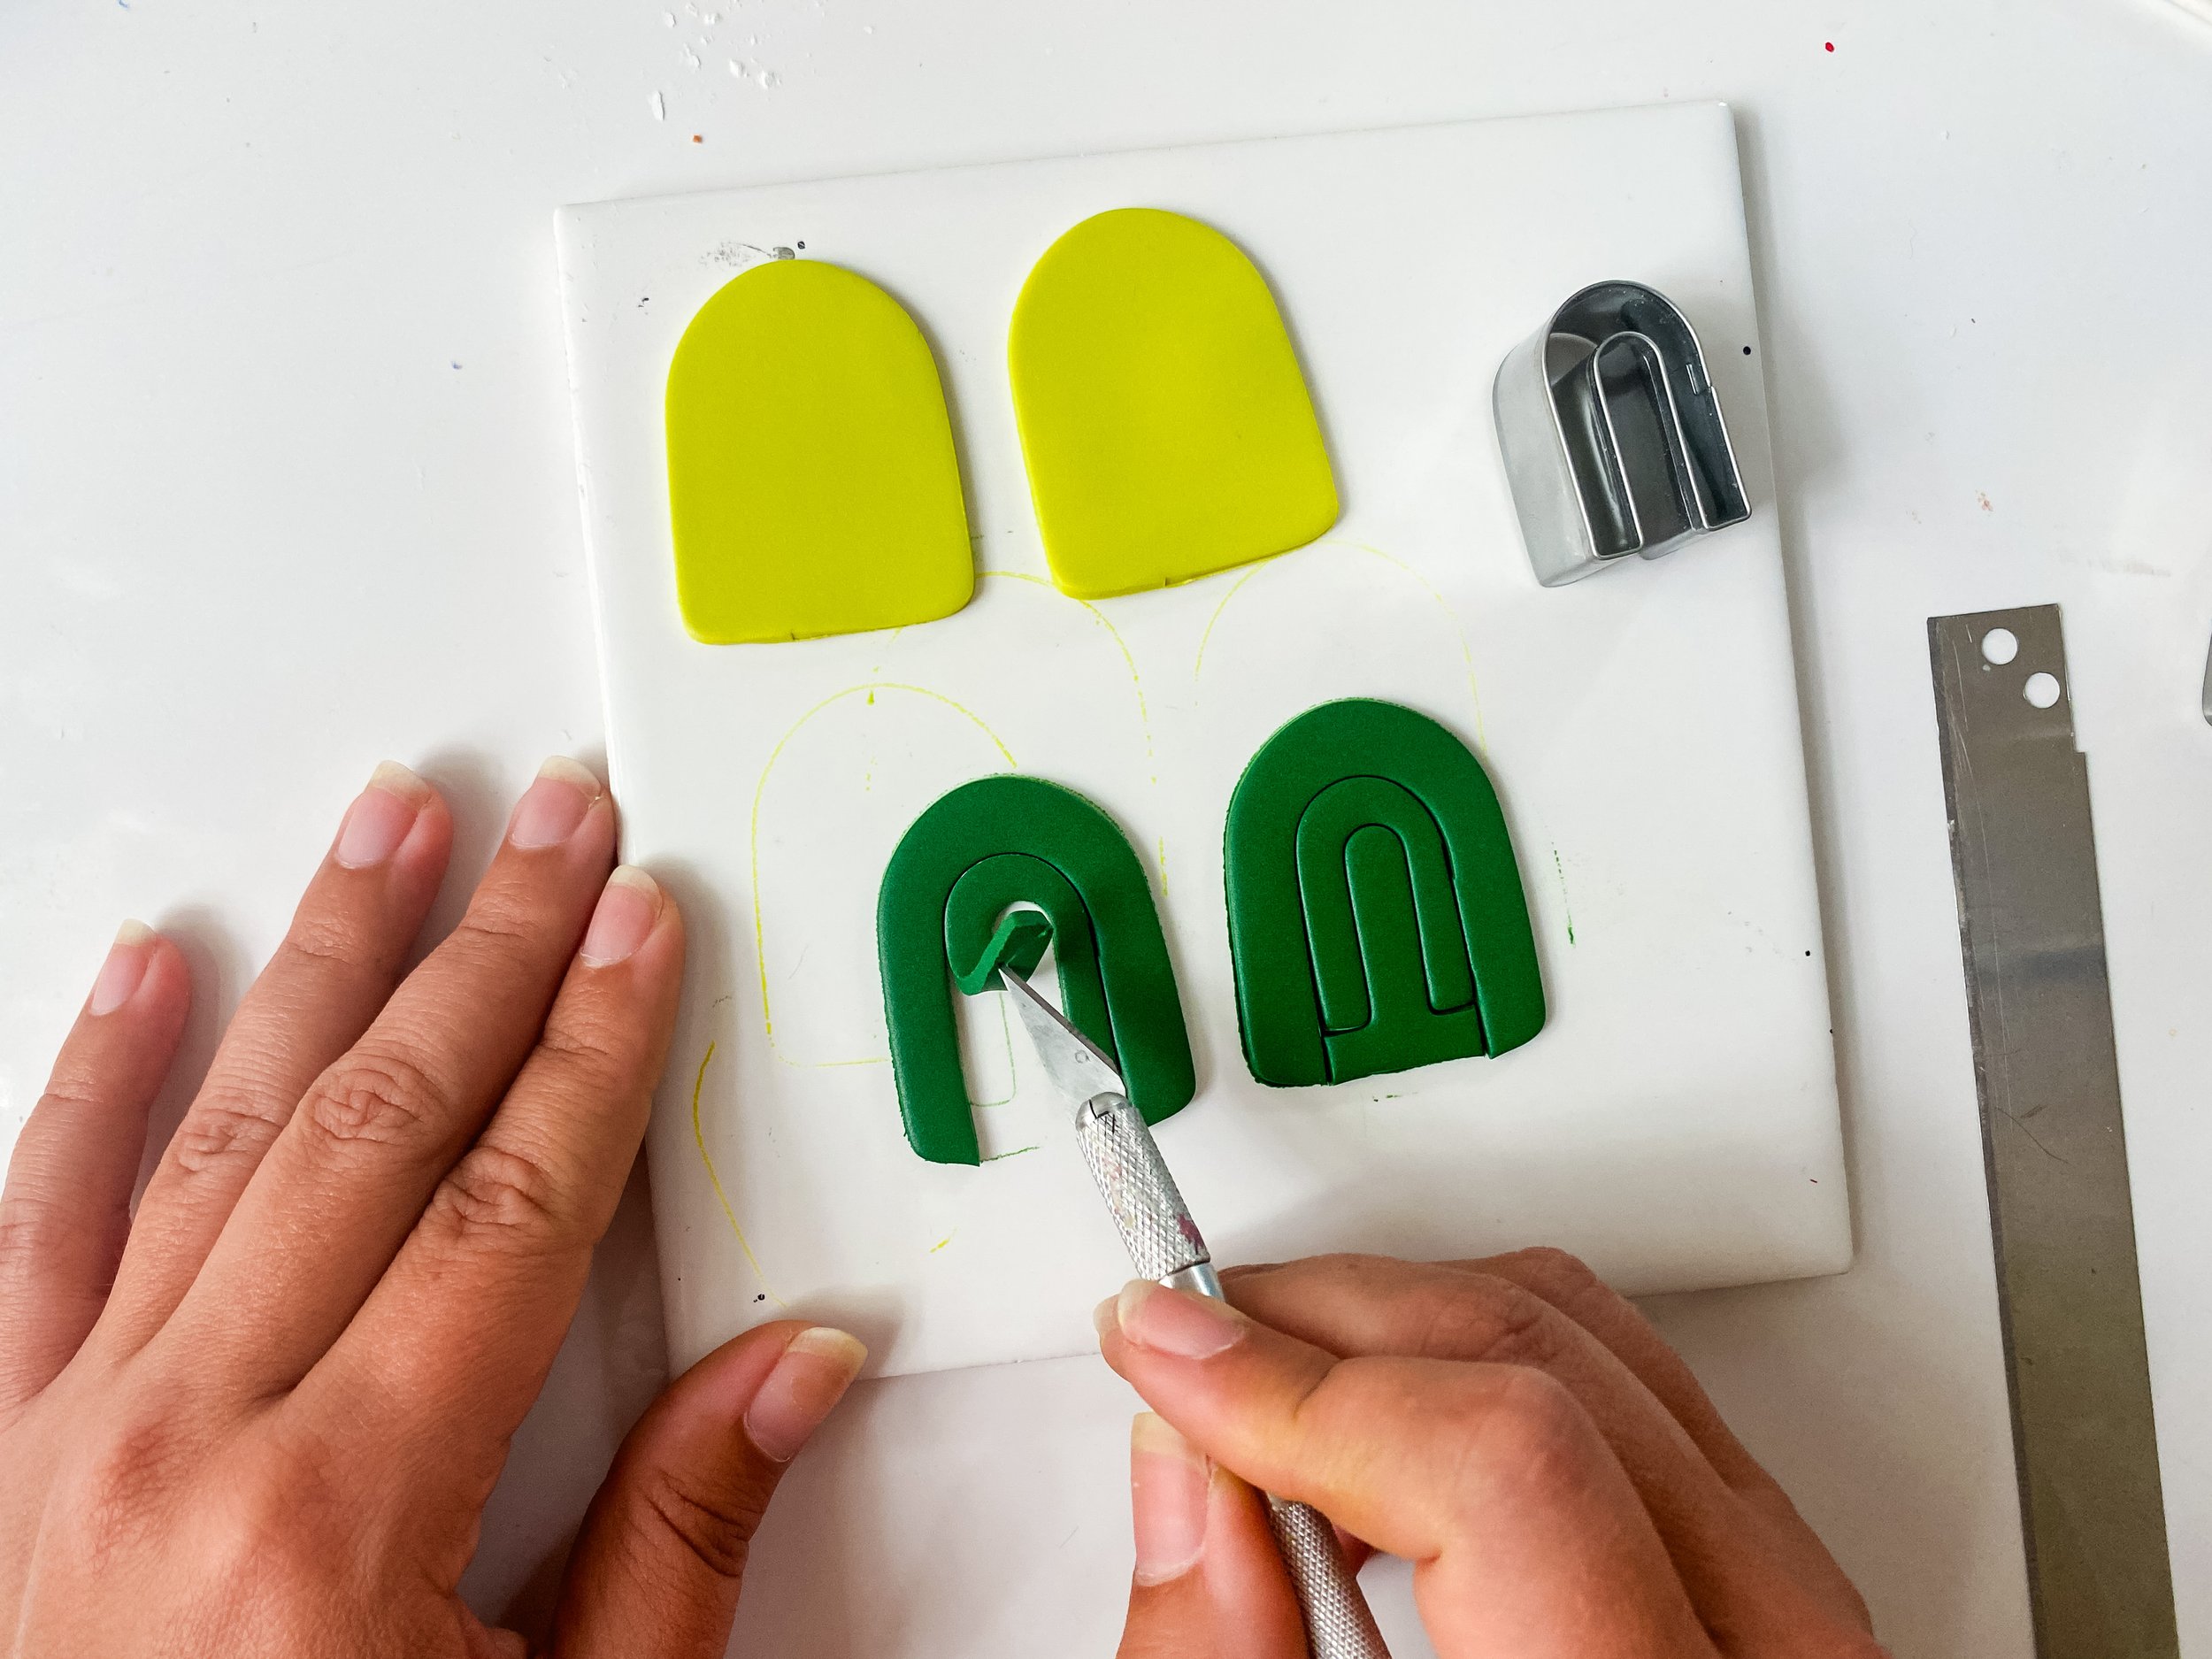
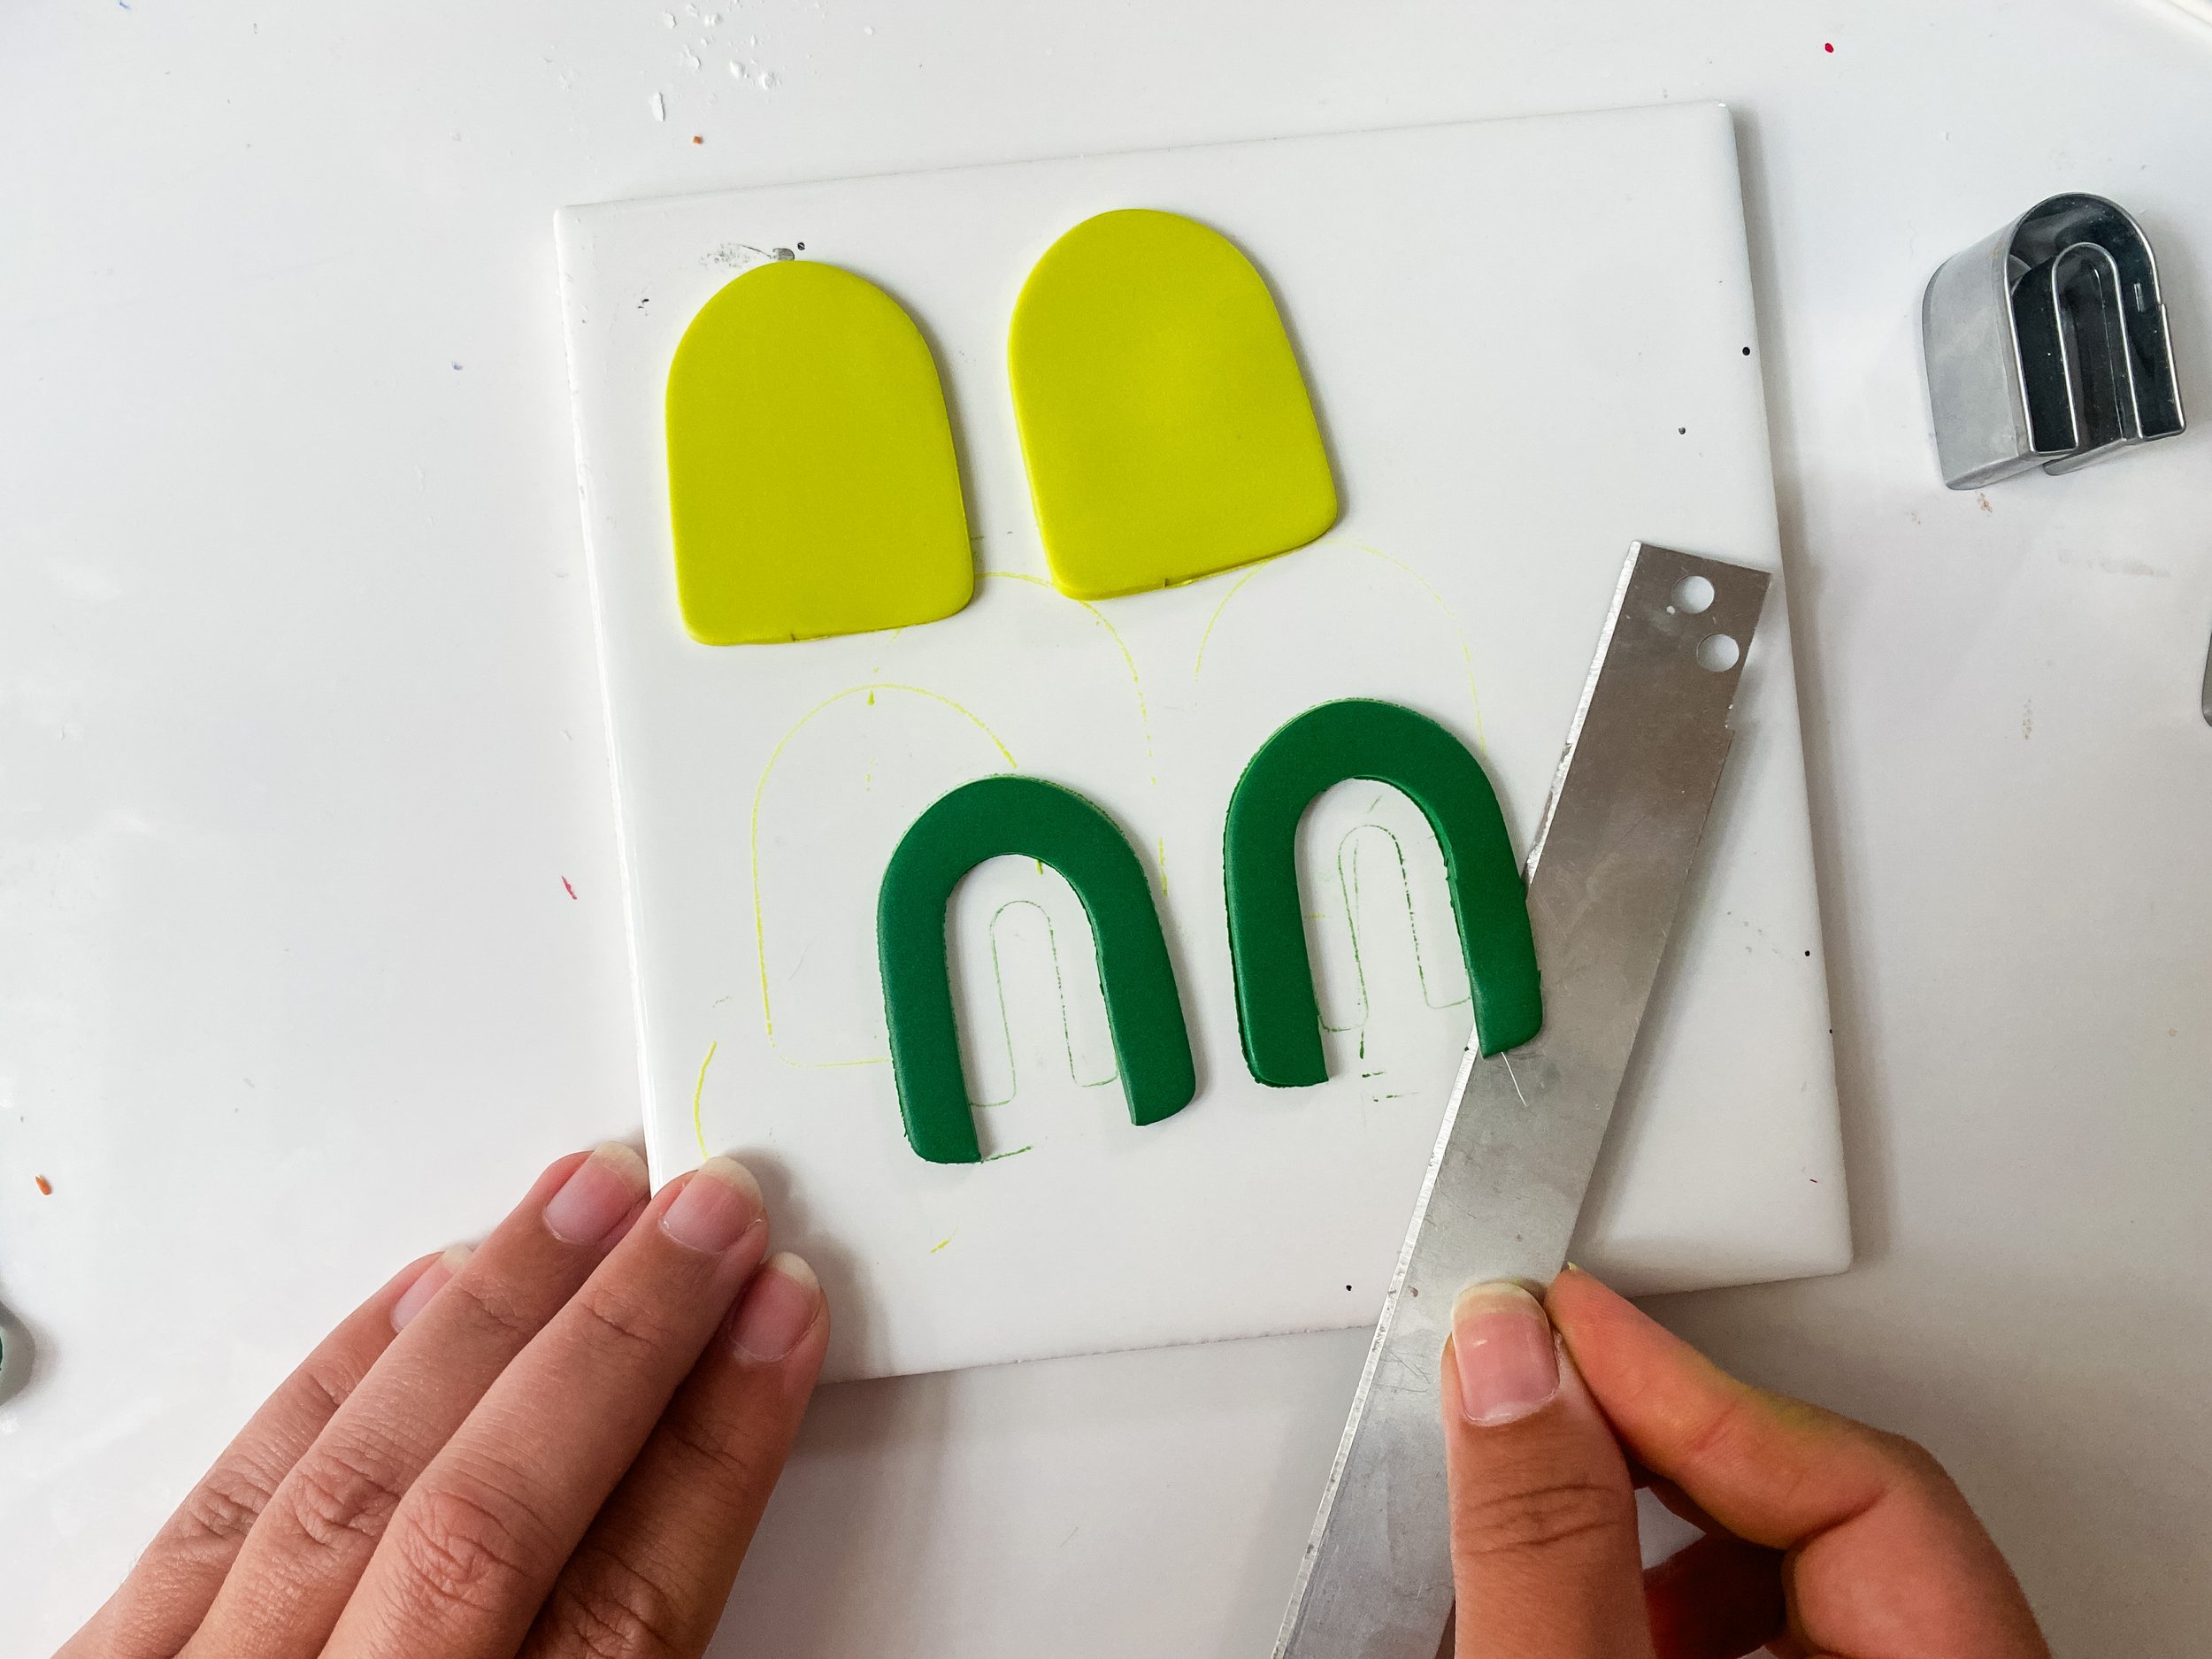
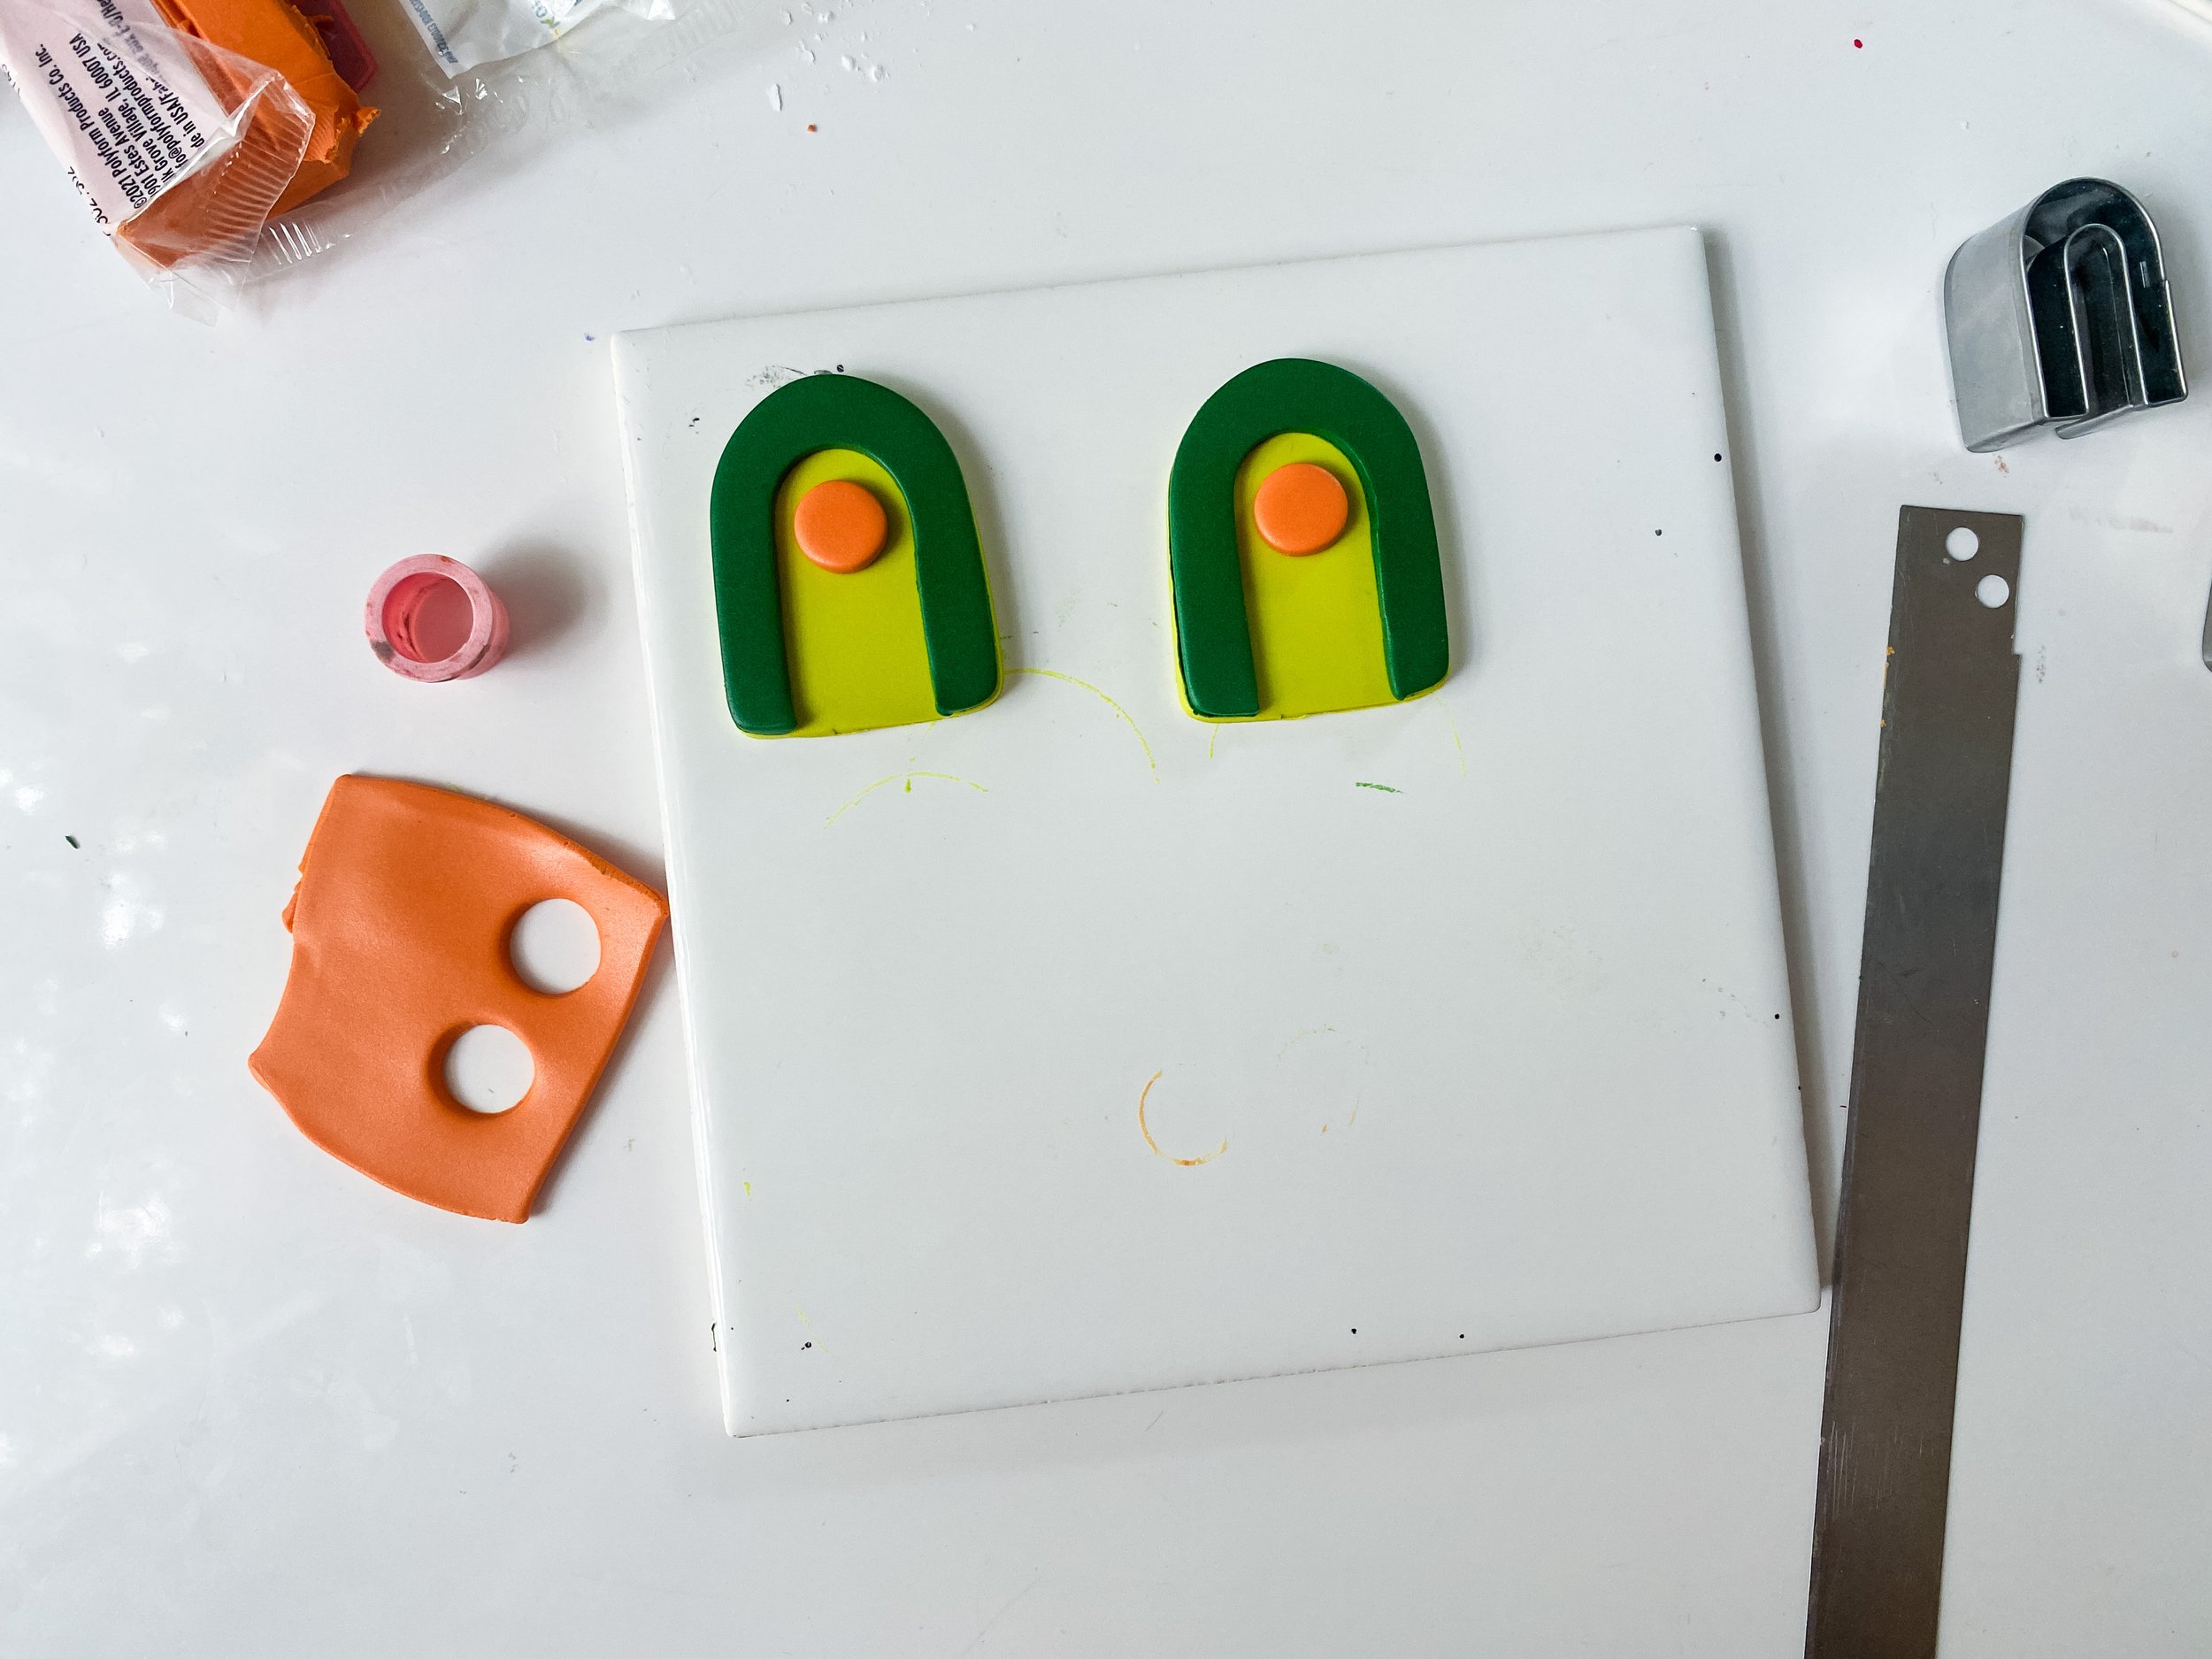
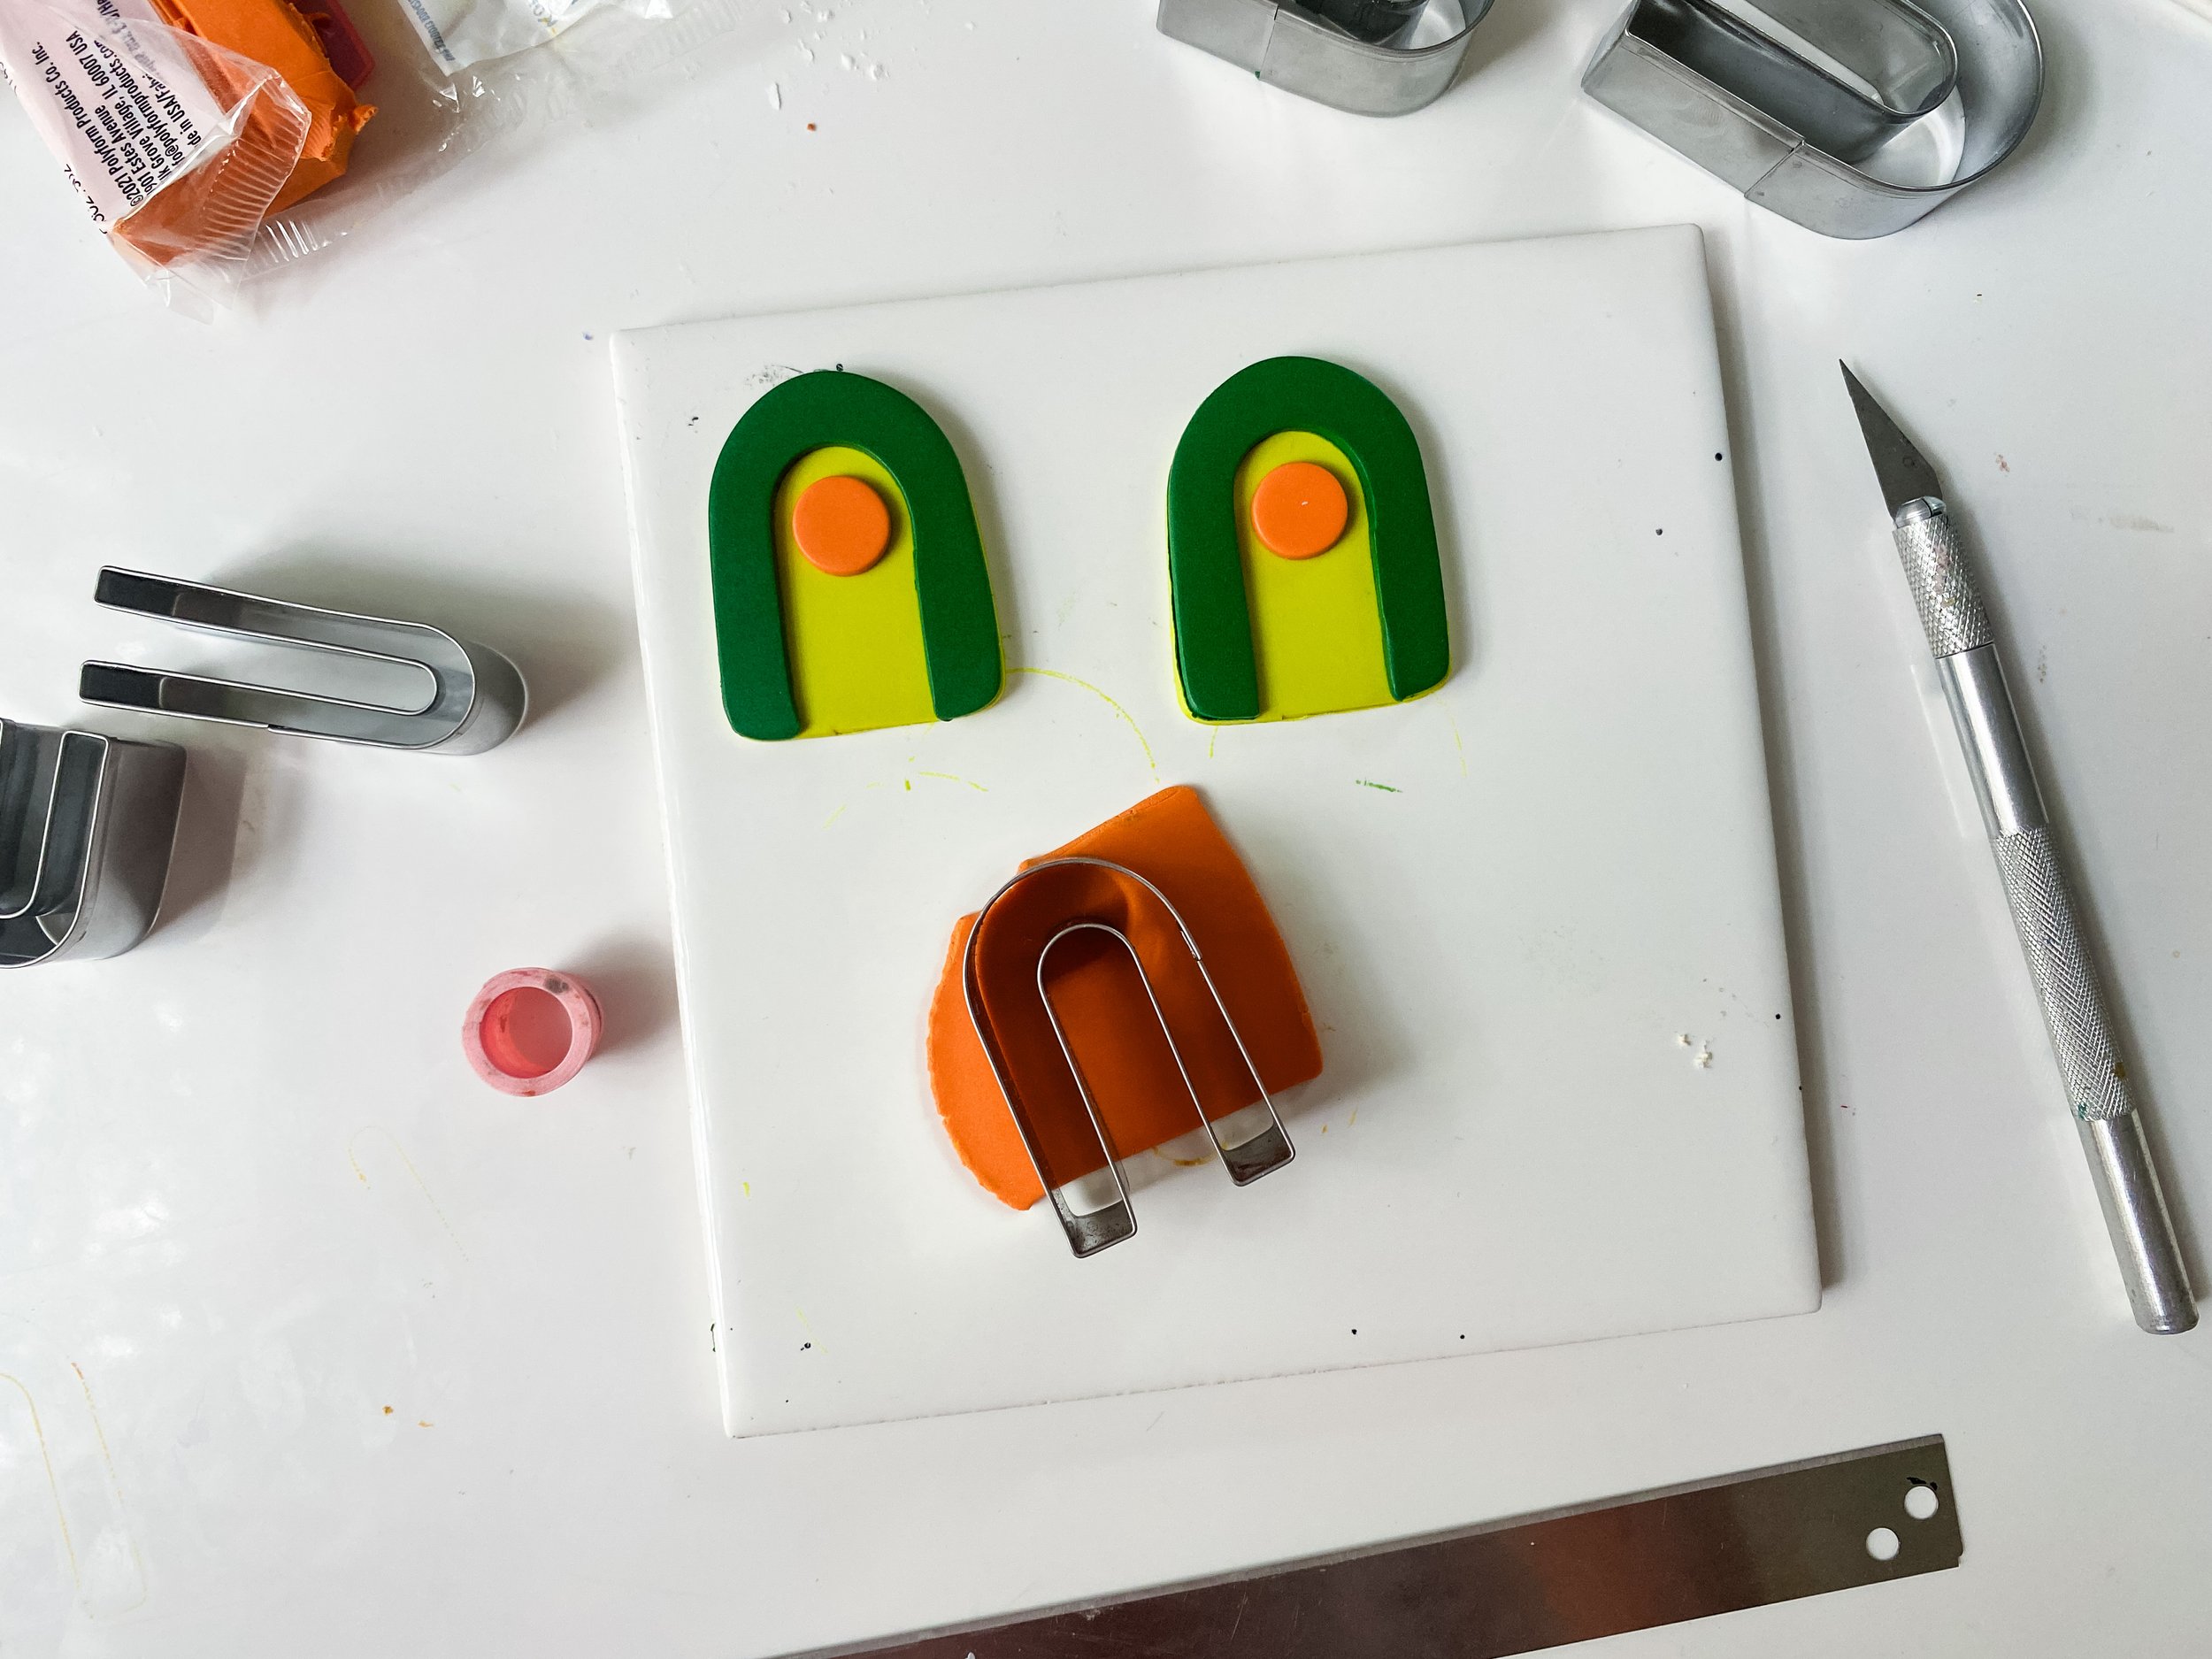
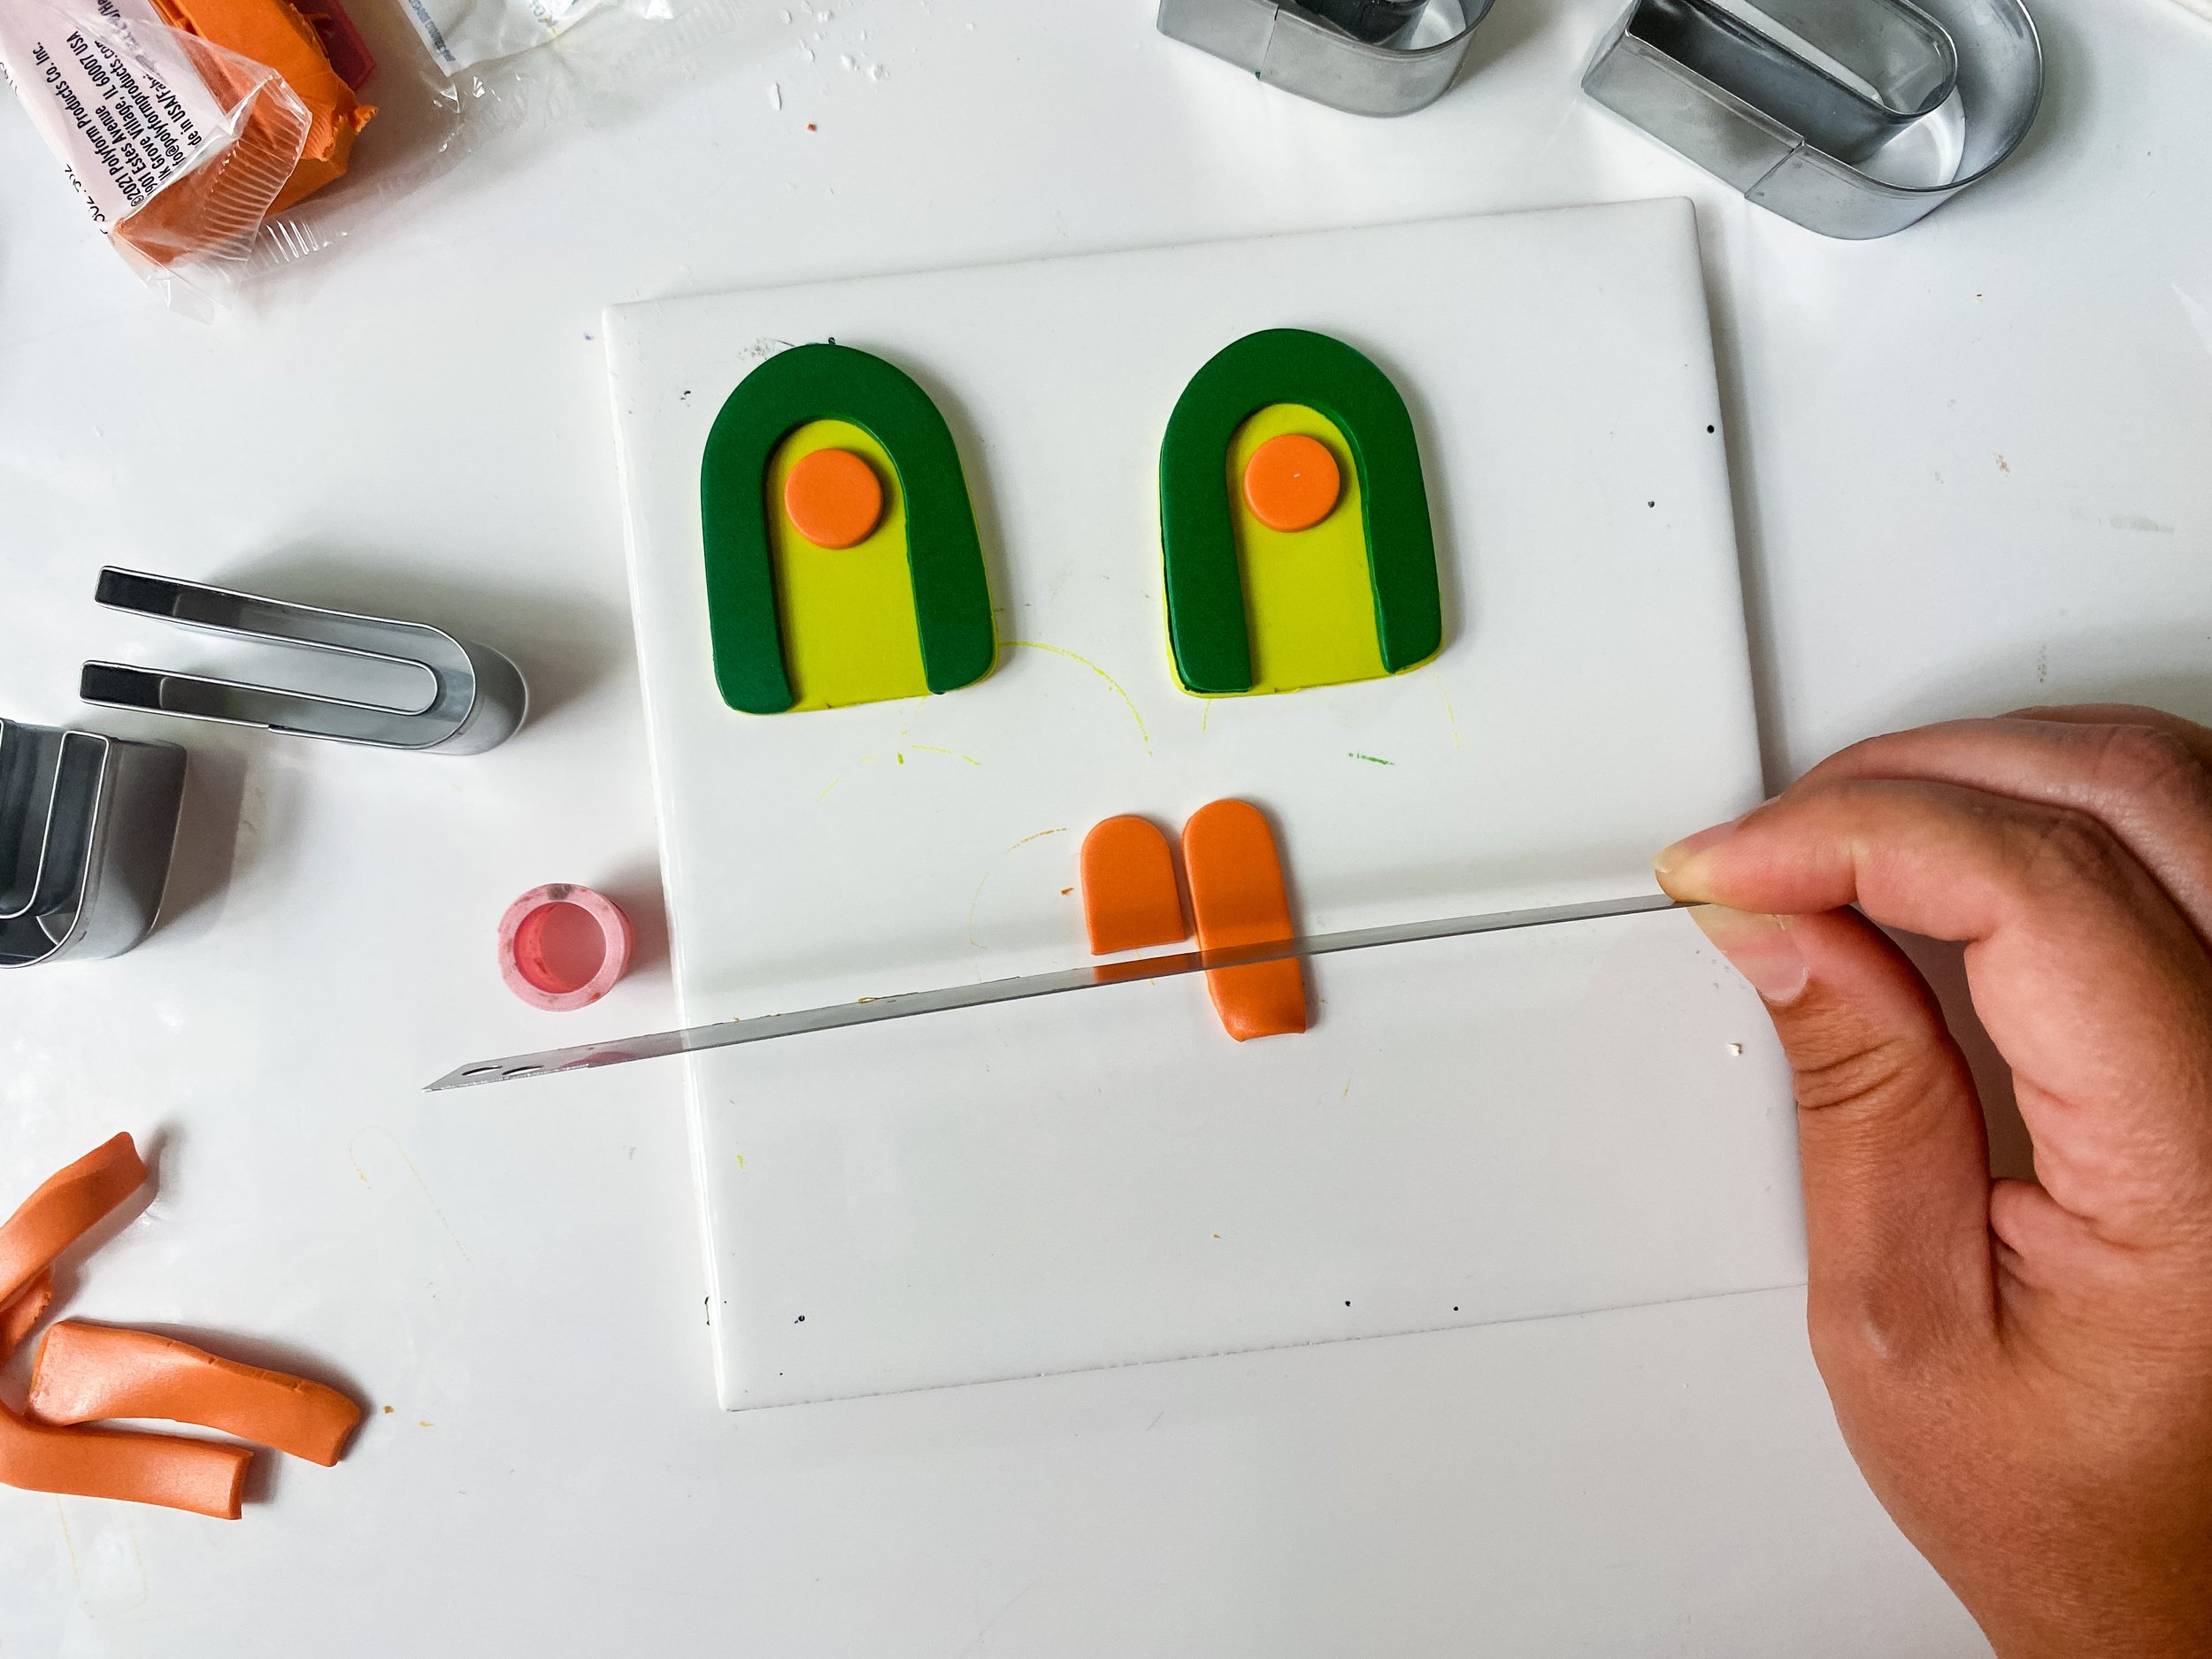
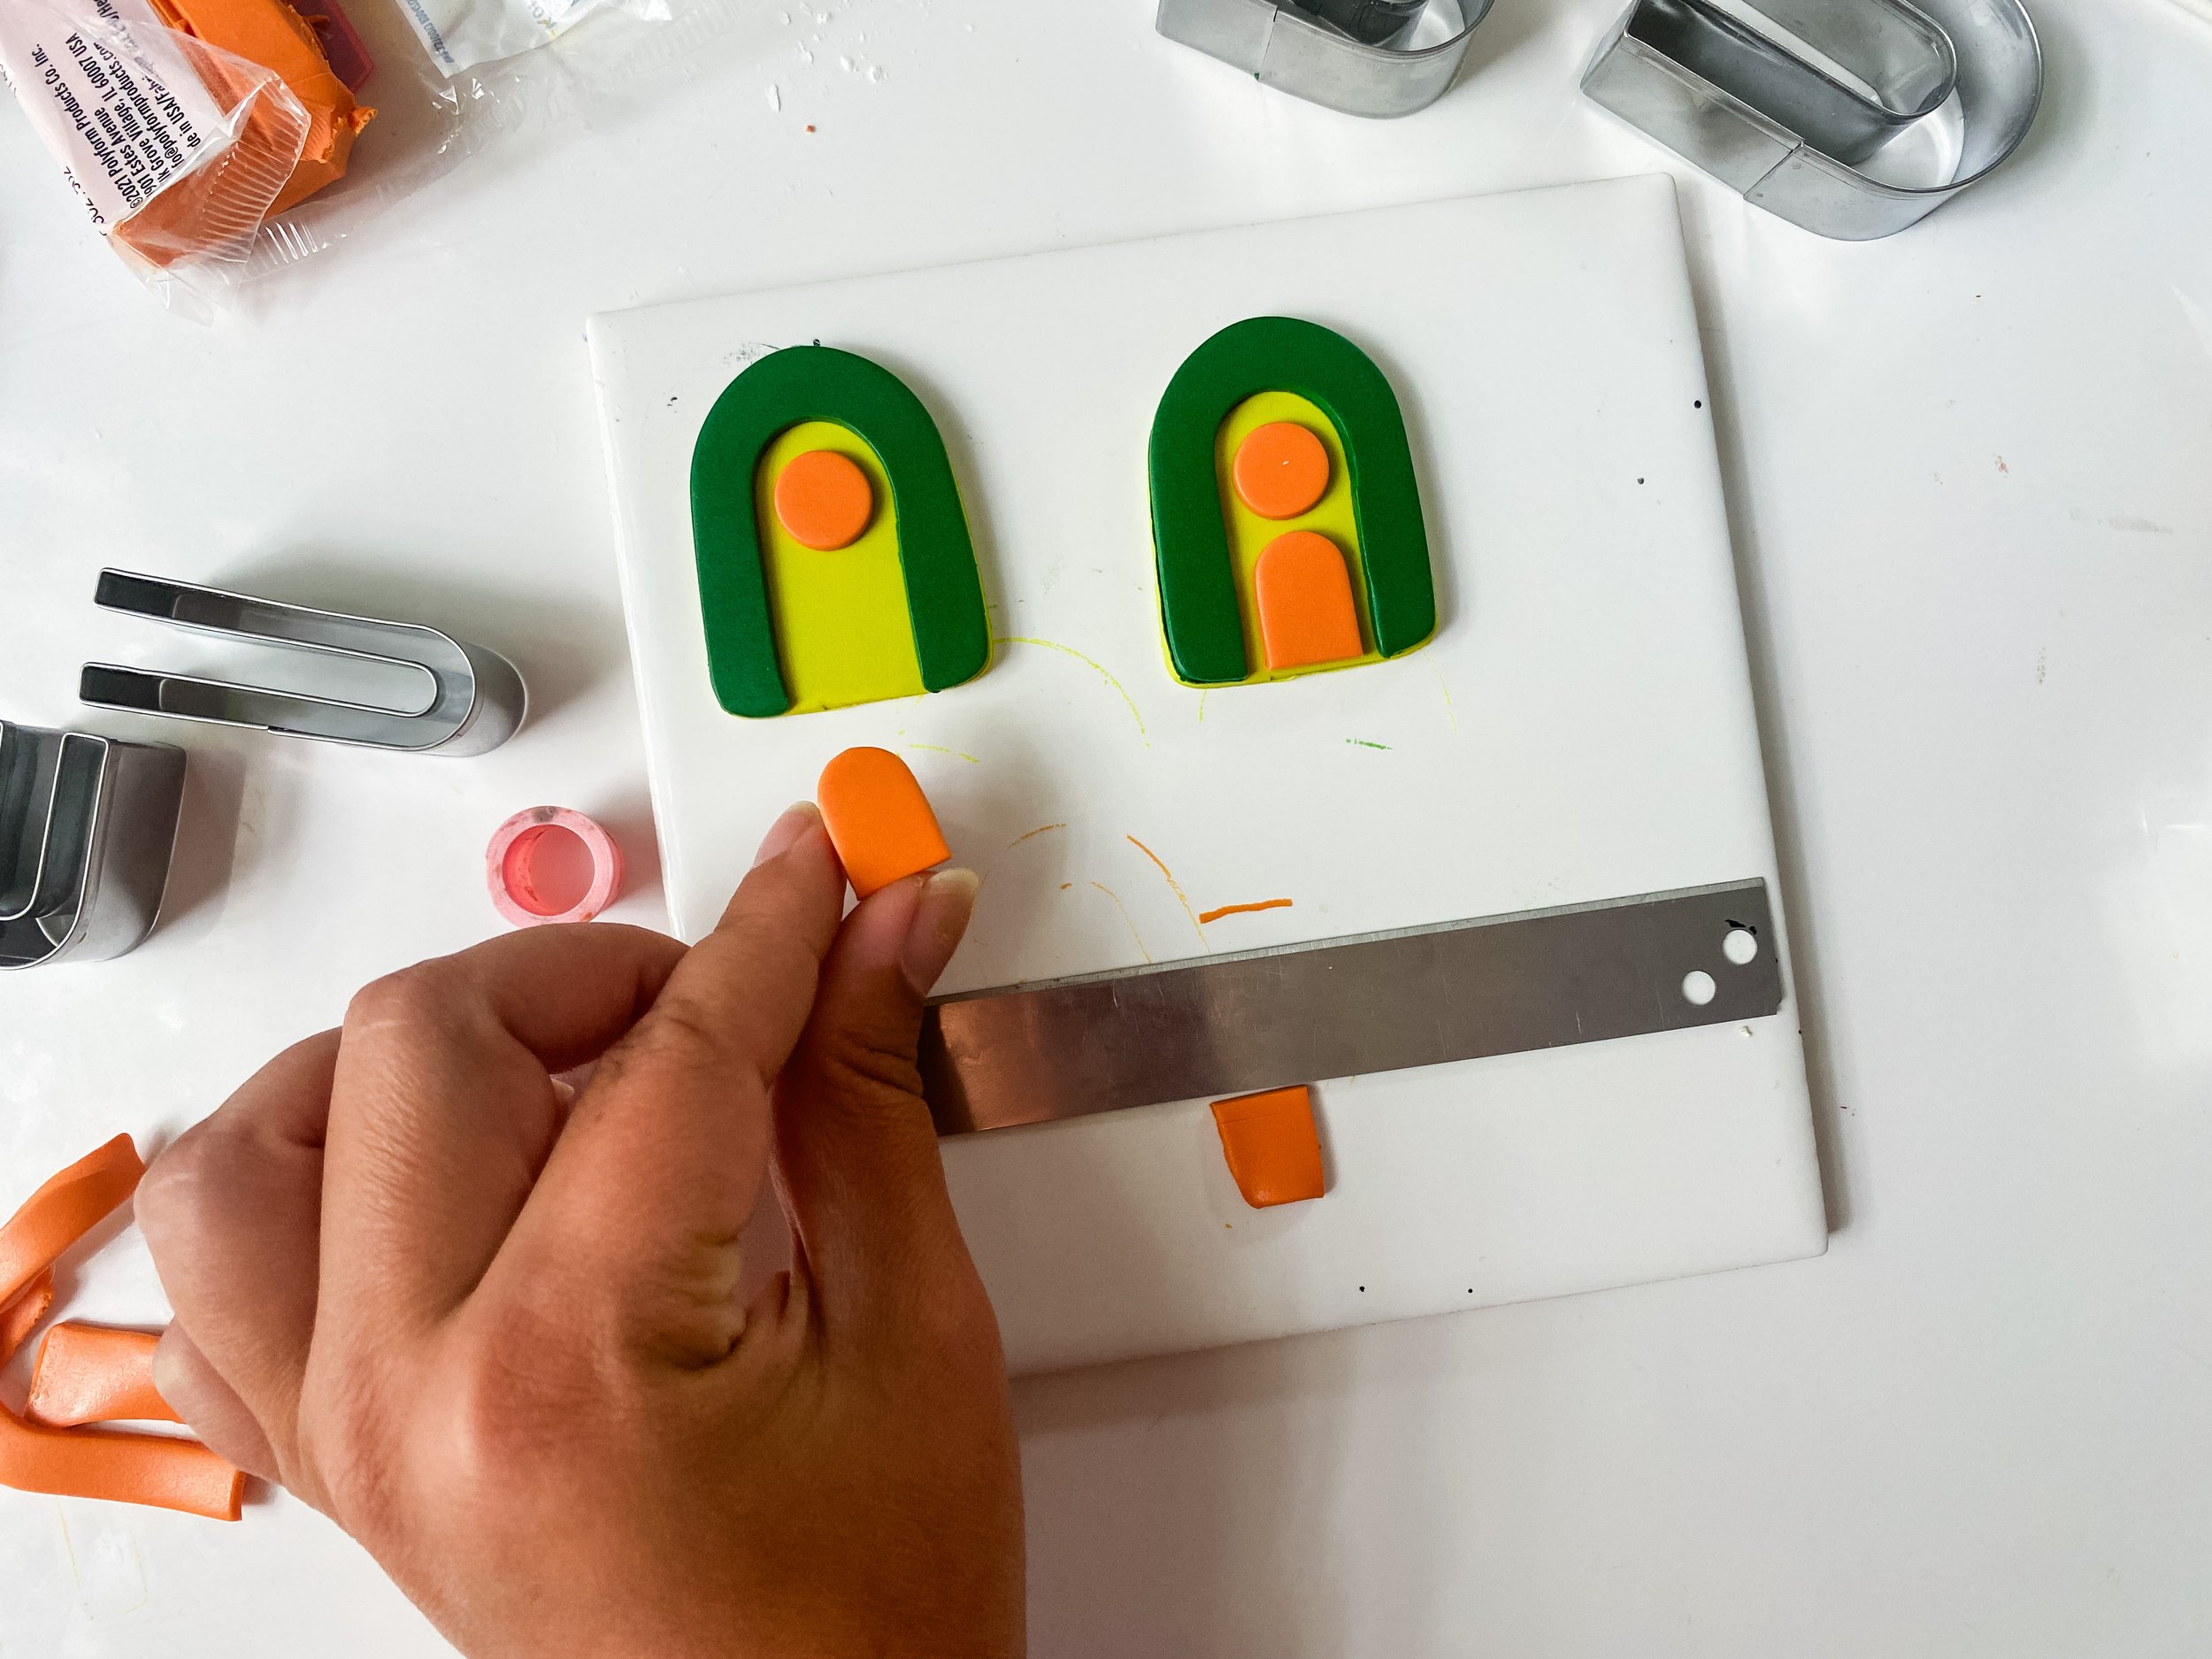
Grab your cutters and Exacto knife and lets play. I wanted to create that green arch but didnt have an exact cutter that fit onto the background shape I was using. To make sure my arch was the exact same shape as my background, I cut a second piece (thinner), with the same background cutter. Then used another smaller arch to cut out the center to make it be the right shape. I used my excato knife to clean it up and make it fit exactly.
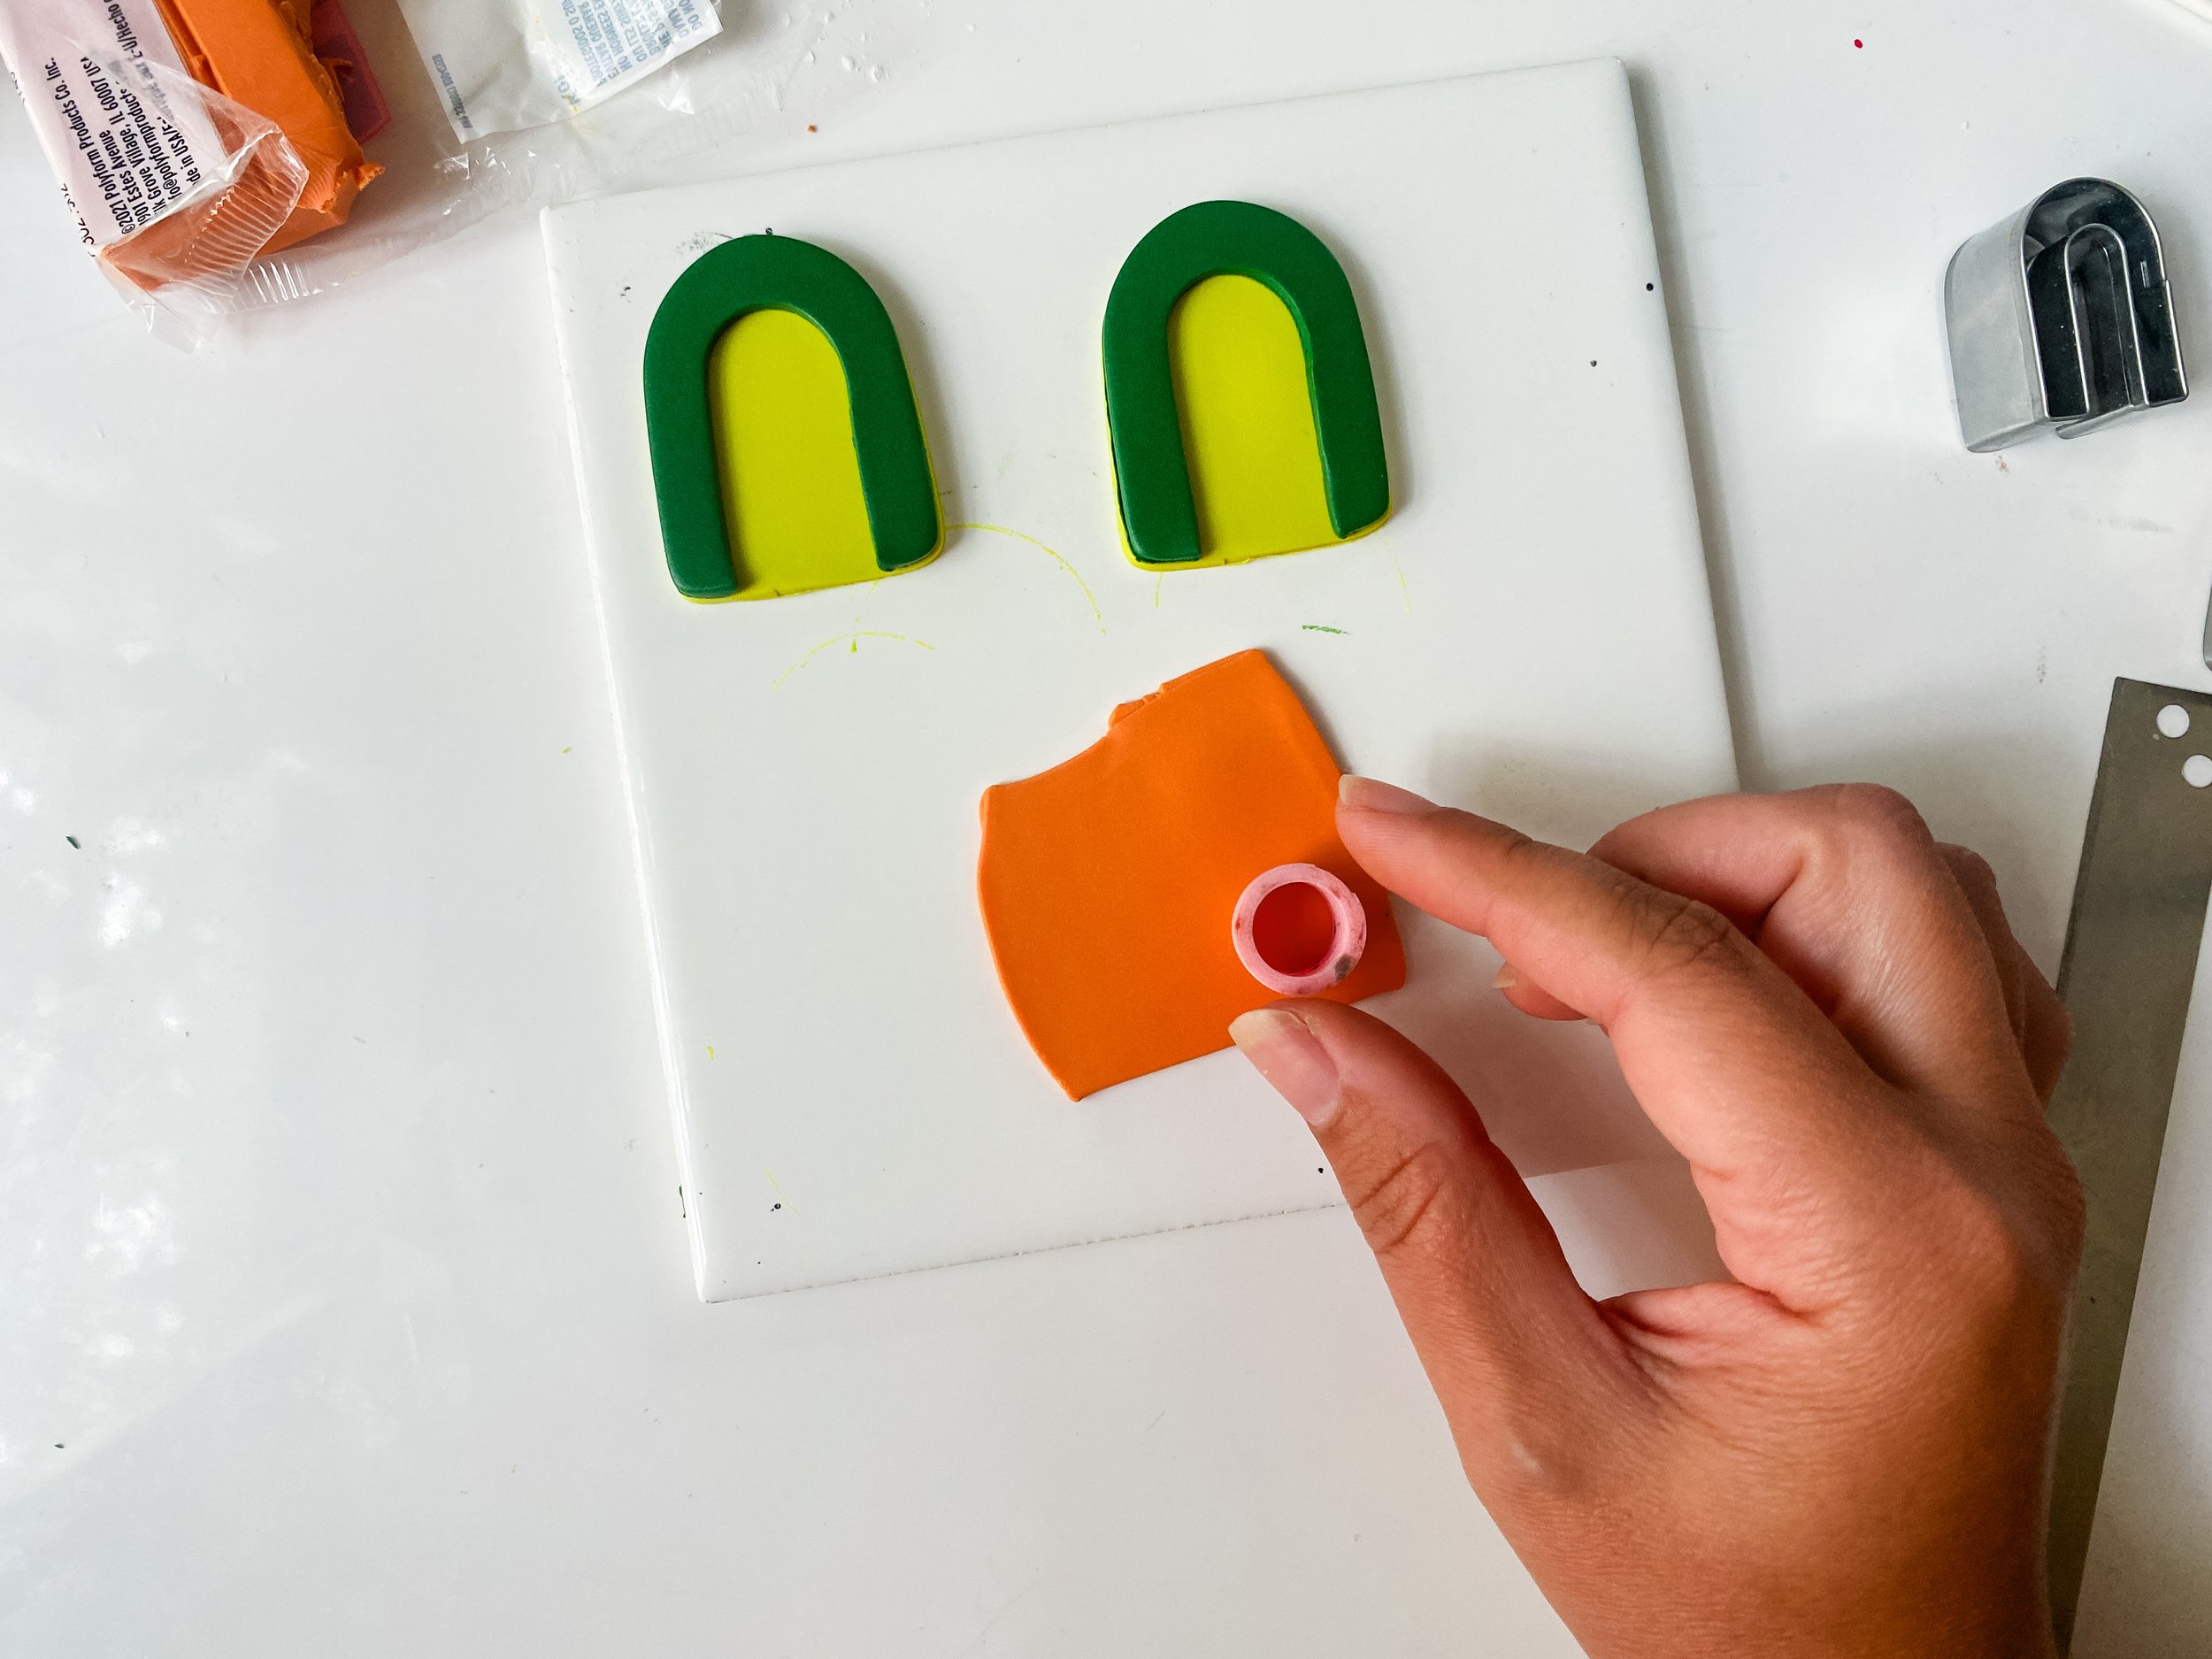
Then, I used smaller shape cutters to make the inner pieces and top. Again, I cut the shapes in half and played with their sizing and placement until I was happy. To adhere the clay pieces to one another, I just gave them a gentle smoosh.
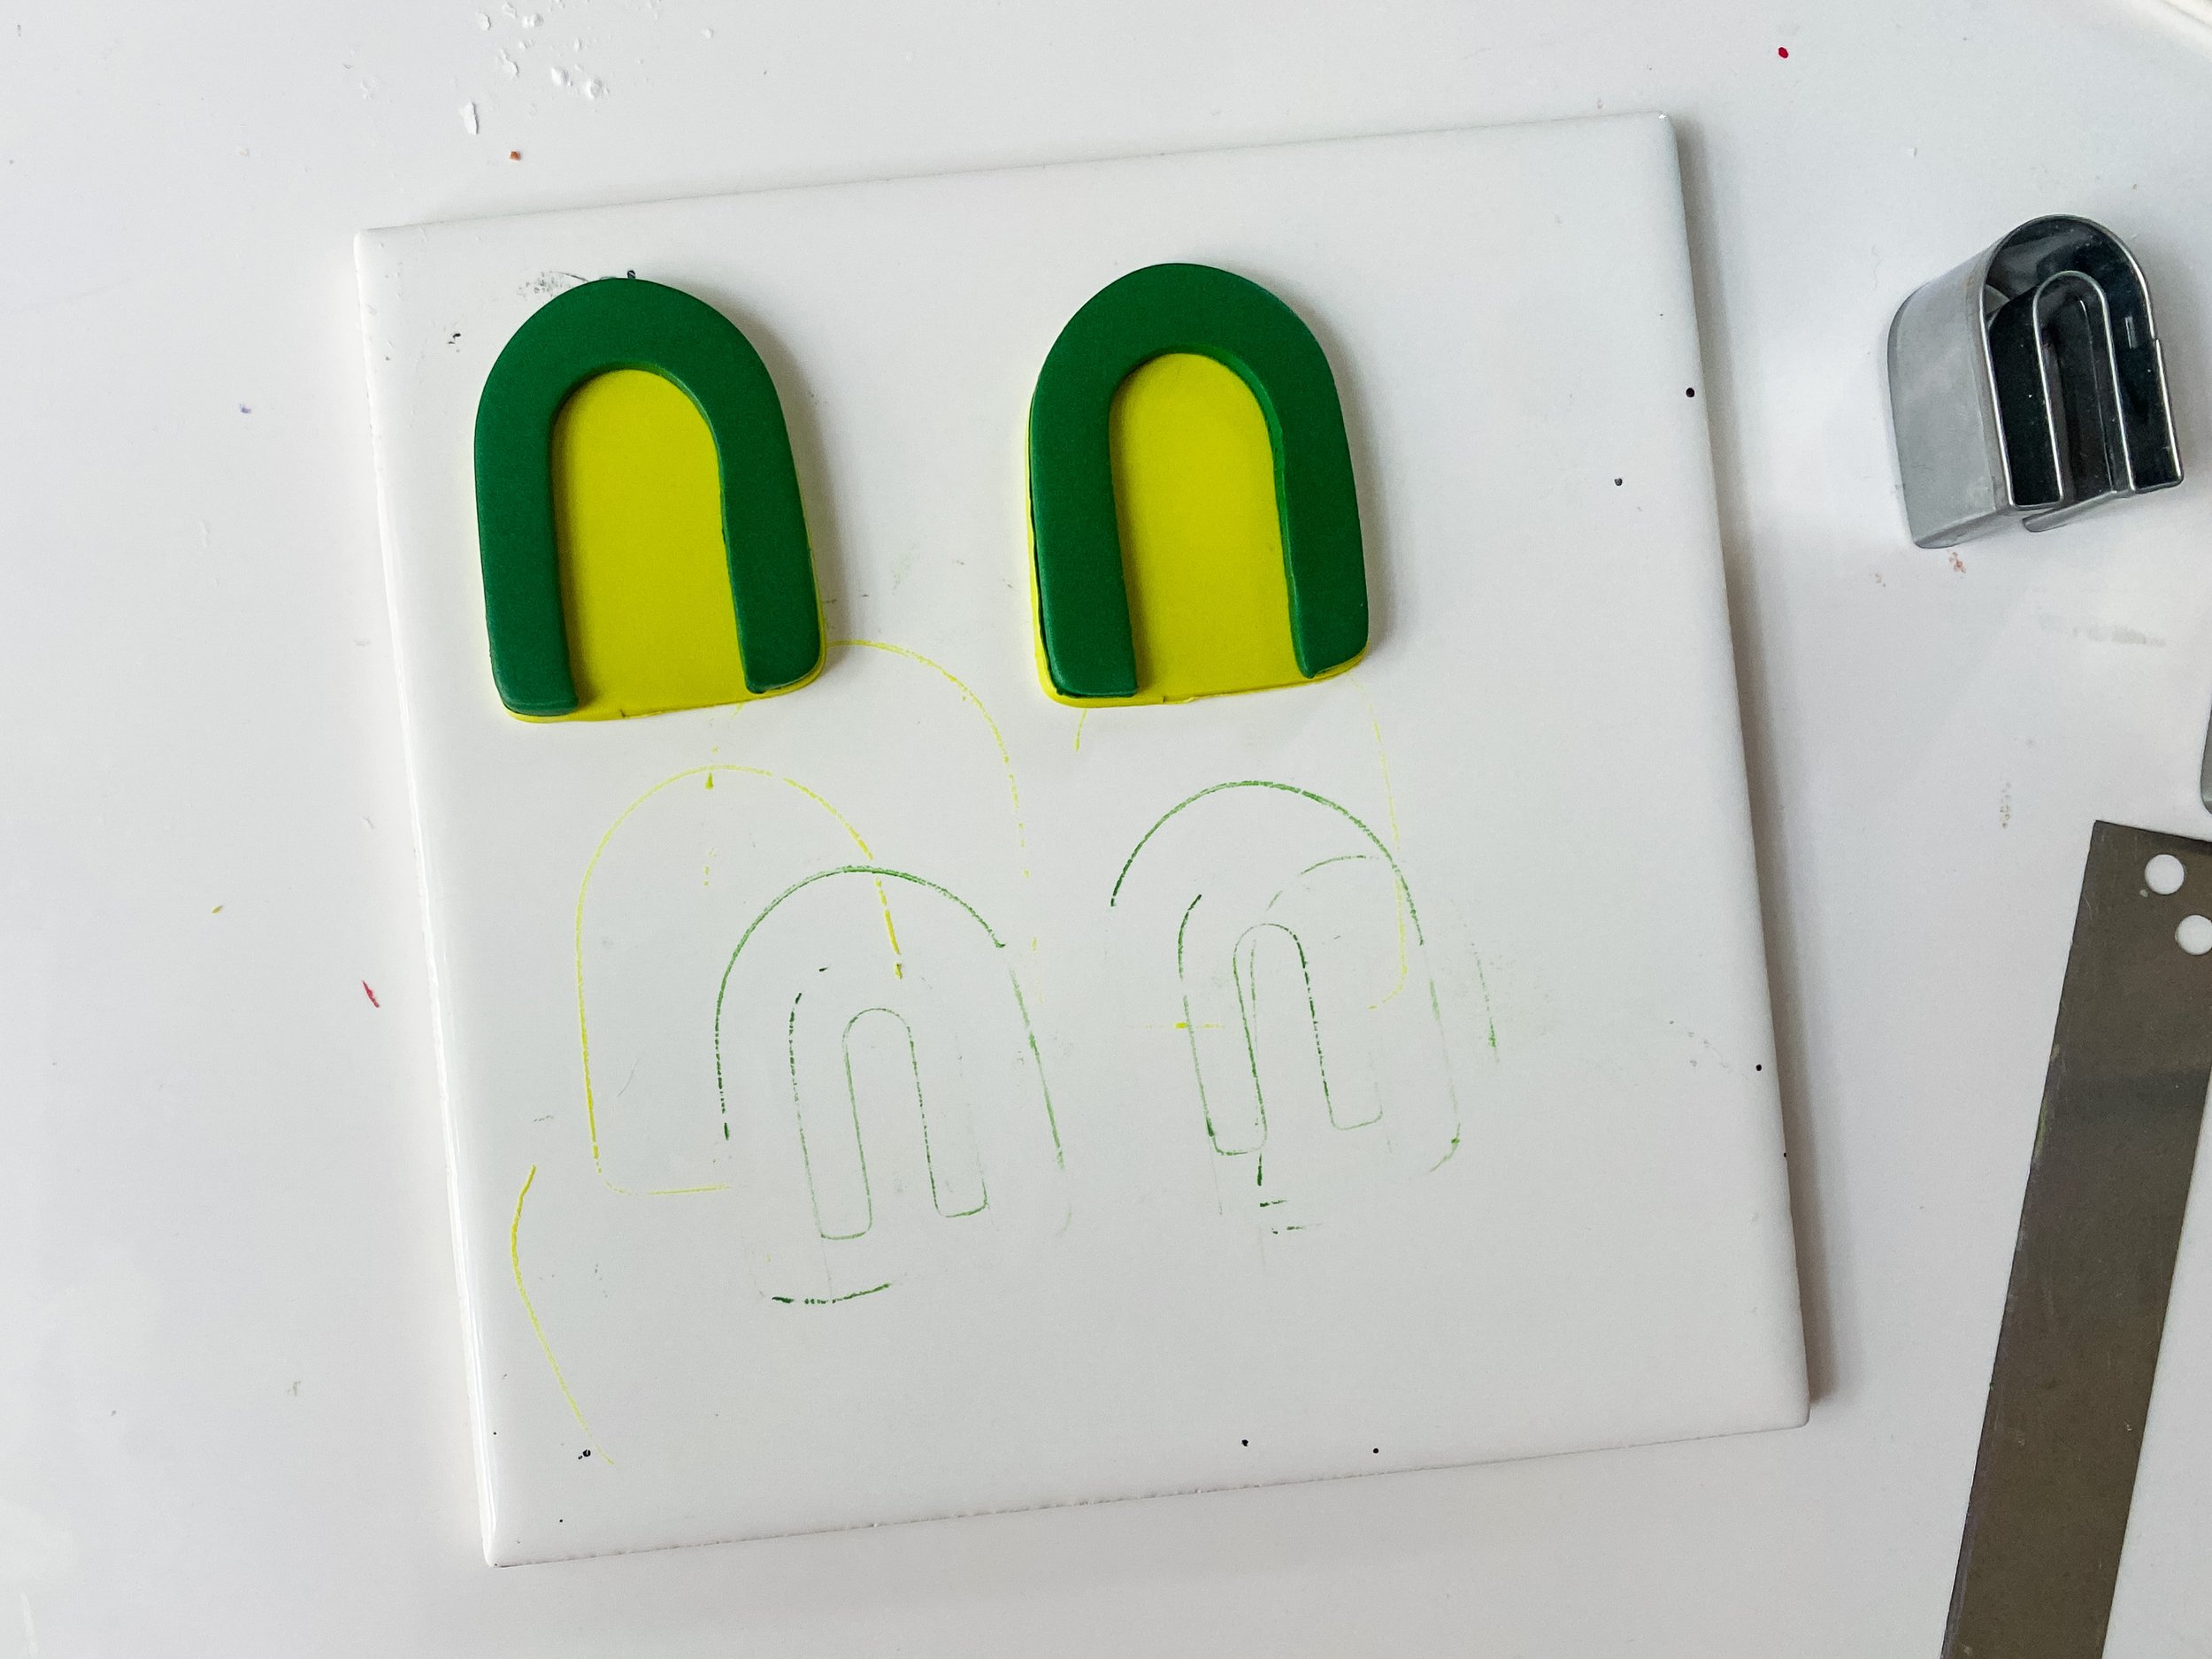

So you can see how my inspiration piece influenced the final product!
Now it’s time to bake!
BAKING
Now it’s time to bake! I recommend doing a test bake before you begin. Grab a small chunk of white clay and bake it in your oven at 275 and check it every 10 minutes for 40 to 50 minutes. Make sure it does not change colors. I bake my clay at 275° for 40 to 50 minutes right onto the tile.
Let them cool for about 30 minutes.
ADDING BACKS

After the jewelry has cooled, I will add the backs by using Sculpey Oven Bake Clay Adhesive Back and Bond and baking again for 30 minutes to secure them. I use a spreader tool to get a thin but solid layer that covers the back and seals in the earring backs.

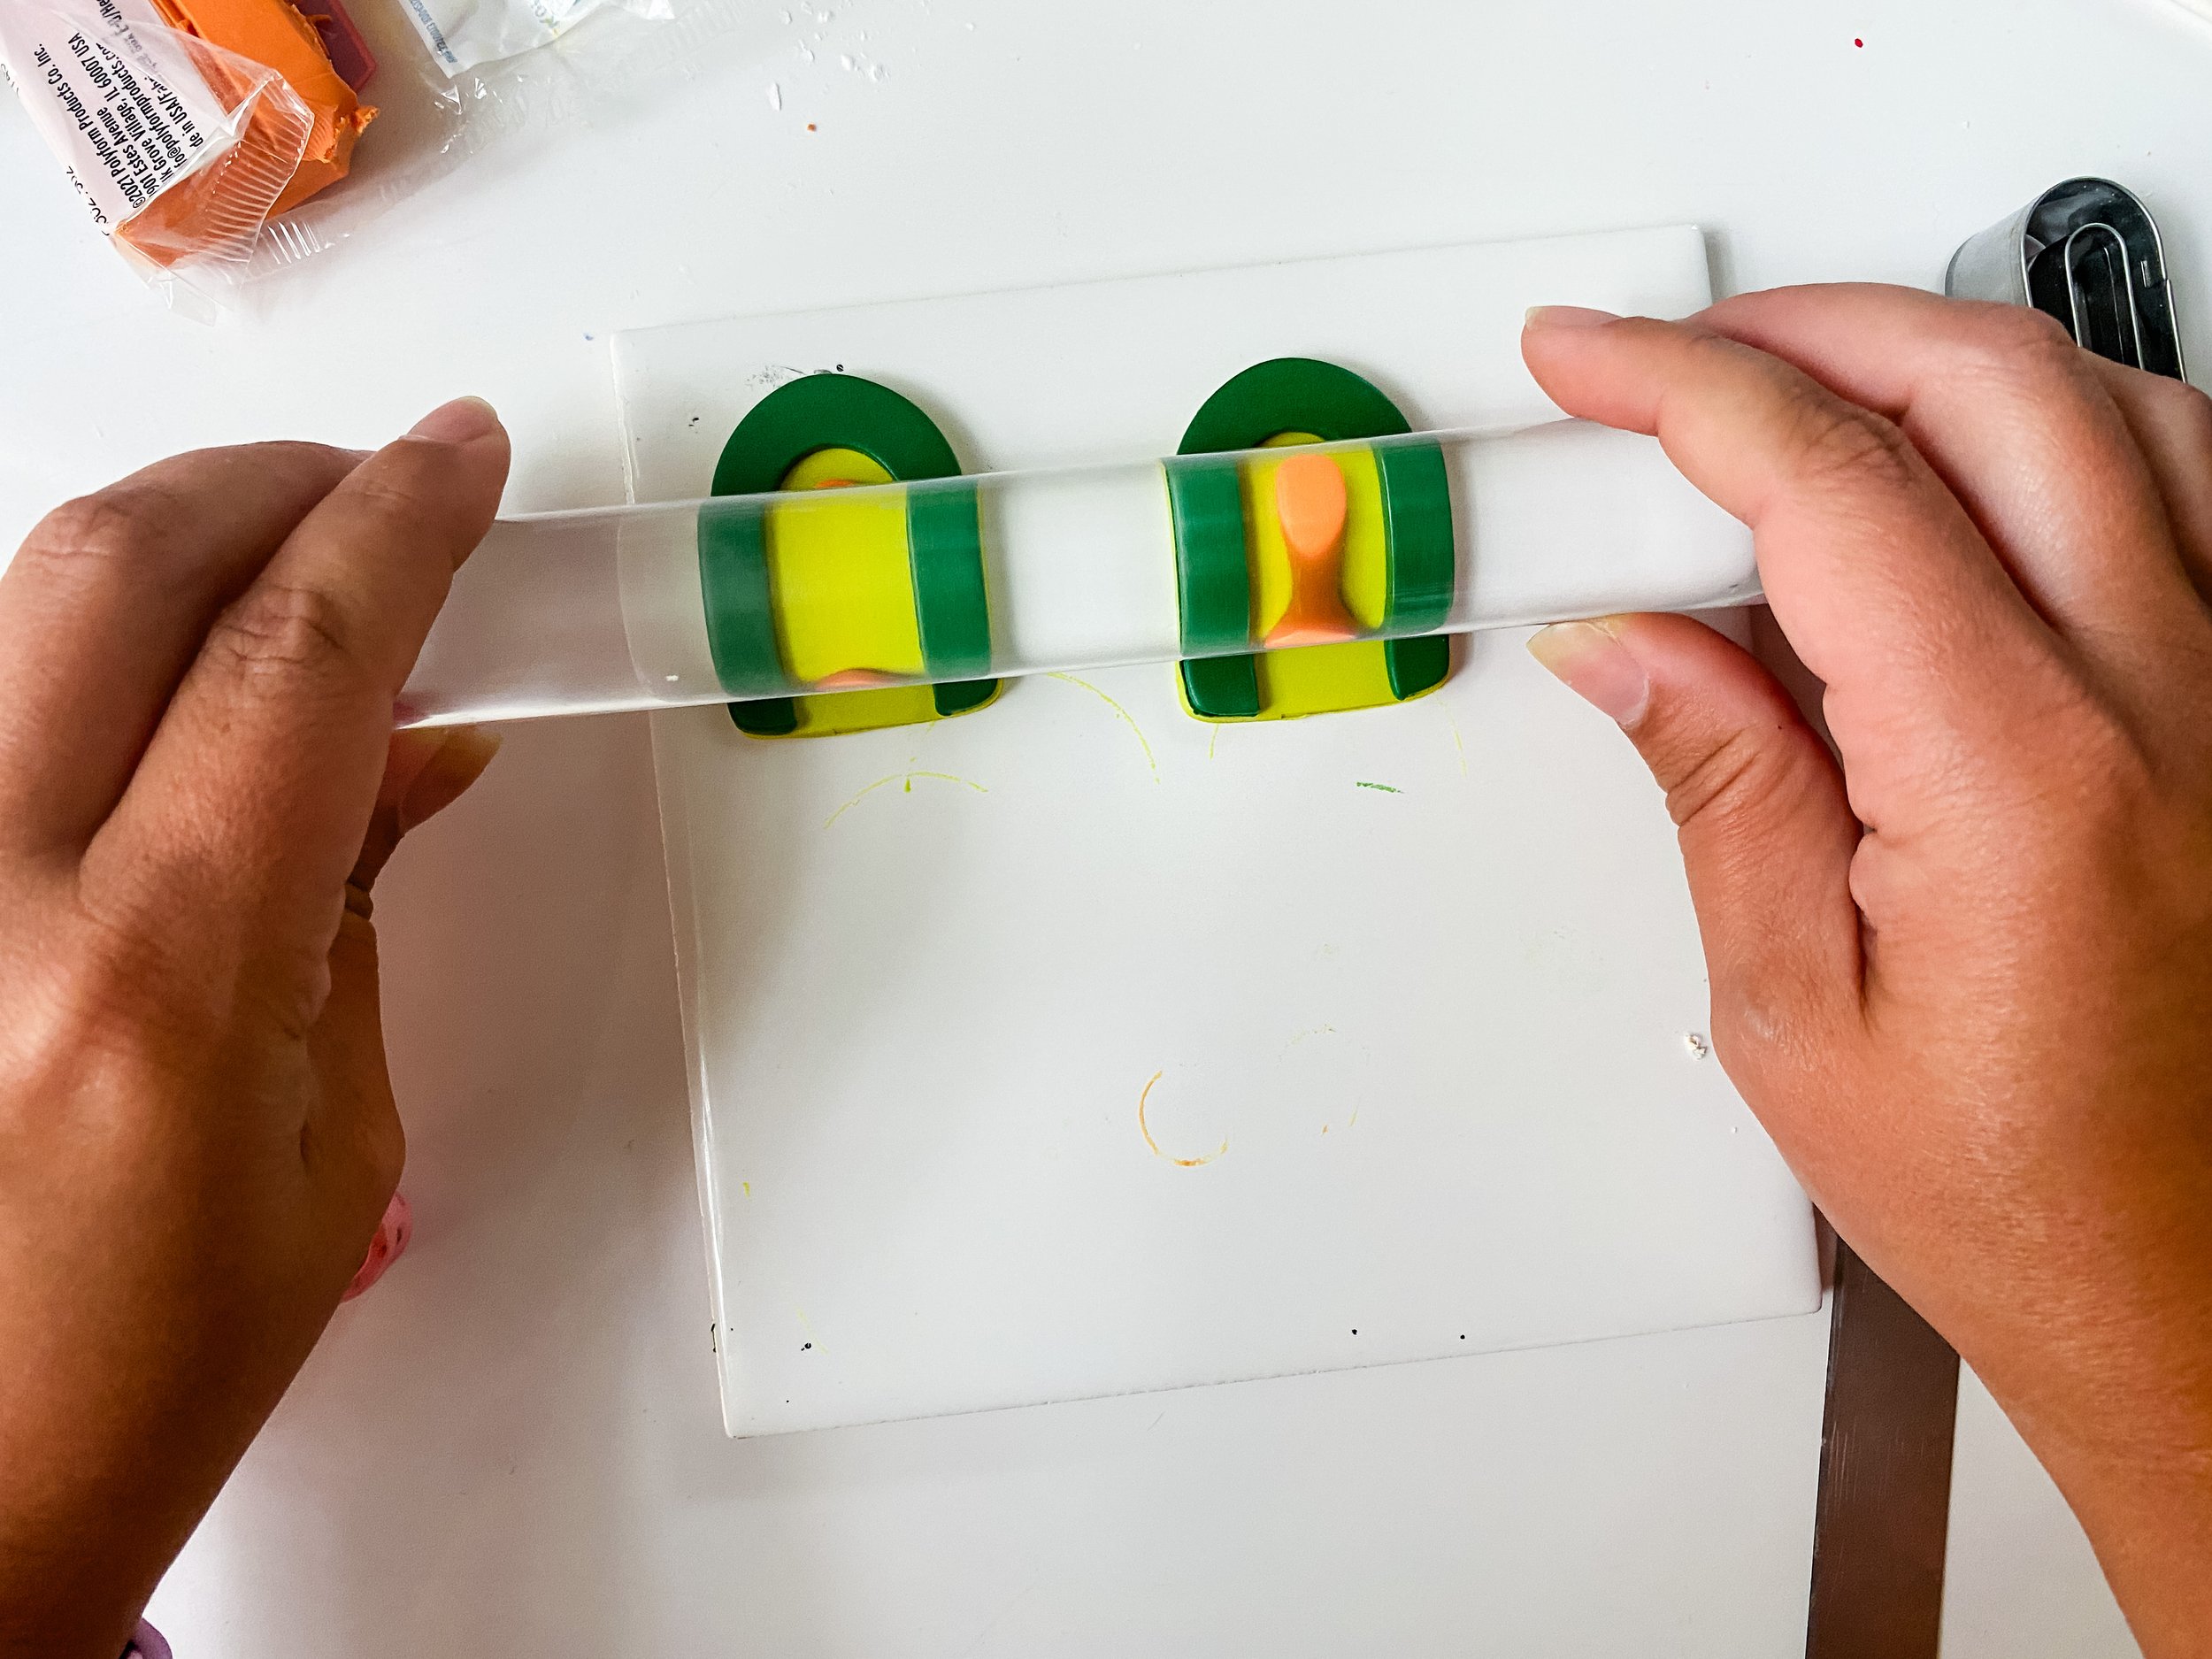
Once it's cooled, it’s time to assemble your jewelry! I laid out how I wanted them to look and then I drilled holes using my Dremel, but you can do this before baking with a paperclip or other tool to create holes in the top center.


Then I assembled all my pieces! And now they're ready to wear!

I hope you enjoy these fun earrings, the possibilities are endless when you get creative and think of new ways to use the tools you already have!
If you create your own, please show me! Tag me on instagram @laurenlikesblog so I can see.
Thank you so much to Sculpey for partnering with me to create this post. All opinions and ideas are my own and please know that I only work with companies whose products I already own, use, and love.