
How to plan a creative workshop
 I love teaching and taking creative workshops. I love getting to explore creativity in new ways, I love watching people learn, I love hanging out and chatting with people who love creativity. Creative workshops are the perfect way to do that. I had the pleasure of teaching an Introduction to Watercolor workshop recently here in the UAE with my friends over at Pretty Paper Studio and I have seen a lot of creatives wanting to teach but feeling unsure if they are 'qualified', so I wanted to help debunk that myth and help you get started leading workshops with your favorite creative friends today!
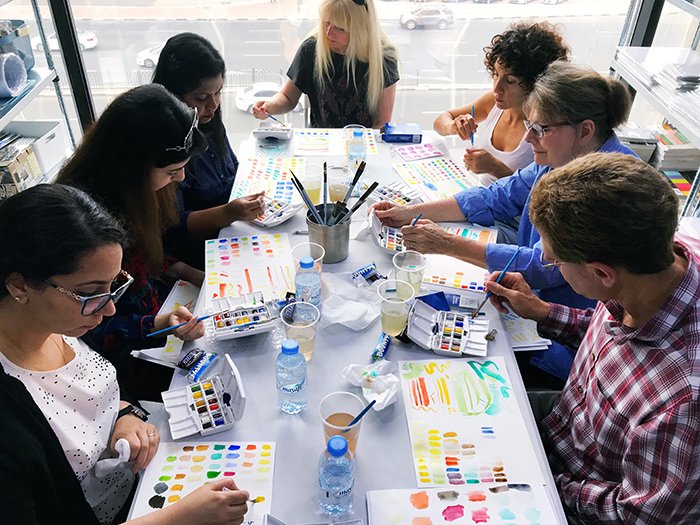
First up, am I qualified to teach a workshop?
The short answer is, most likely yes. You do not have to be an expert to teach others. Think of it like this: If a 5-year-old came to you and asked you to show them how to do a craft (that you already know how to do) would you show them or tell them that you are not an expert and therefore they will not be learning to paint/braid/draw/etc today and they should seek out someone with an art degree? No, you would pull out the simplest supplies, give them a few rules and some direction, show them a few fun things to do and then let them play.This, in essence, is what you are doing at most creative workshops. You are sharing basic supplies, how to use them, sharing some ideas and letting people play. So, if you would say you have a step-above-basics knowledge, so medium to high skill level, then yes - you are able to teach a beginners workshop!My advice: Don't be afraid or worried. Invite your girlfriends over, provide some wine and make a mess together. This way you iron out the kinks, better understand what questions people have, what works, and what you need to change for an official workshop. Don't charge for your first time or two and keep them low-key and then you will be ready for a true, paid event! OR! You will find you absolutely hate teaching and then no harm, no foul.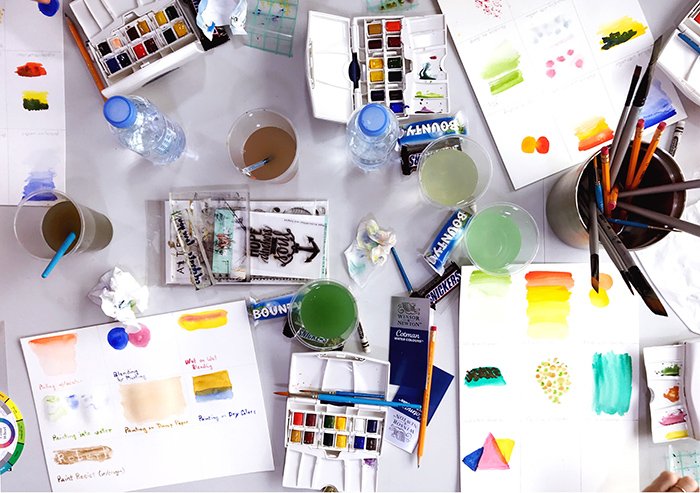
How to get started
You will want to do a good bit of prep before you start, including a lesson plan and supply set up. The more prepared you are the more comfortable you will be, but by prepared I don't mean having 100 activities to do, I just mean knowing exactly what you will do, how long it takes, what you need, etc.First, choose a topic. Try to hone in on something specific like, how to paint watercolor flowers, or something basic and introductory, like introduction to watercolors. Don't get too broad or try to teach every single aspect of the craft, keep it focused and simple - especially for beginners - the main part of these events is time to play and experiment.Second, create a lesson plan. Think about what you want to teach, brainstorm everything you feel a beginner needs to know, what supplies they need, troubleshooting ideas, inspiration, etc. Write this all down and slowly walk yourself through your own creating process and think back to when you were a beginner, what helped you, confused you, how did you learn, etc.Third, practice your lesson. Slowly walk through your lesson. Say what you will say, introduce each tool and supply, introduce the craft, actually do your activities. Time how long it takes, see what issues you have, adjust your plan as you go and realize what is missing. Make sure that your lesson hits all of your goals you have set out for your students to learn in your workshop.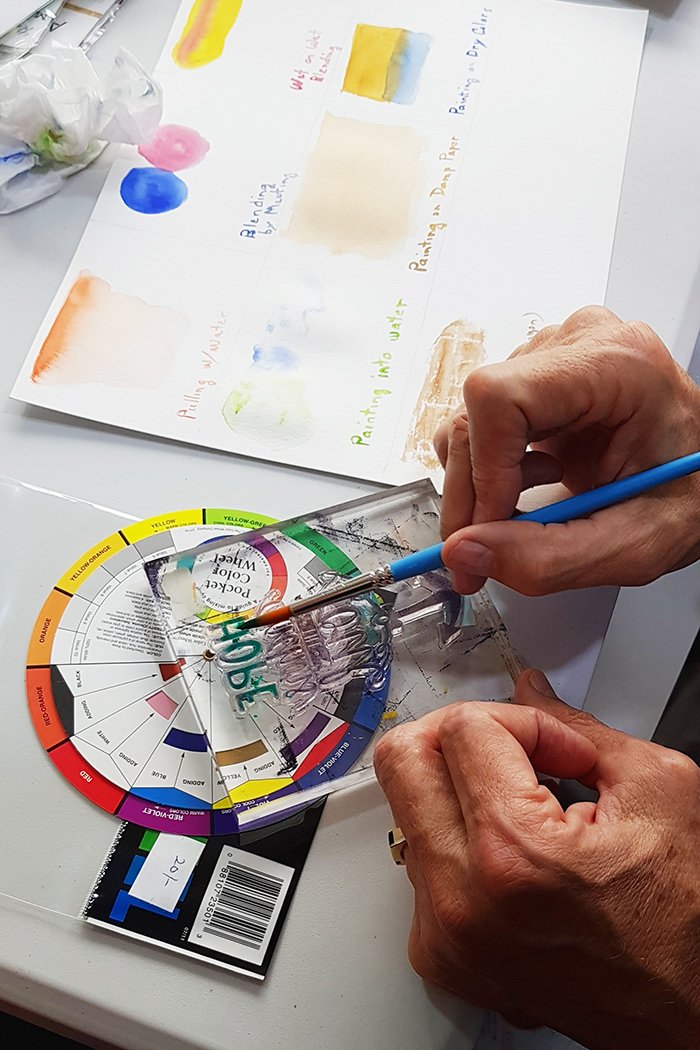
How to prepare your supplies
This will depend greatly on how your workshop will work. Is it just come and bring your own supplies and I'll show you a few techniques? Are you providing all the supplies? Will they get to keep them?Whatever you decide, make sure you have enough supplies for everyone and that they are organized. I always create a packet for each student. It will have all the supplies they need, including enough paper, the tools, and a few gifts from me such as a small piece of my artwork and my business cards, stickers, etc.Then be sure you have your 'table supplies', these are the extras and the shared items. Such as water cups for paint, paper towels, extra paper, magazines for inspiration, etc. Be sure to prep the facility you are using also so that there are no messes you could get in trouble for and be sure you have what you need like a water source, good light, etc.
Set the scene!
This will really help make or break your student's experience. Being in a crowded, messy, hard to use, hard to get around, bad lighting, etc space really can dampen the mood and make your job three times as hard. Be sure to get there early to clean up, arrange the space in an easy to navigate way, have the tables set and organized for each participant and group. Think about how many people will be at a table, how many will have to share water cups or paints or magazines or yarn, etc and distribute supplies evenly without overcrowding. Don't forget trash cans!! These are essential no matter what craft you are doing. If it is something super messy, taping a bag to hang at each persons place setting can be very helpful.Next think about how pleasing the setting is. Add flowers, decor, SNACKS!!, nice music, candles, etc to create a fun, relaxing and inspiring ambiance. You don't need to go over the top, but little touches will go a long way.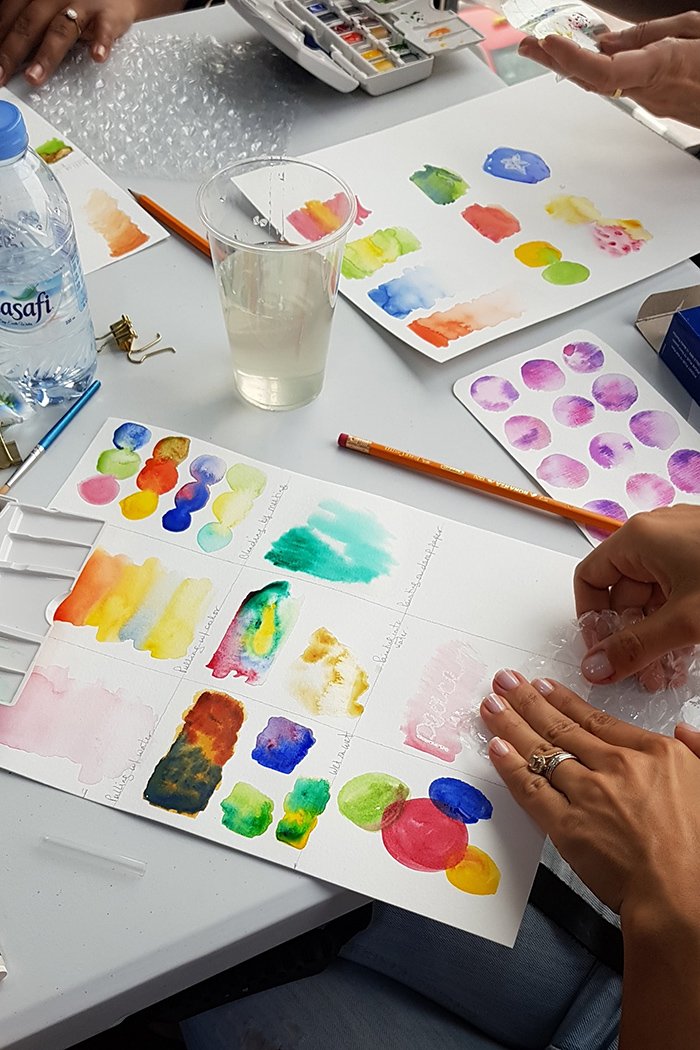
Teaching your workshop!
The big day is here! You're all nervous and excited and talking really fast and are kind of sweaty. First, slow down and remember this is as exciting/nerve-wracking for your students as it is for you. Learning a new skill as an adult is a very scary thing, we worry about looking dumb, being bad at it, etc, so your students are going to be nervous too. So remember that, everyone is here to have fun and learn and no one should be taking themselves too seriously.Start your event, share why you love this craft and what you hope they walk away from the workshop learning. Give them an overview of your lesson and what they can expect and set the atmosphere. Let them know they should ask questions at any time, get snacks/drinks when they want, take breaks, etc. Make everyone feel at ease, including yourself and then read the dynamics of the room. If they are all strangers, likely they will likely be quiet and want to spend more time working, but if everyone is friends, you will have to reign in those chatty Kathys to get anything done or just let them go and work with just a little prompting. It's up to you how the day plays out!
A sample workshop
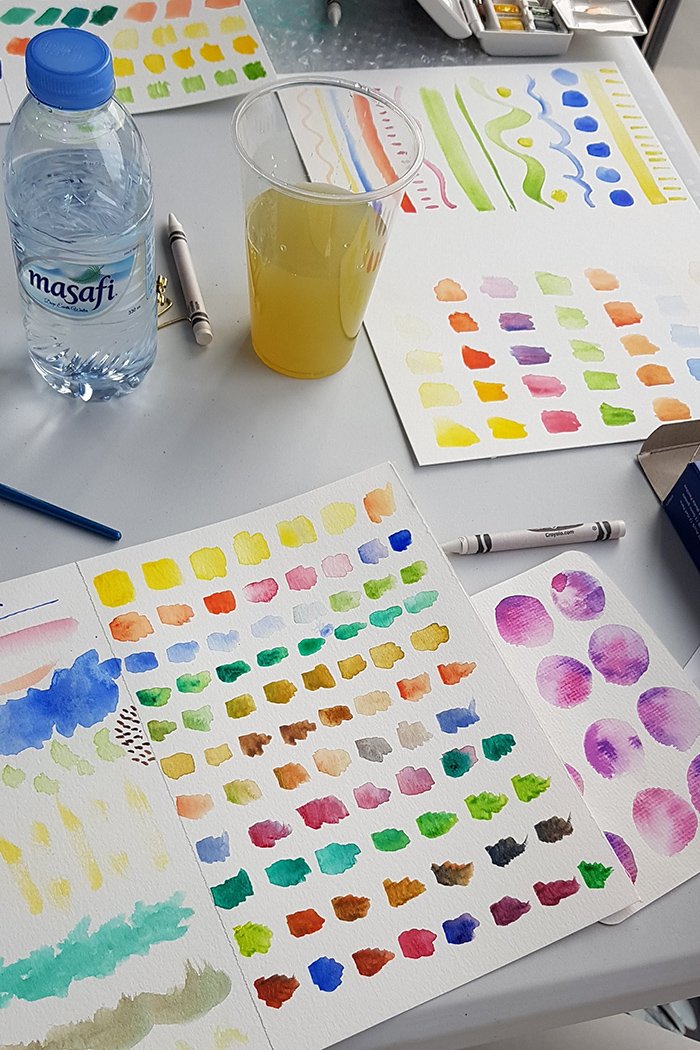
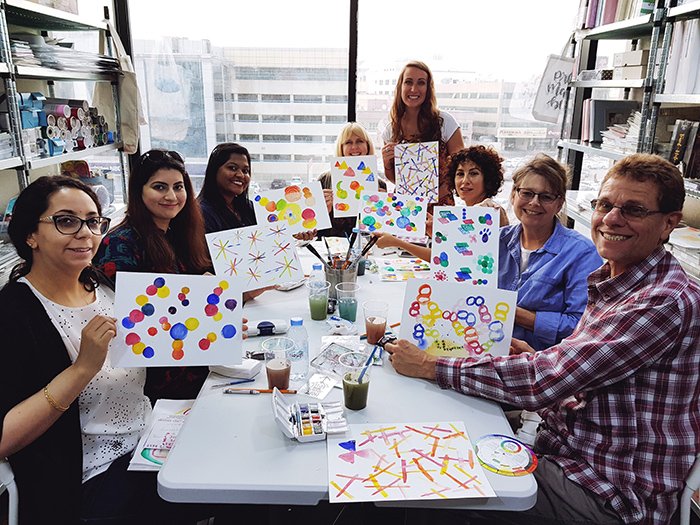
This is how I planned, prepped and taught my intro to watercolor workshop.Time: 2 hours, strictAttendees: 7 adults with varying craft skill levels, all strangers from one anotherLocation: at a local craft spaceSupplies: provided by the craft space for the students to keepPacket: I created a pack of prepped paper ready for the activities plus small gifts from me and pre cut items we would be using to be sure to cut down on wasted timeGoal: for students to have a basic understanding of watercolor supplies and techniques and to learn to apply them to a finished piece
Supplies:
- paints
- water
- brushes
- paper towels
- practice paper
- watercolor paper
- additional misc supplies for special techniques taught
Lesson Plan:
- Introduction to me (2 mins)
- Introduction to watercolors + supplies (5 mins)
- Play with paints + brushes: learn how the brushes and paints work by experimenting with brush strokes and marks (15 mins)
- Play with paints + color: make a color pallet page to experiment with how the paints work, what the colors are and how to alter them (15 mins)
- Techniques: Learn 9 basic watercolor techniques-use a prepared page that is segmented so students can take home a technique sampler to reference at home (45 mins)
- Create a painting: lead students through using the techniques learned to create their own final painting (30 mins)
- Wrap up: share ideas of how they can continue practicing and learning
 You can apply this loose structure to any type of craft you would like to teach. You just need a general understanding of how the craft works and troubleshooting. I promise there is something that you can teach today and with a bit of research you will be stellar at it! I perused a few other watercolor workshops and books to help me create my basic outline and refresh my memory on beginner skills, then I put it all together in a way that fits my style and my audience. Workshops are such a fun crafty day to have with friends. I love practicing on my friends and they love the free lessons they get!You don't have to have goals to make money from teaching workshops, you can simply set up a rotating craft date and everyone can take turns teaching something they love to do! I love taking workshops because even if I am an expert in something, there is always something to learn in how someone else may do something differently or use a new to me product. I hope this lesson gives you the confidence and direction you need to get started sharing your gifts and skills with those around you today!
Bonus tip:
If you're interested in teaching workshops be sure to be attending as many as you can! I'd love to have you join me in one of my own. Be sure you're on my email list to know when and where Im teaching.